Making a Separate Page for Courses
In the Startup Academy template, the online courses are made available on the Home page. We are going to create a separate “Courses” page for them in order to make the page available for logged in users only.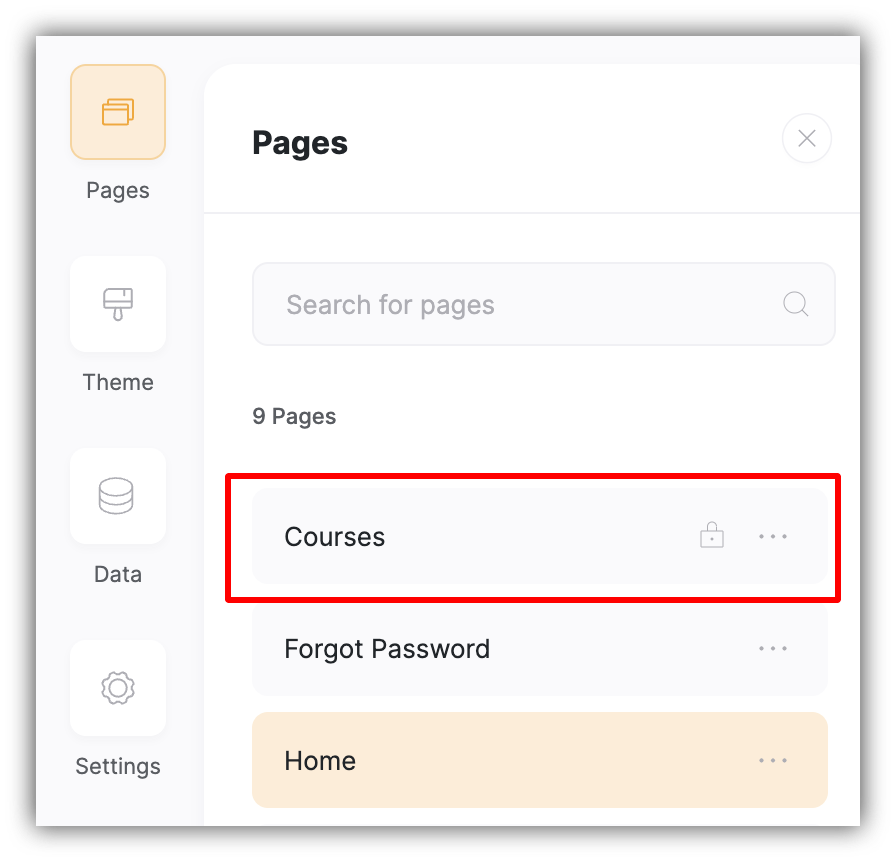
Separate page for courses created
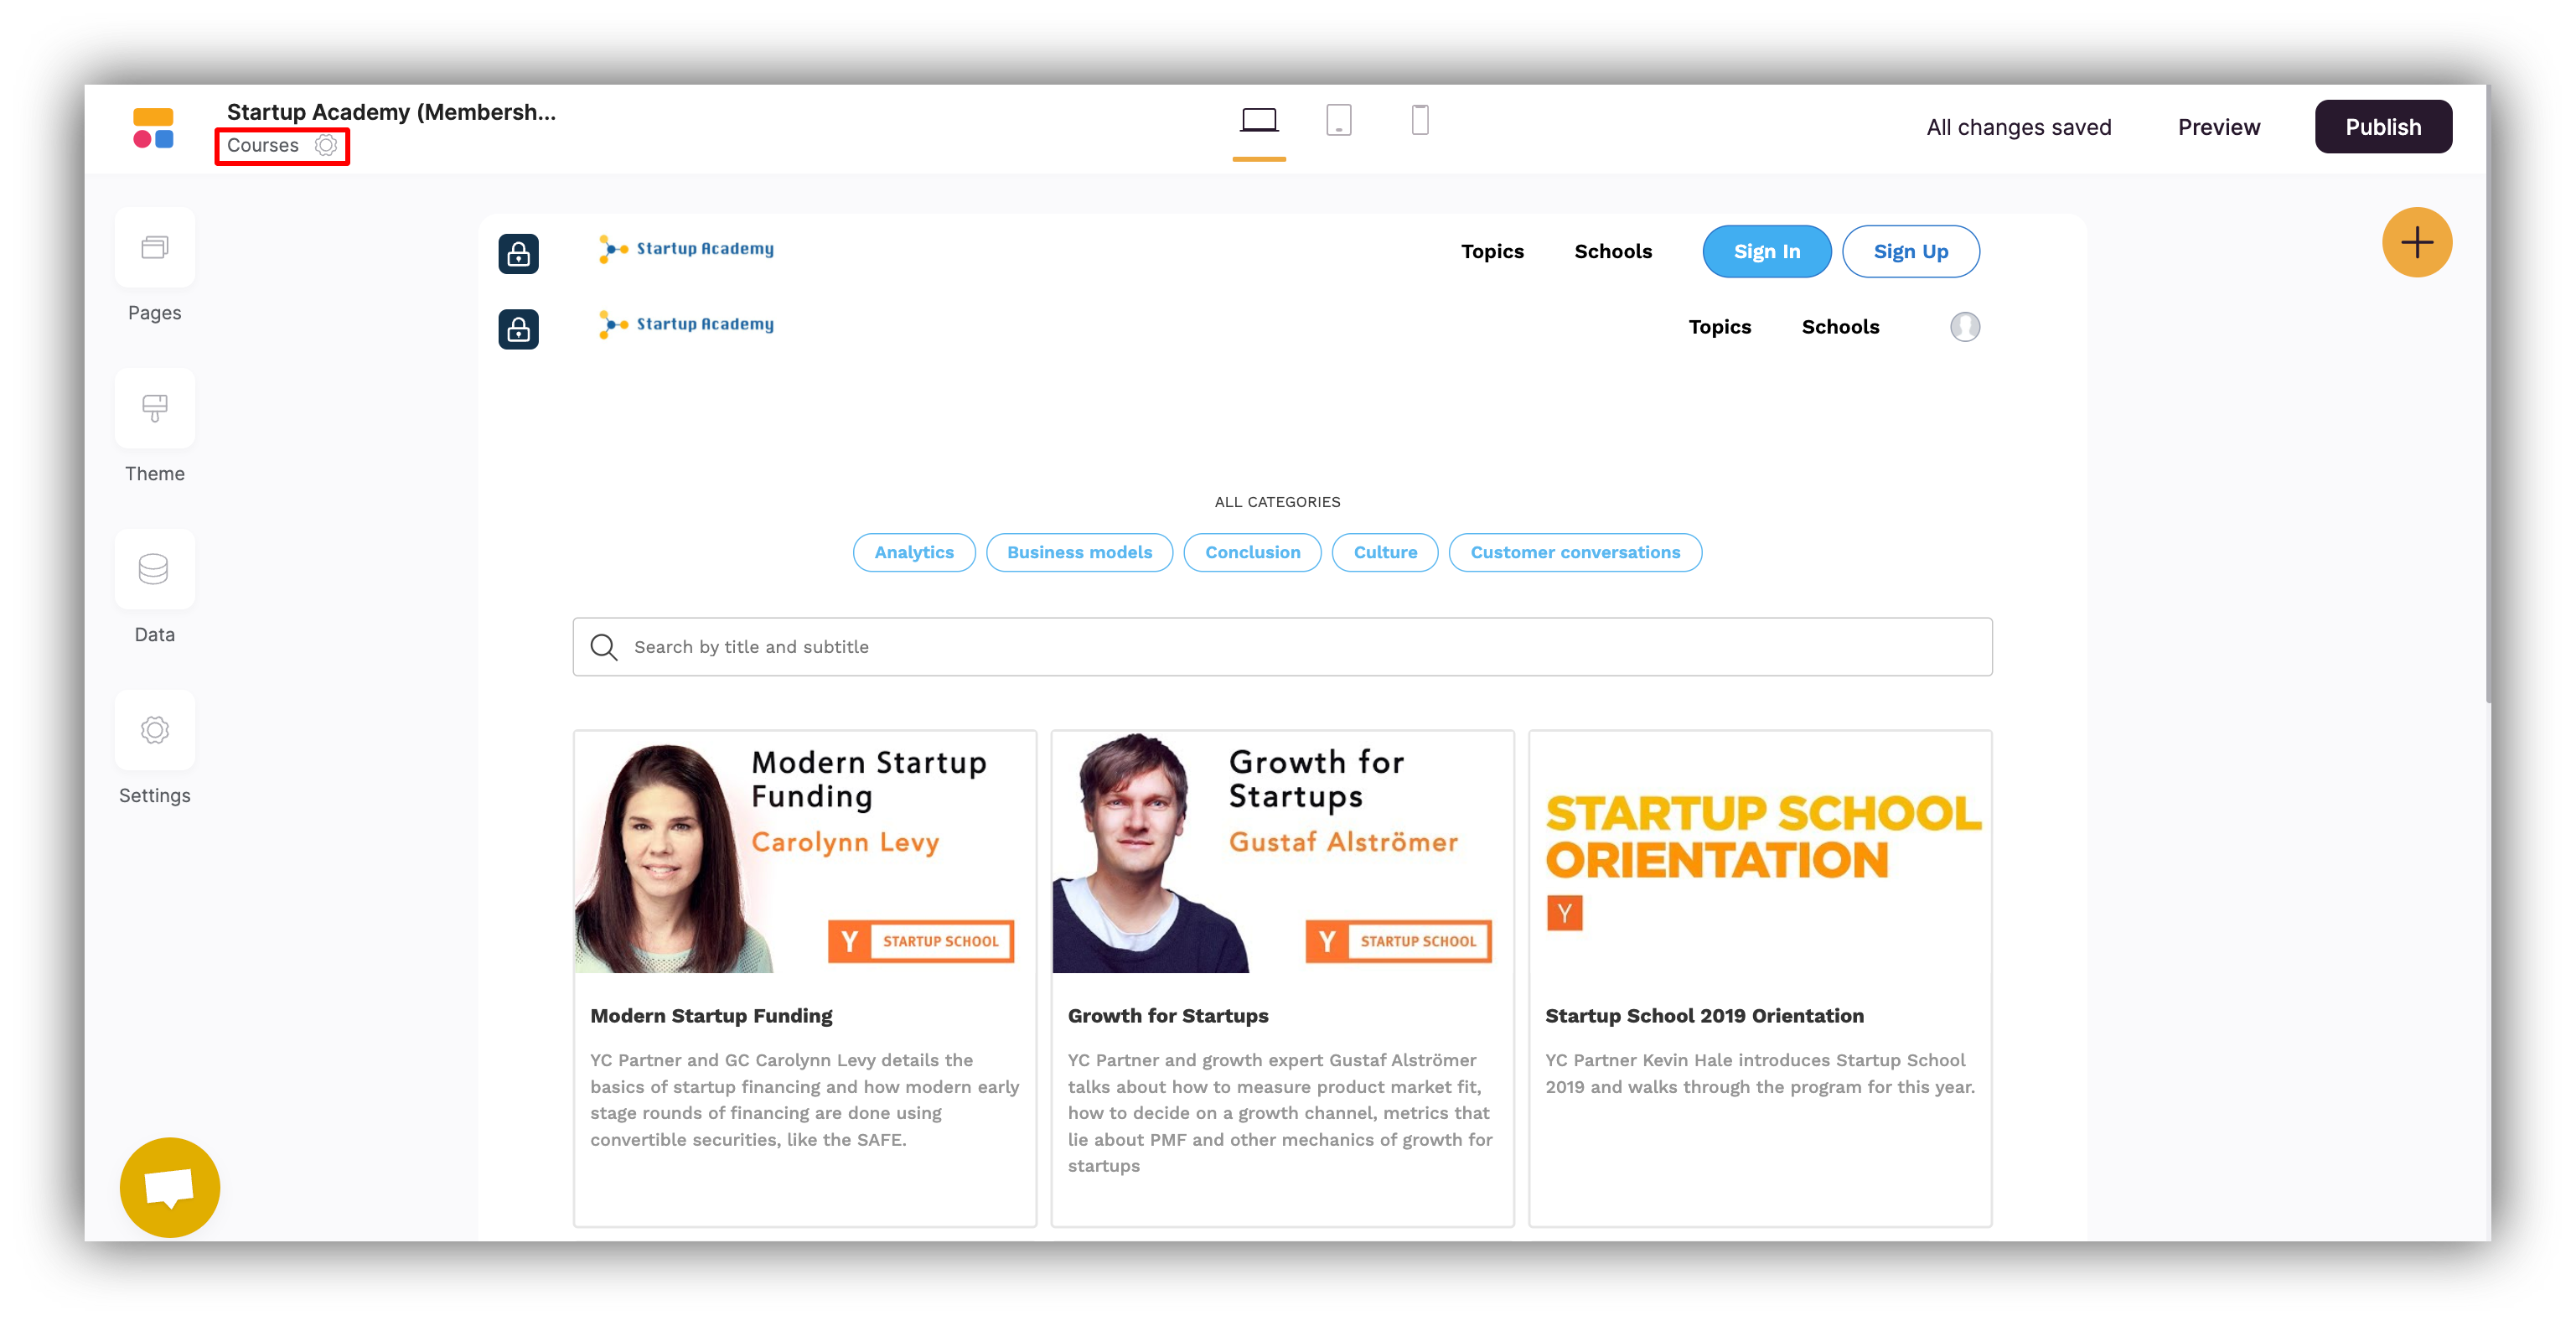
The Courses page with the list of courses
Adding Signup and Signin Pages
To start with the user registration process, we first need to set up a signup page. The Signup block is available under Add Block => Dynamic => User Accounts => Sign up form. So, let’s create a new page and add the Signup block there, and let’s also create another page for the Signin block, which is available under Add Block => Dynamic =>User Accounts => Sign in Form.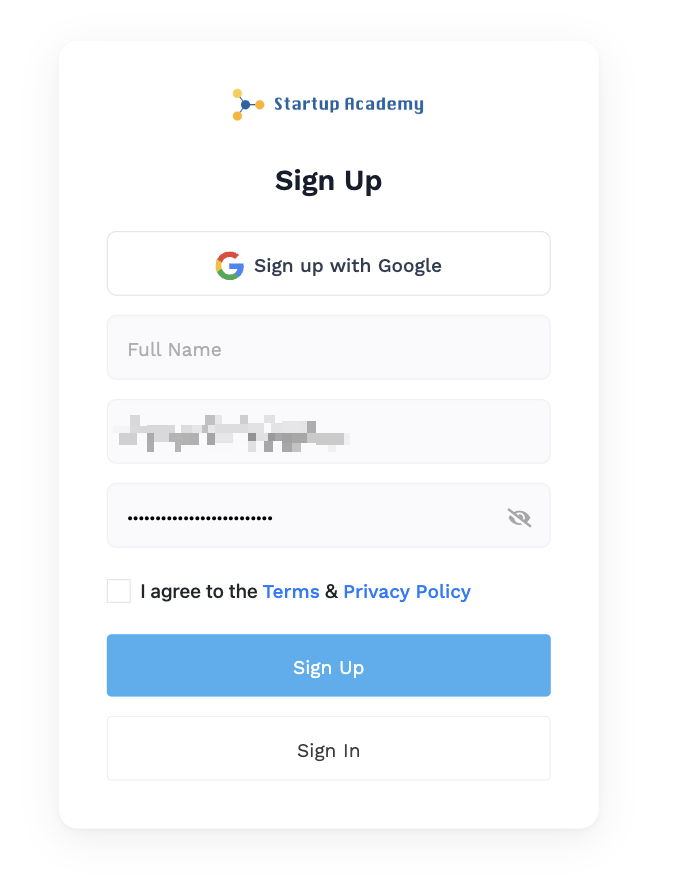
Signup form
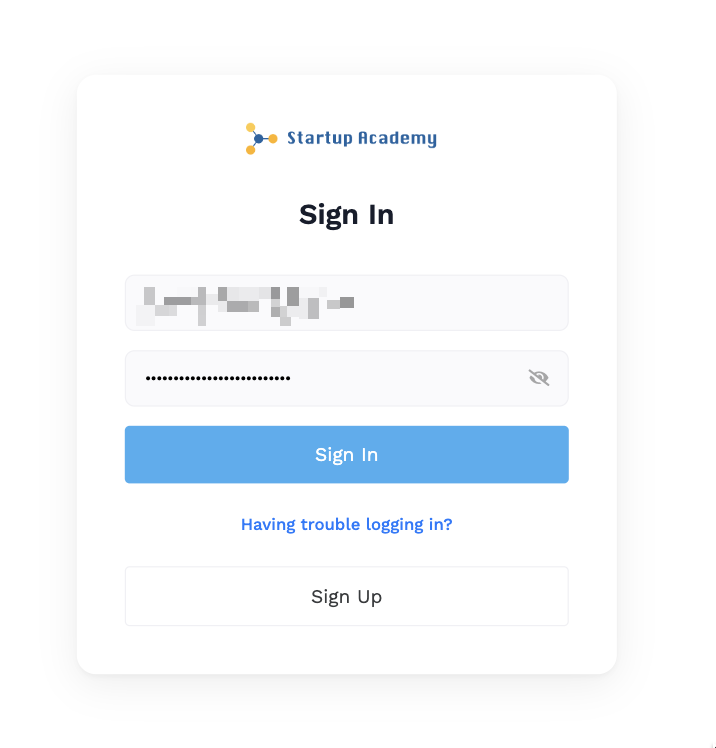
Signin form
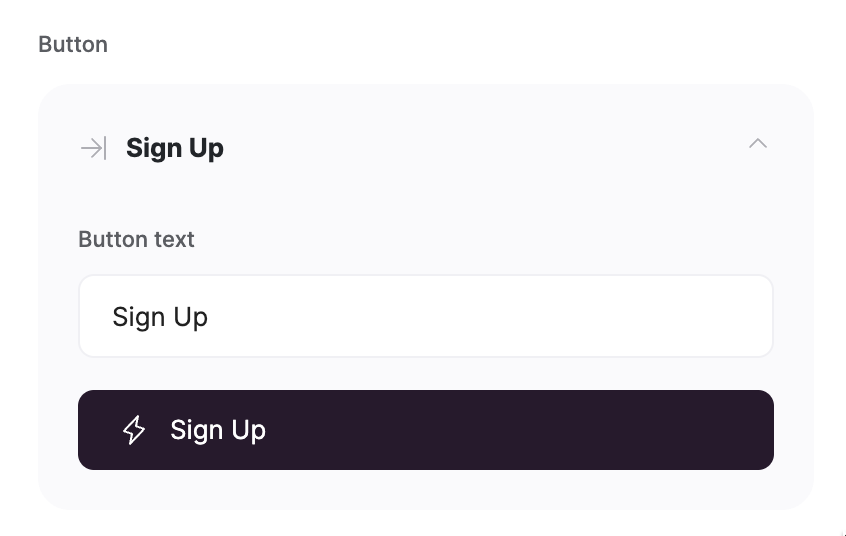
Signup button action on Signup form
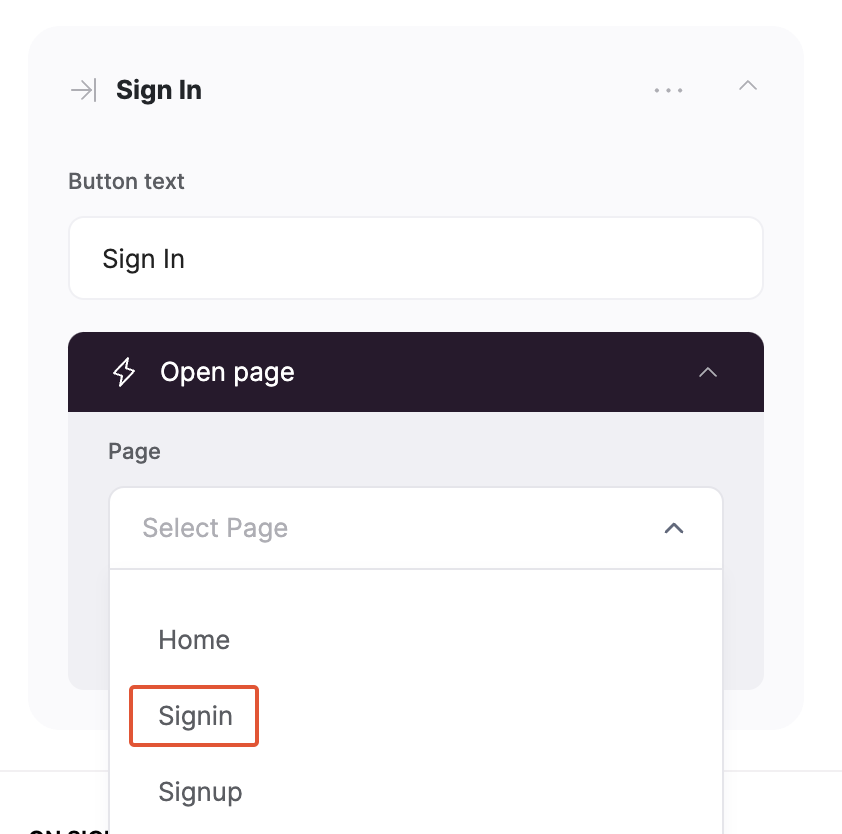
Linking Signin button to Signin page
Adding Buttons to the Header
First, let’s add Sign In and Sign Up buttons to the application header and link them to their corresponding pages, as shown below.
Buttons added inside the Header block
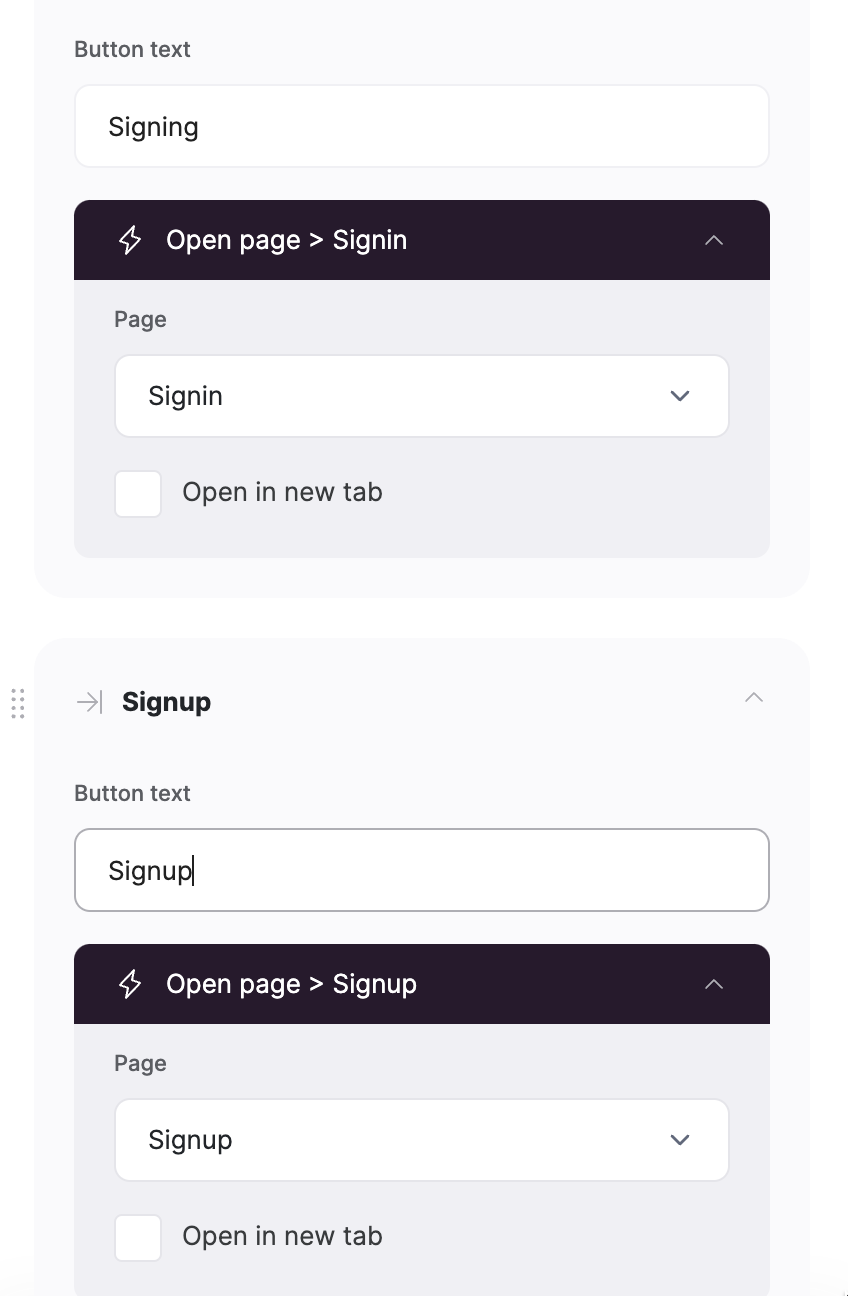
Buttons link to their corresponding pages
Customizing Button Visibility on the Header
So, we now have Sign In and Sign Up buttons on the header, but we need to customize them so that they are not visible to logged-in users. To do that, we need to create a duplicate header block and remove the buttons from it, as shown below.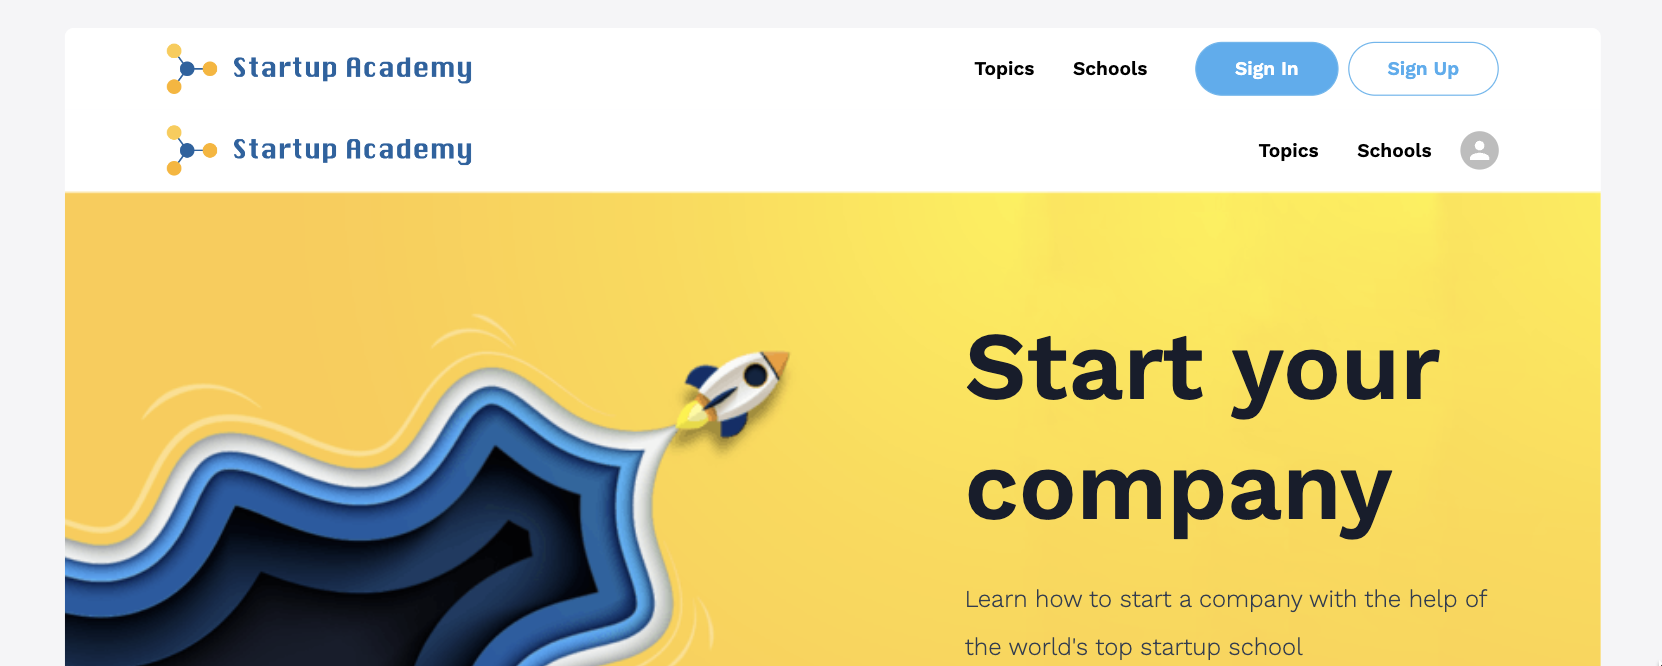
Duplicate header without signin/signup buttons
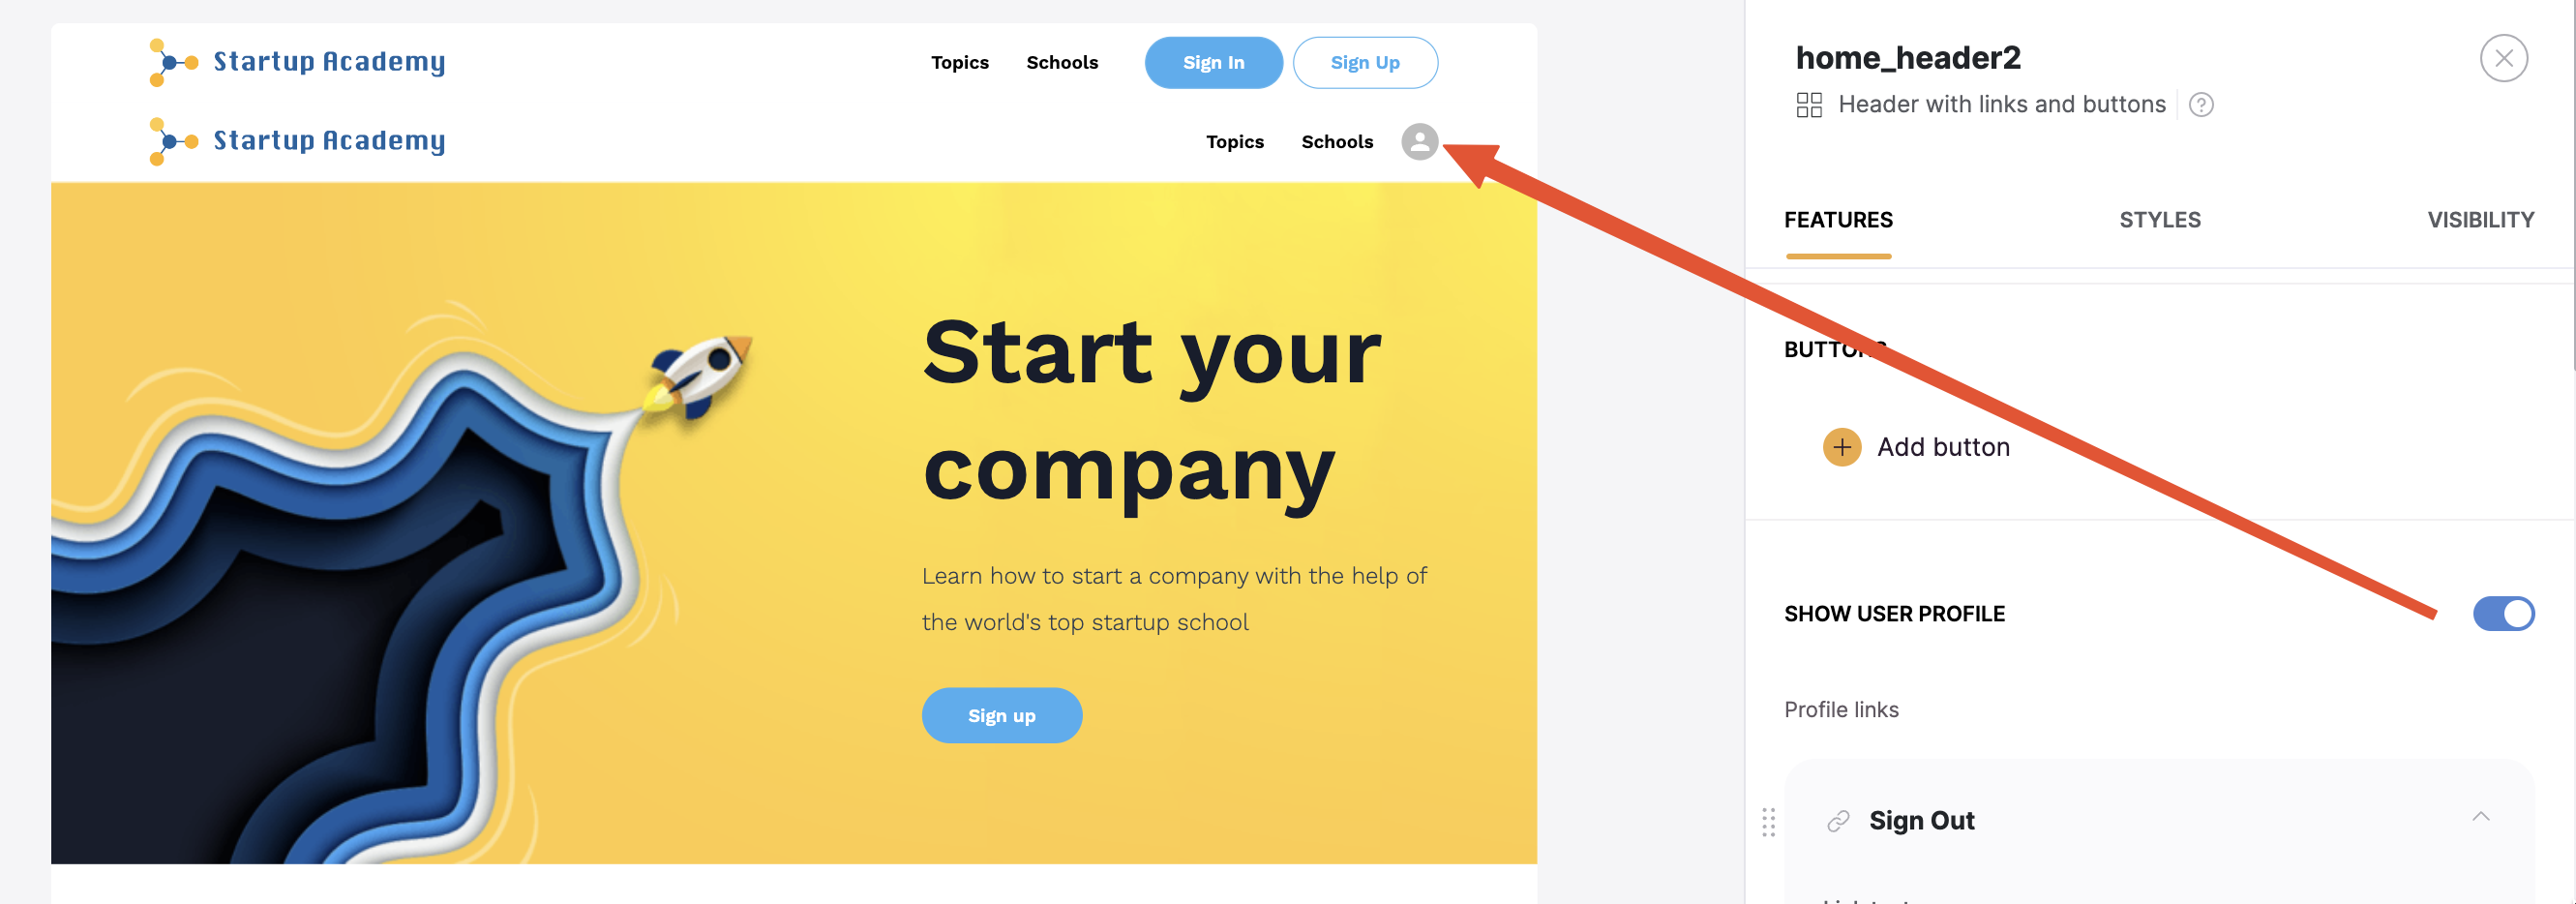
Enabling 'Show User Profile”
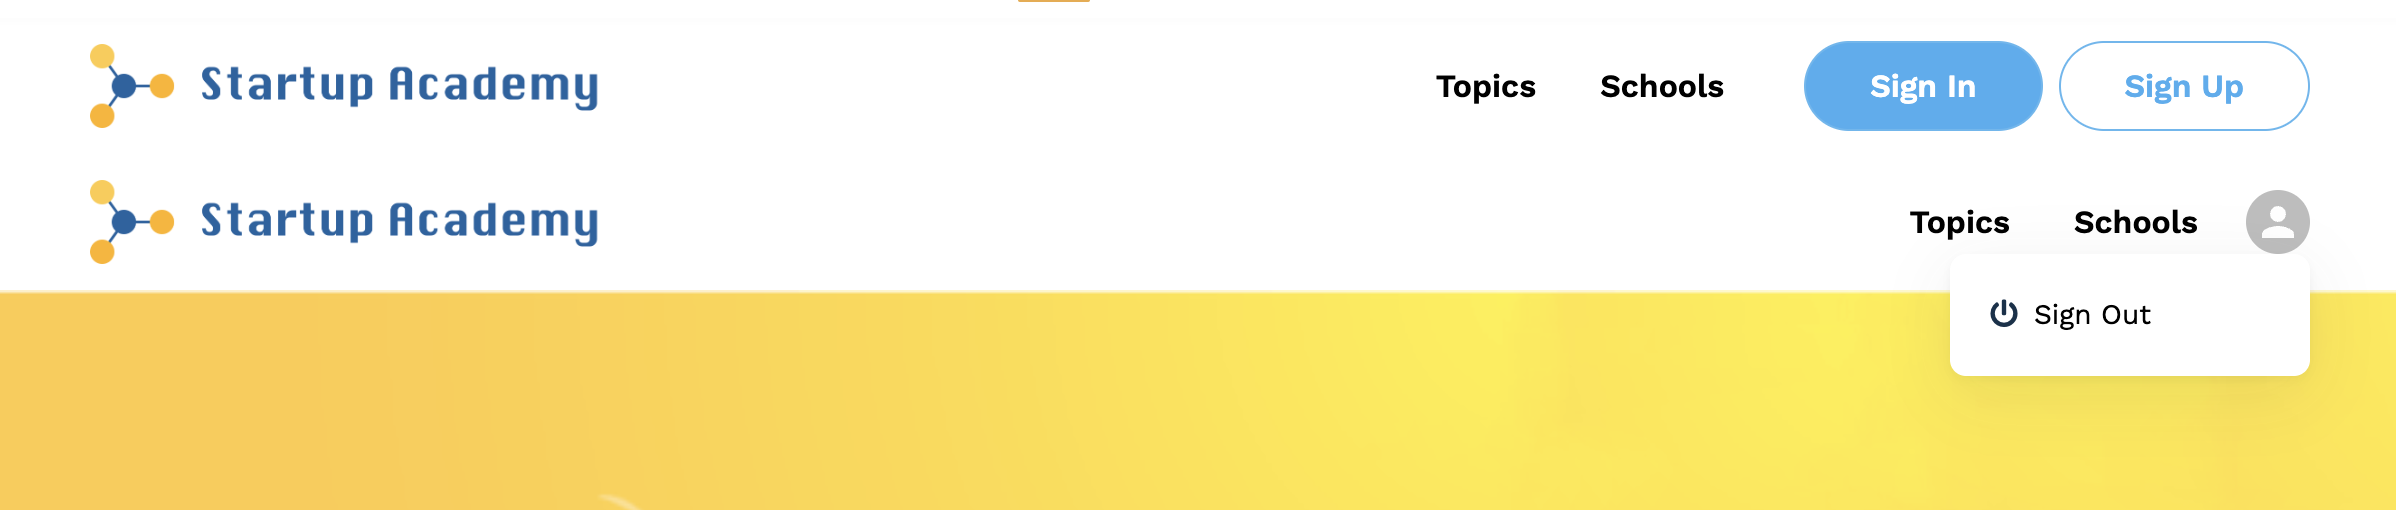
Profile dropdown added to the header
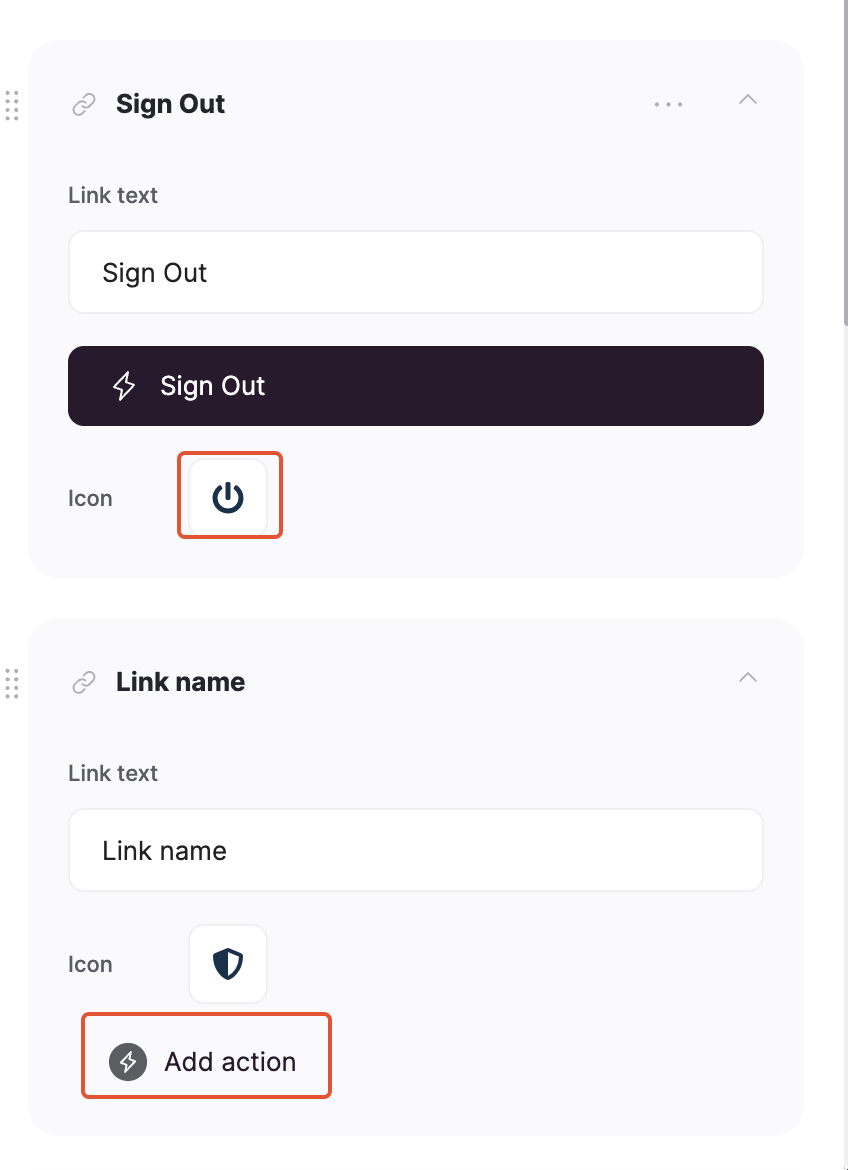
Link Icon and Action List
Configuring Header Visibility
To define visibility for a certain block, we need to navigate to the Visibility tab in block settings as shown below.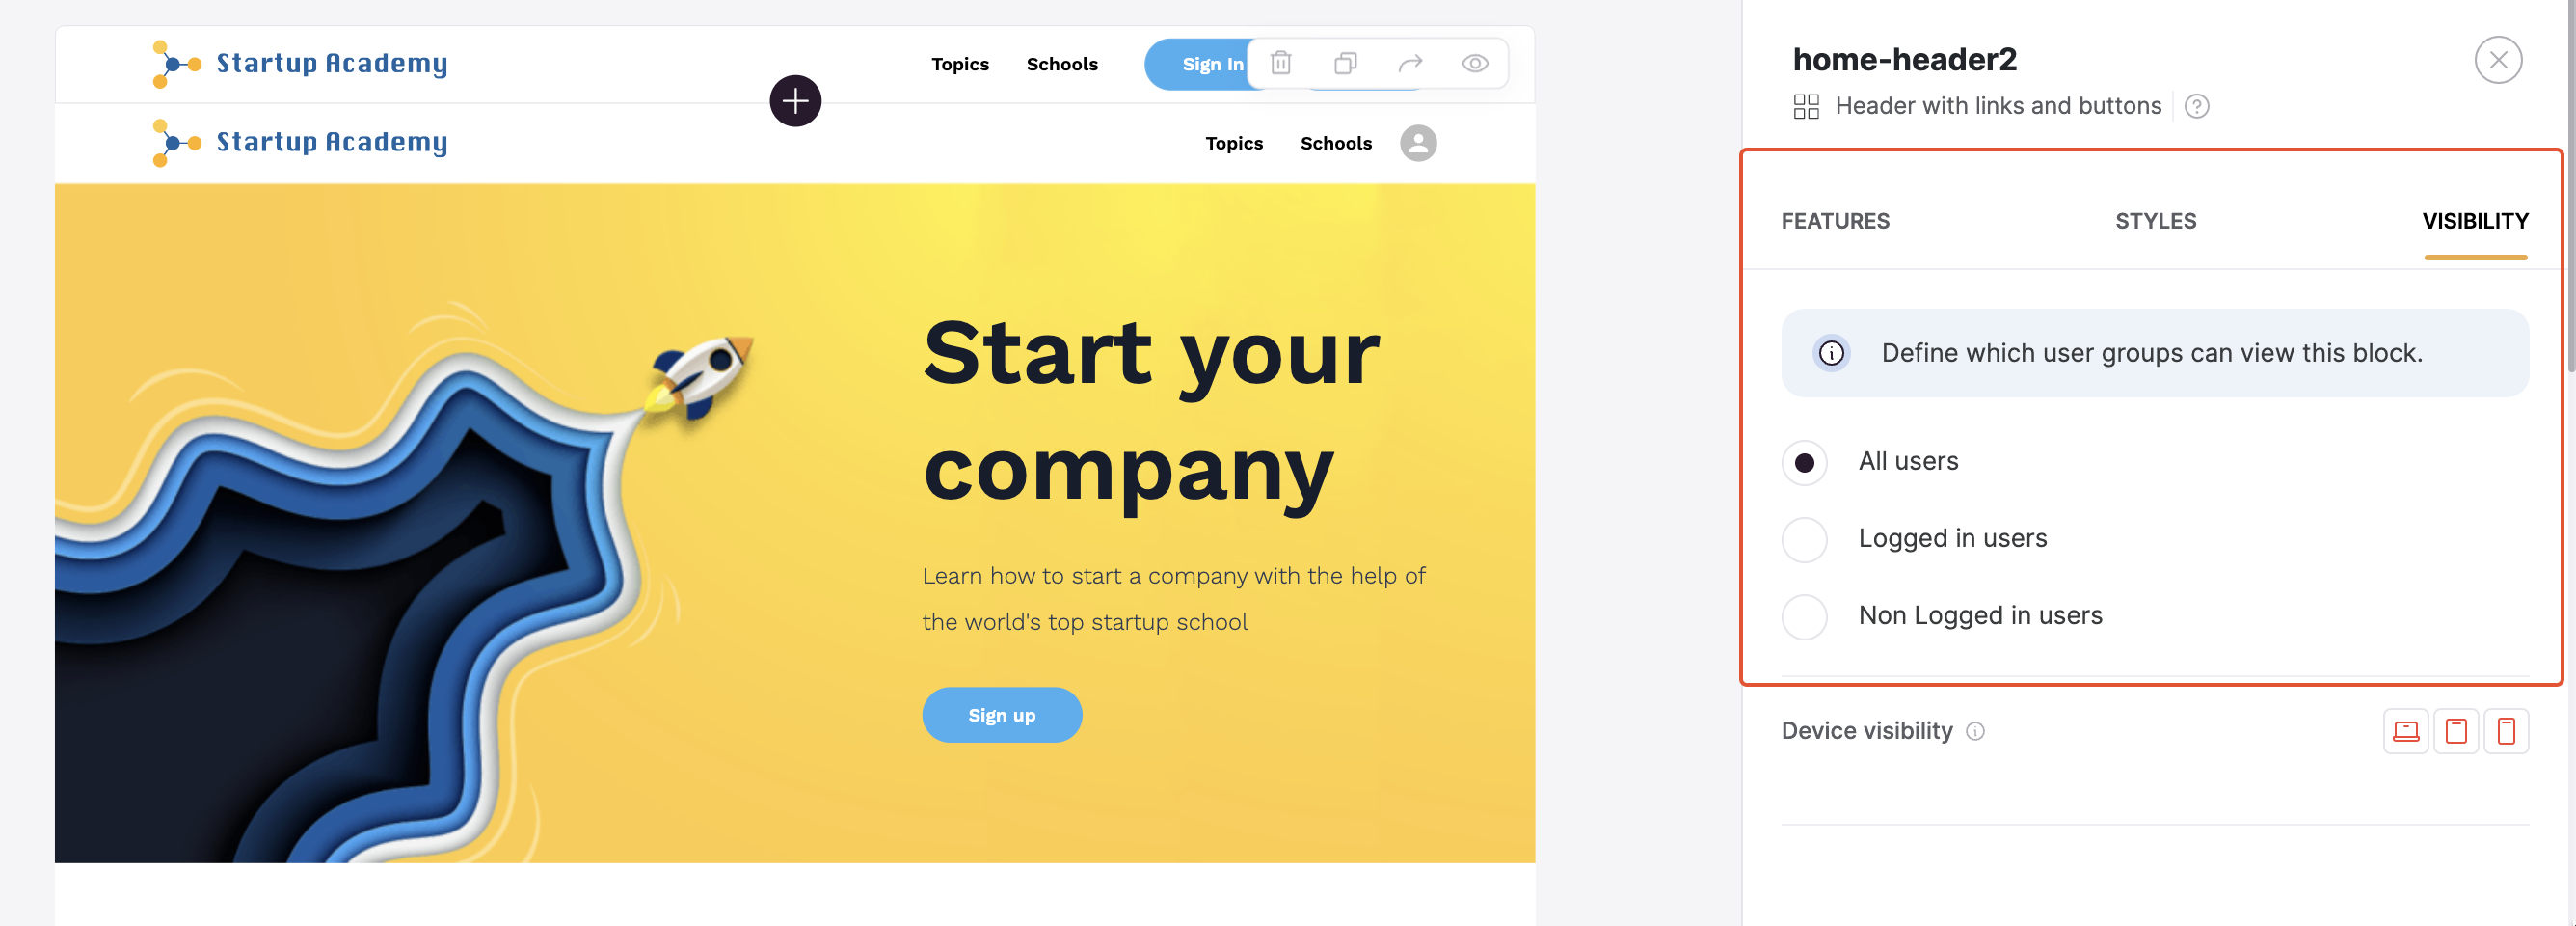
Visibility tab
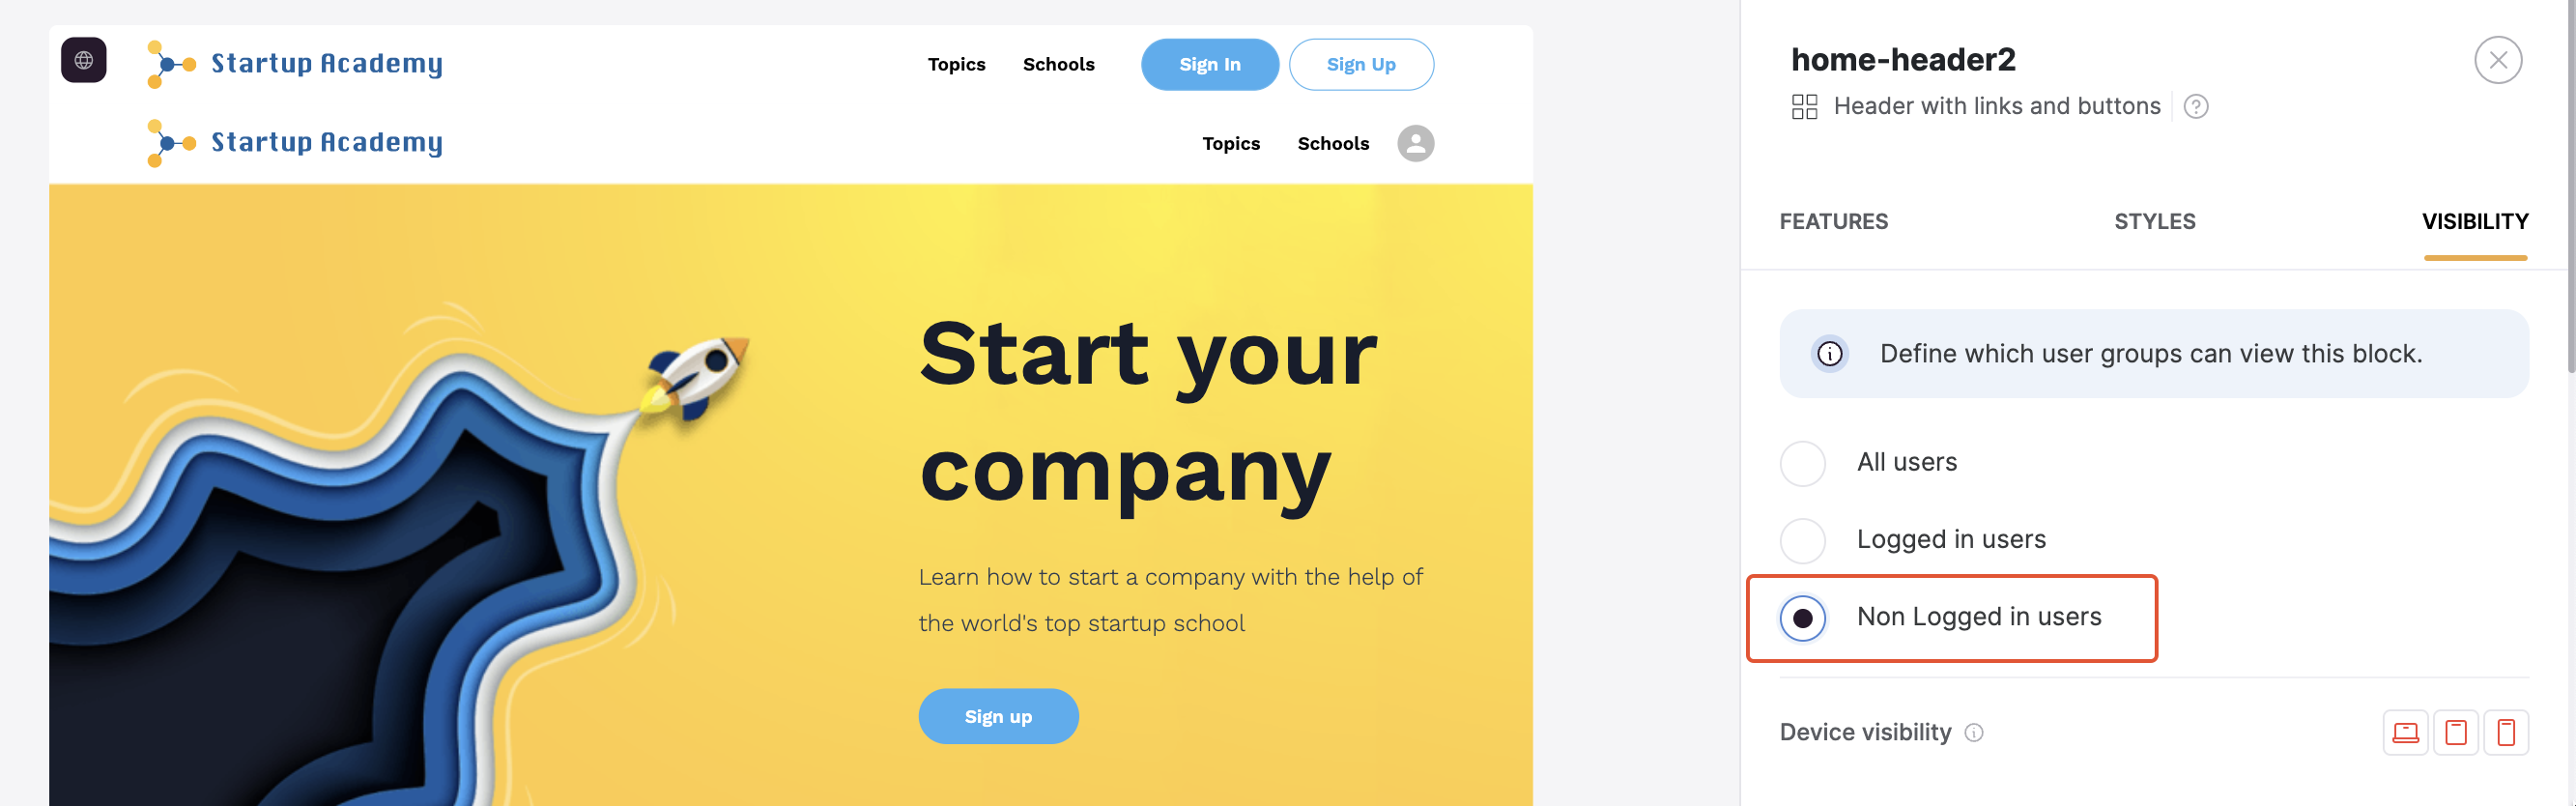
First header visibility
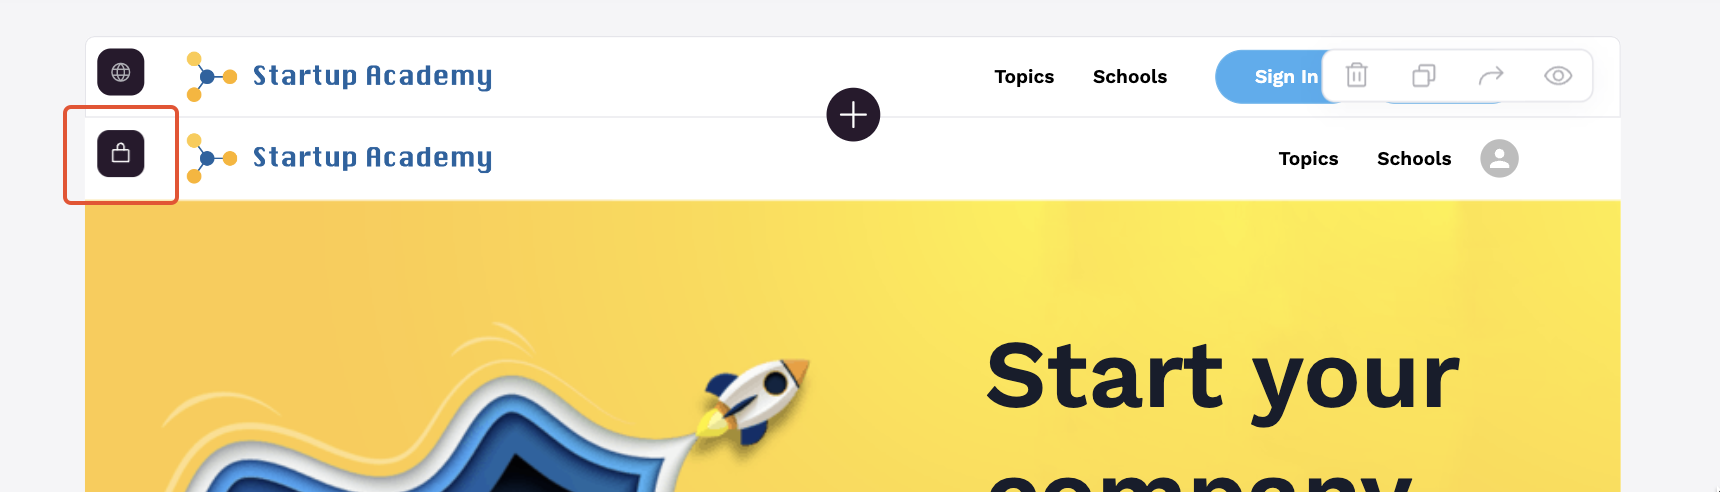
Padlock icon on gated content
Configuring Courses Page Visibility
In order to customize page-level visibility, we need to navigate to Page Settings => Visibility. For the Courses page, we need to set the Visibility to Logged in users, as shown below, and save the Page Settings.
“Courses” page visibility
”Start Learning” Block
Let’s also create another block on the Home Page with a “Start Learning” button (using the CTA block). Using this block, users will be able to navigate to the “Courses” page from Home. This block’s visibility should also be set to Logged in users. See below.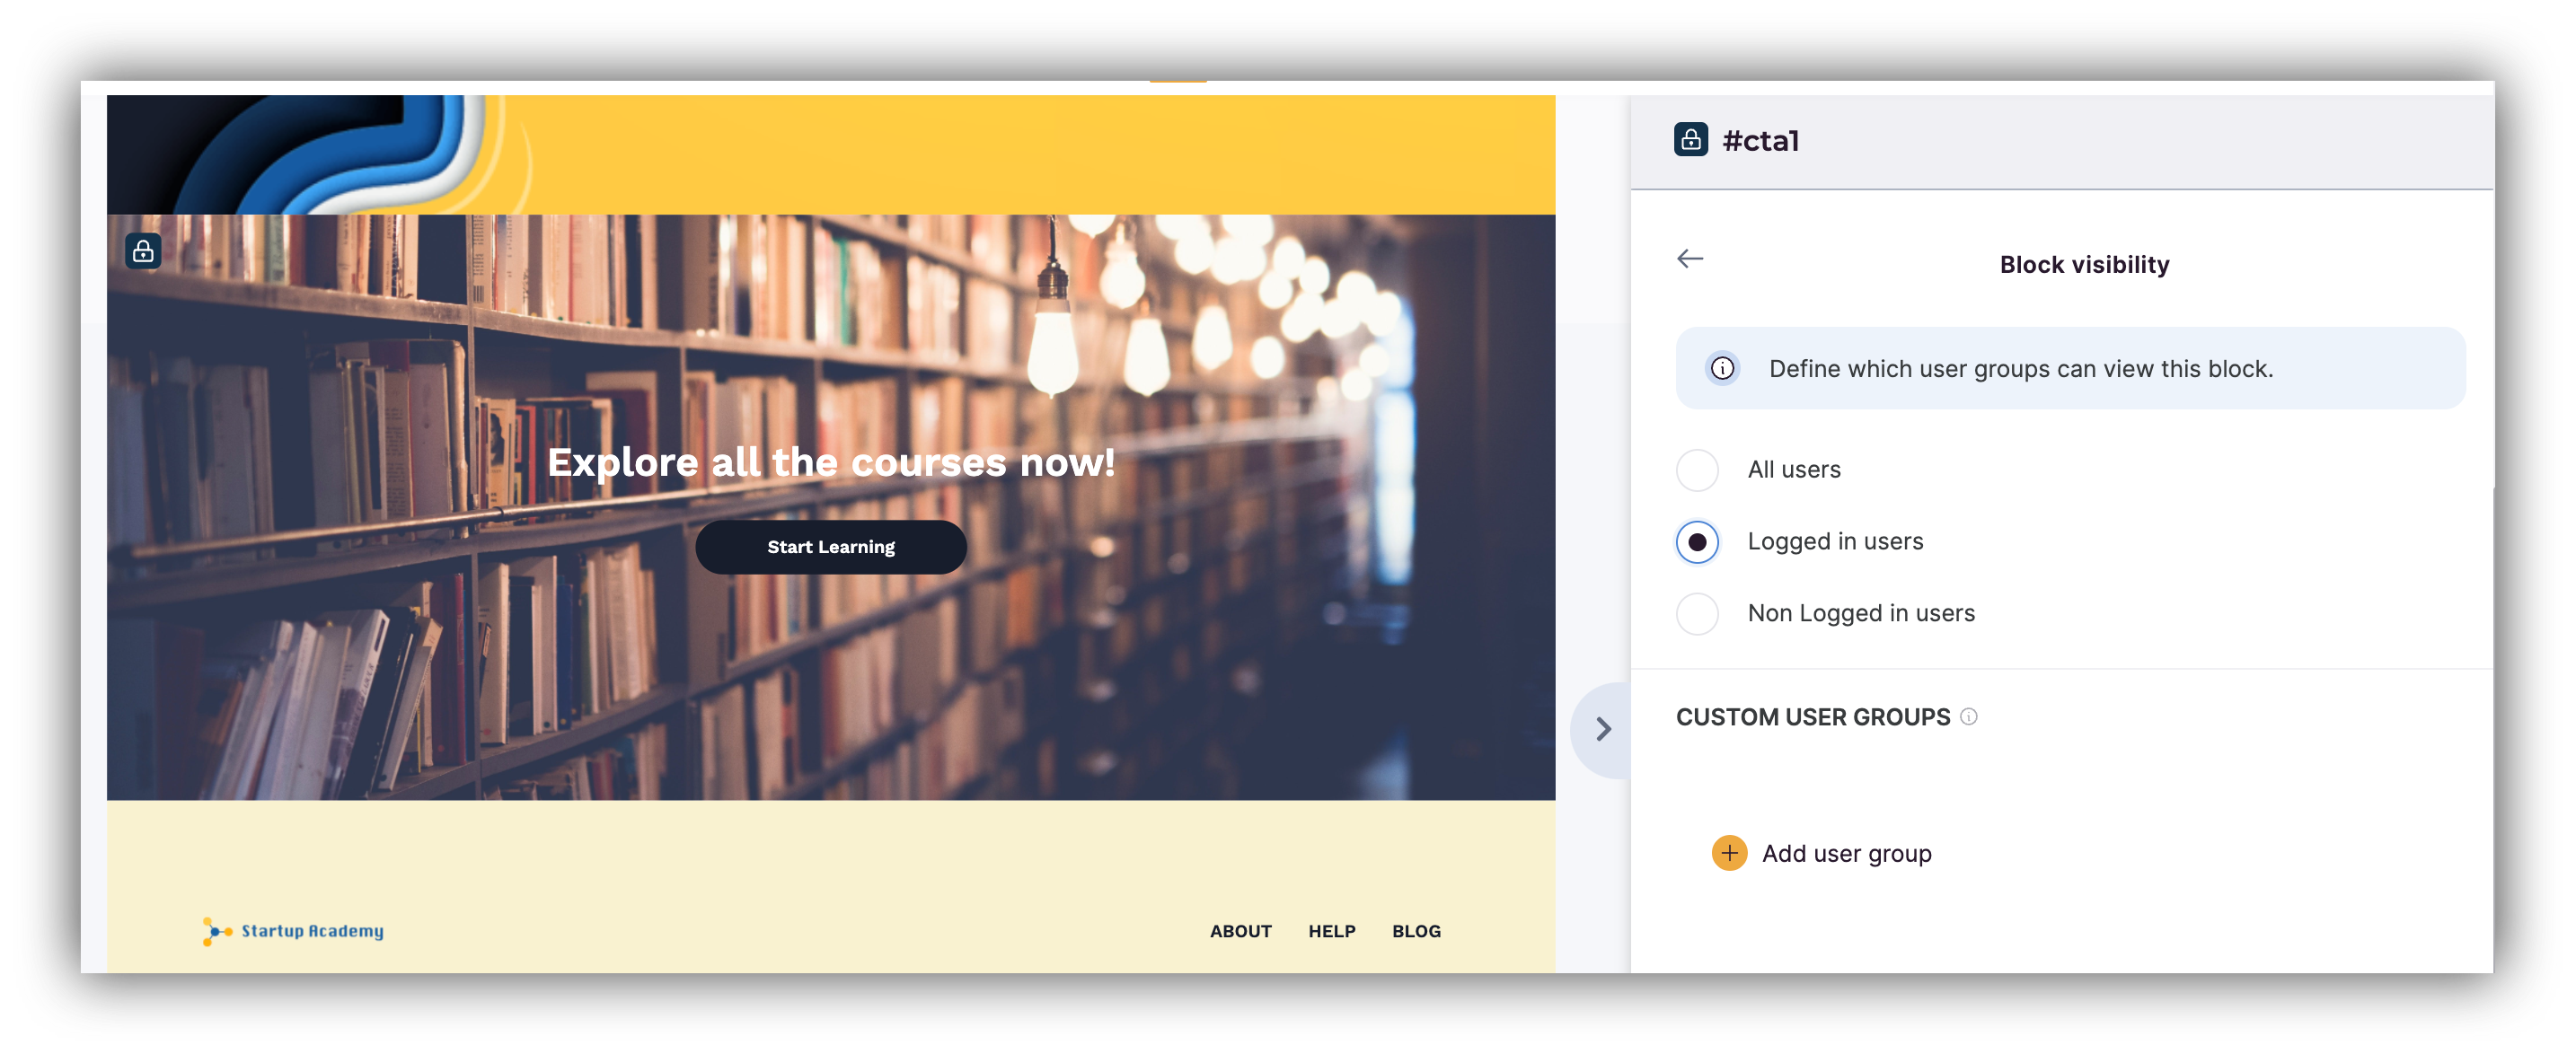
Registering a User
Now that everything is ready, let’s actually sign up on the site to see how the registration and content visibility are working. In the following GIF, you can see how the user registers and is able to access the “Courses” page from Home.
Registering and accessing courses