Overview
Adding the Button
This Action Button is available under Topbar Buttons and lets users add new records/rows to your data source. Add Record buttons are only available on List Blocks and can be added by clicking on the List Block, selecting the Actions tab, clicking the + Add Topbar Button, then choosing Add Record from the dropdown.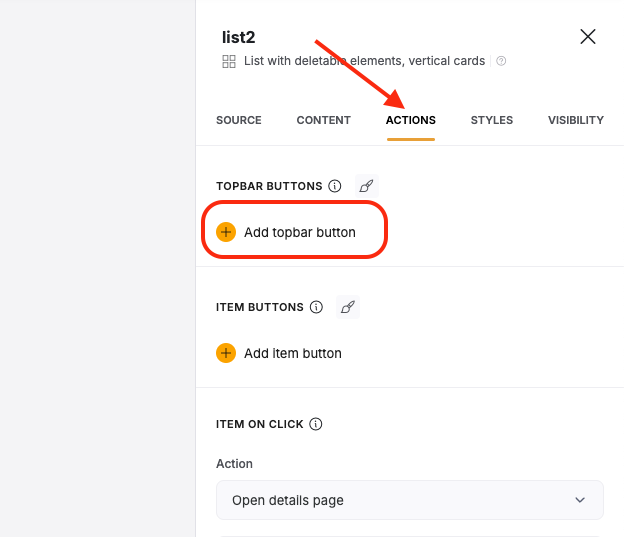
Adding Form Fields
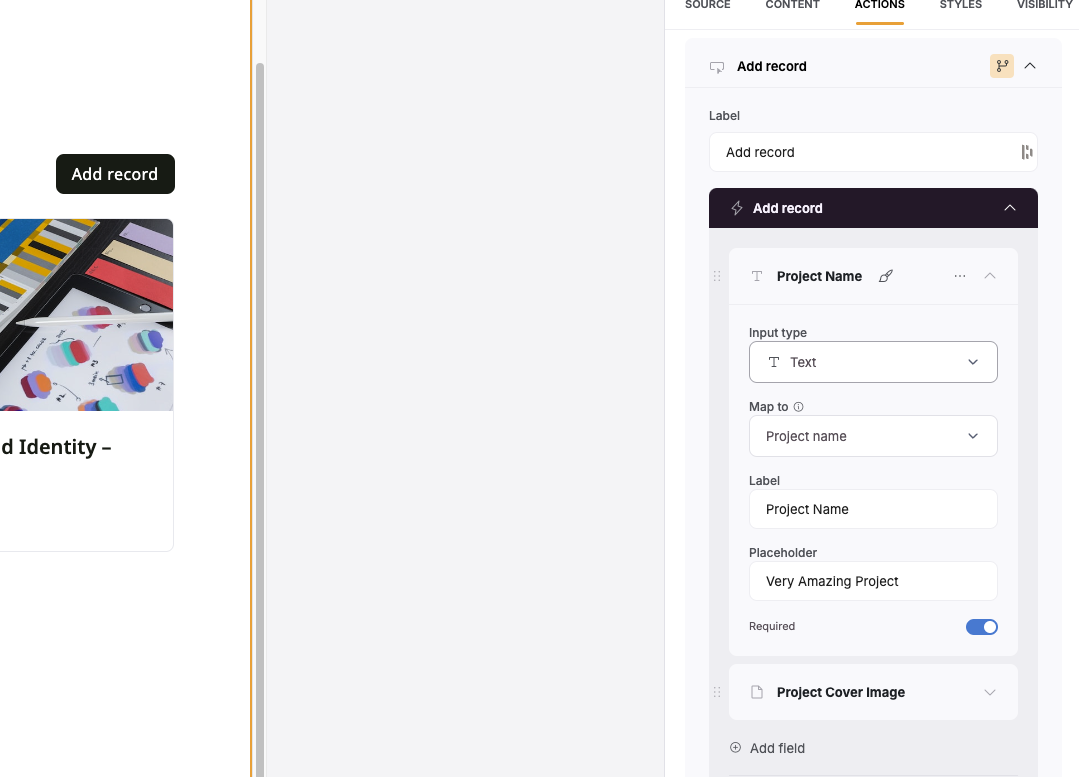
When you give users the option to add a new record, they’ll likely need some fields to fill out. Once the button has been added, you can:- Give the button a label
-
Add fields that the user should be able to fill out for the new record. Each field will have its own set of options, but at minimum each will have a label, a placeholder, whether its required or not, and a way to map it to your data source.
About the Modal
You won’t be able to see the live form that the users will see when adding a record unless you preview or use the app live. However, you can set the title of the Add Record modal as well as what the Add and Cancel buttons say. You can preview the modal by clicking the eye icon in the upper right of the section. If you need to change the theme of the modal such as background, text color, button color, etc., you can do that in the Theme menu tab.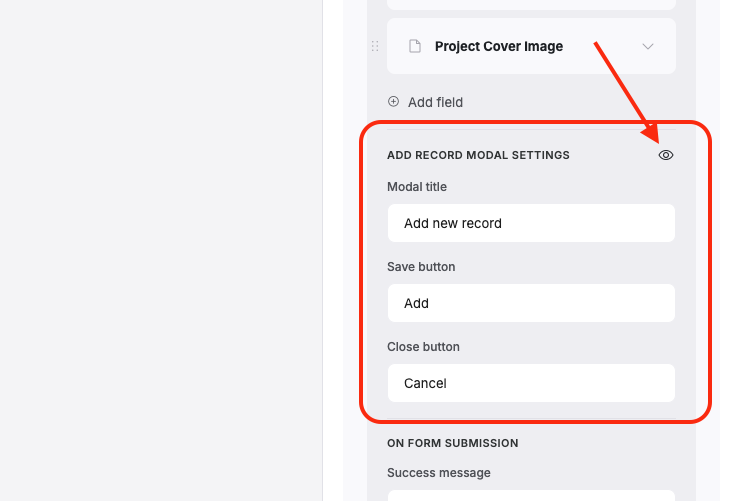
Setting the On Form Submission
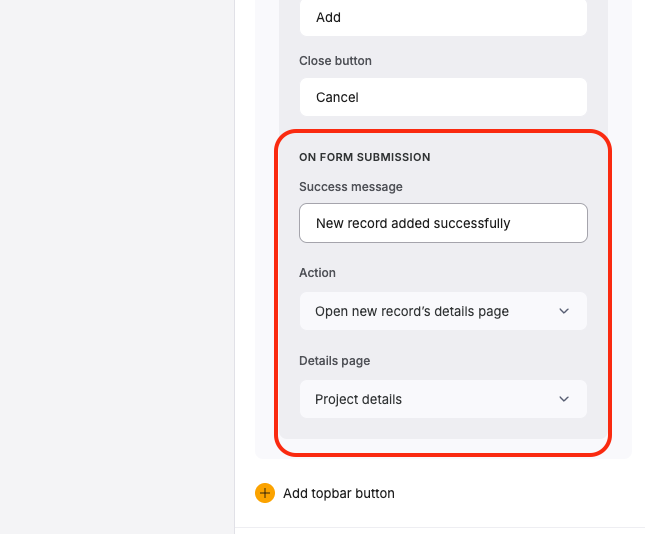
In this section of the Add Record button, you can set the Success message that appears the user when the submit, as well as the Action that happens upon submitting the form. You have several choices here:- Open new record’s details page - This will immediately send the user to a details page displaying the new records details. If you do not have a details page for this type of record, you will be asked to create one.
- Close the modal - This will close the popup and return the user to the original screen before clicking the Add Record button.
- Open a page - This will link the user to a page in your app that you specify
-
Open an external URL - This will send the user to a URL link that you specify
Button Visibility
After the button has been created, you can click on the yellow highlighted branching icon to set visibility conditions based on a Logged-in User’s User Group.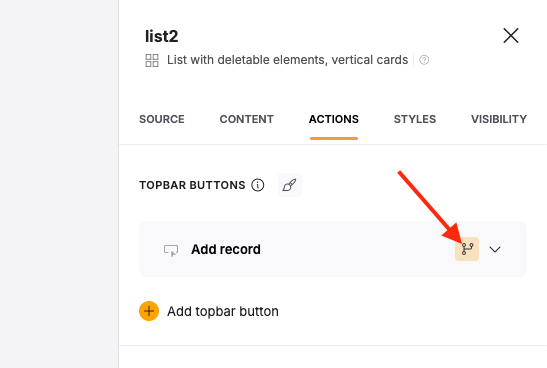
Example
So, let’s see how you can set this action up and what features are available. We’re going to use a List block connected to an Airtable data source, which shows a list of tasks for a hypothetical product development team and has three fields: Name (the name of the task), Assignee (who it is assigned to), and Status (the current progress status of the task). We want to enable an “Add new task” button to allow development team members add new tasks to the list.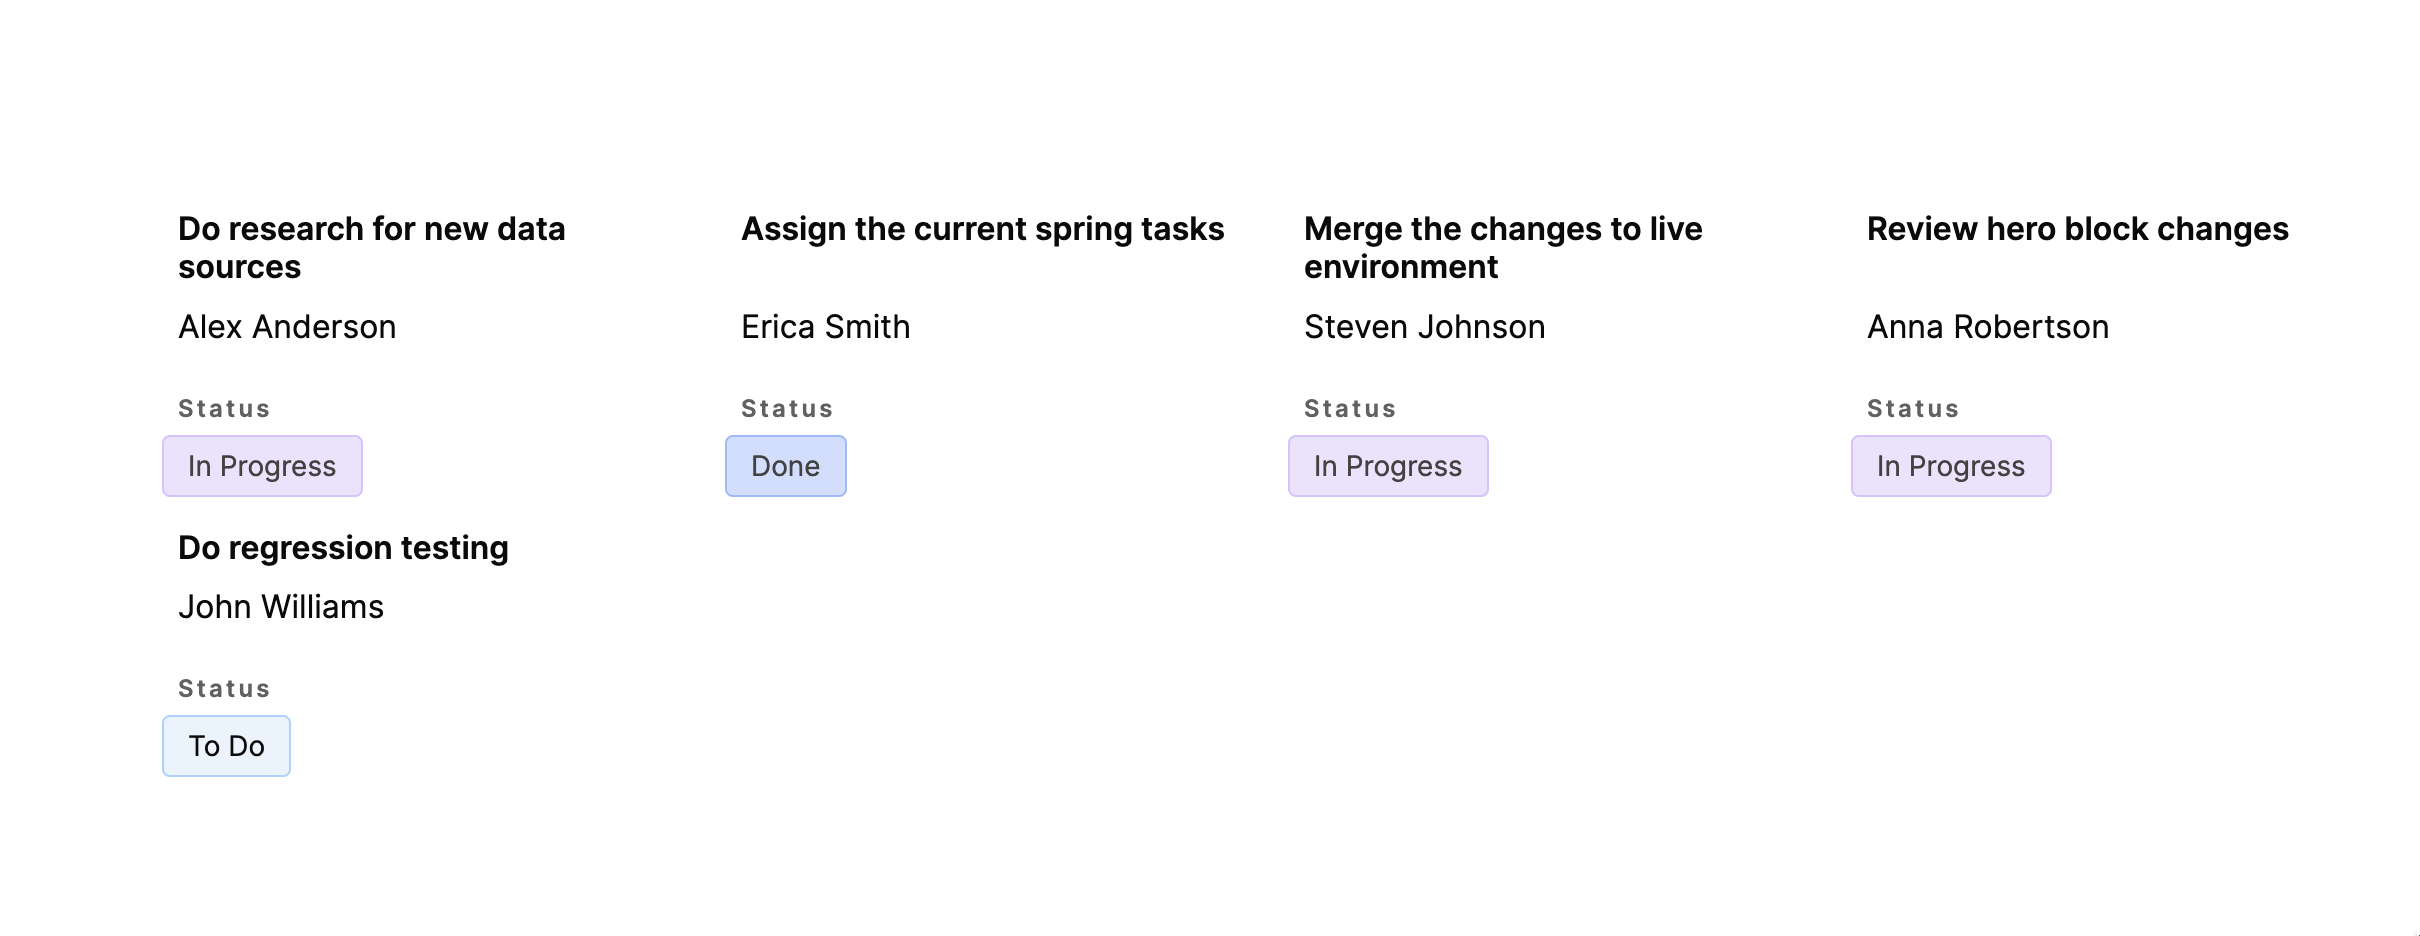
List of tasks
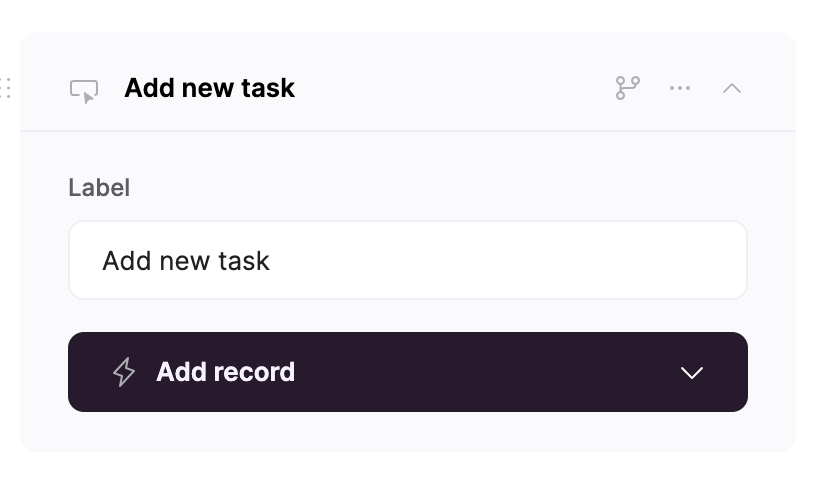
Button label
Setting up button texts and previewing the modal
Adding fields for the add new task functionality
Among other fields, you can also add a Signature field to capture eSignatures when adding records.
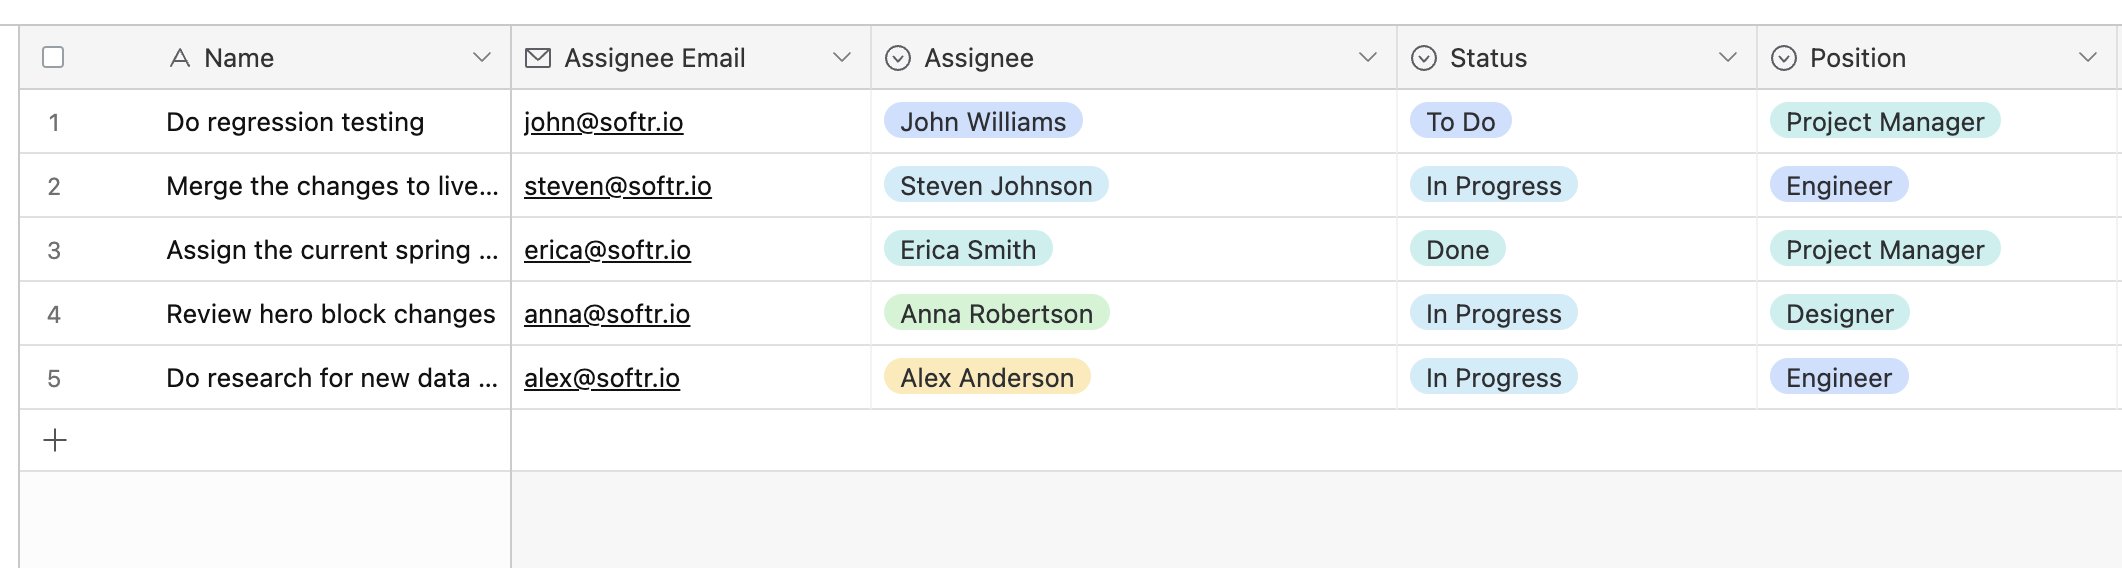
Airtable table with the list of tasks and assignees.
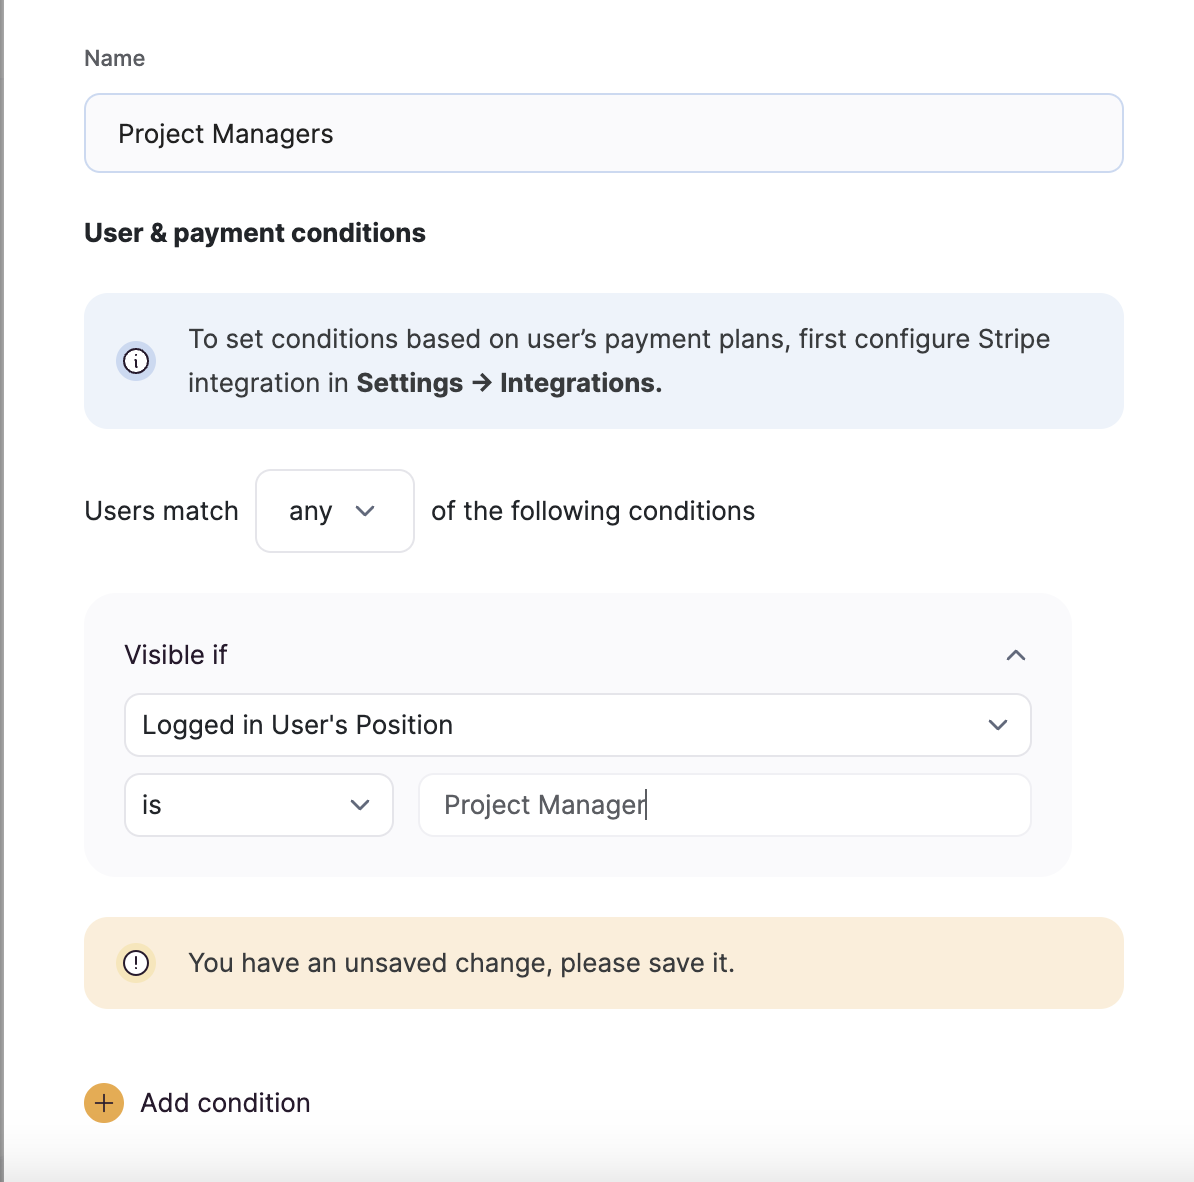
Creating a user group for project managers.
Setting button visibility
Testing adding new tasks
To test our setup, we are going to log into our application with one of the project manager users and add a new task to the list. The following gif illustrates that.
Adding a new task