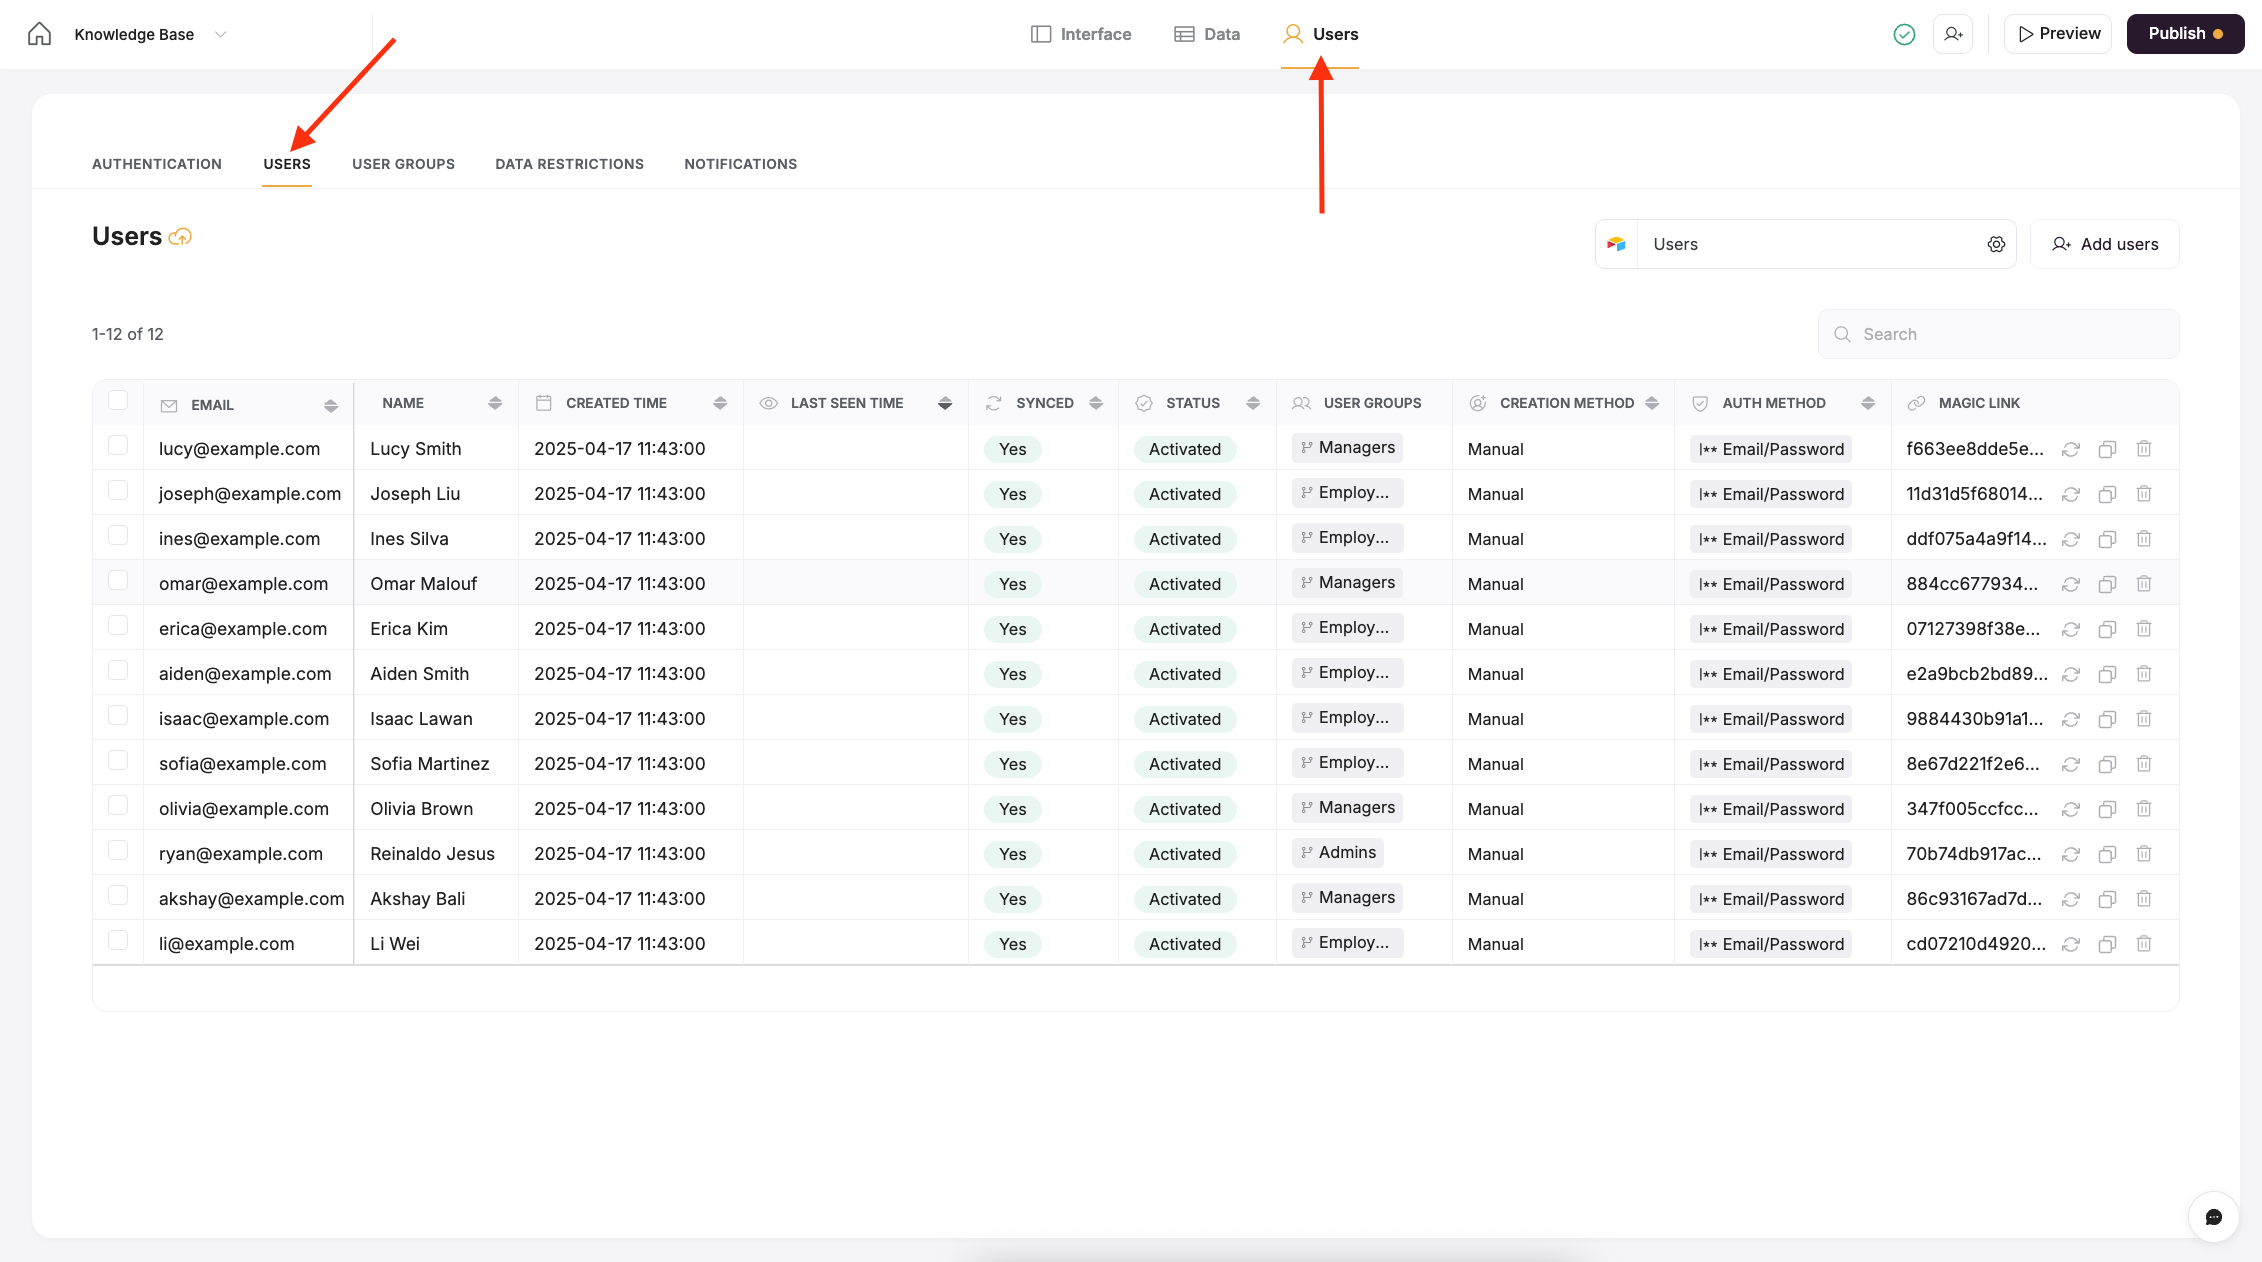
Sync users with a data source
You can manage users entirely in Softr or sync users with an external data source. By connecting to an external data source, you get to use additional custom fields to create user groups and application logic.User Properties
By default the Users tab will have some columns to display information about your users. If you have other properties about your users from your synced data source, those will not be shown here, but will still be available to use inside your app for filtering, user group creation, etc. Here are the fields available in the Users tab:- Email (required): This field stores the email of your users and is required for us to create user login functionality.
- Name: This field stores the full name of your users and is totally optional, but we highly recommend it to create a personalize experience for your users. Softr can automatically parse this into first and last name for email notifications and other uses.
- Created Time: This is the date and time that the user was created in Softr, not in your data source.
- Last Seen Time: This field is available on Professional plans and higher. It shows the last date and time a user last logged in and is updated every hour.
- Synced: Shows whether a user is being synced as an app user, thus counting towards your app user limit denoted by your plan.
-
Status: Shows whether a user has been invited to the app, not invited to the app, or activated. This has no bearing on the sync status of the user, but can be affected by whether a user is synced or not. For instance, a user who is not synced cannot also be invited or activated.
- Not invited: A user has not been sent an invitation to join the app and also has not joined themselves
- Invited: A user has been sent an invitation to the app, but has not signed up or logged in.
- Activated: A user has either signed up or logged in to the app at least once.
- User Groups: This shows the user groups that a person is a part of. If you experience slow updating of these user groups, you can try turning off user caching. This UI is a bit behind actual updates so if you don’t notice an immediate change here, it is likely still functioning correctly in the end application.
-
Creation Method: Shows how a user was created. The options are:
- Manual: Created manually by you in the Softr UI or by CSV import.
- Self-sign up: The user signed up to the app themselves.
- Source: The user was imported by syncing with a data source.
-
Authentication Method: Shows how the user authenticated (logs in) to the app.
- Google: The user signed up/logs in using Google Sign-in.
- Email/Password: The user signed up/logs in using just Email and Password or One time codes.
- SAML/OpenID: The user signed up/logs in using SSO.
- Magic Link: If Magic Link is turned on in your Authentication settings, the users magic link will appear in this field.
Add user(s)
You can add users manually by clicking on the Add user(s) button. Adding users directly to Softr will also create them in your connected datasource. Softr will prompt you to send them an optional invitation email as well.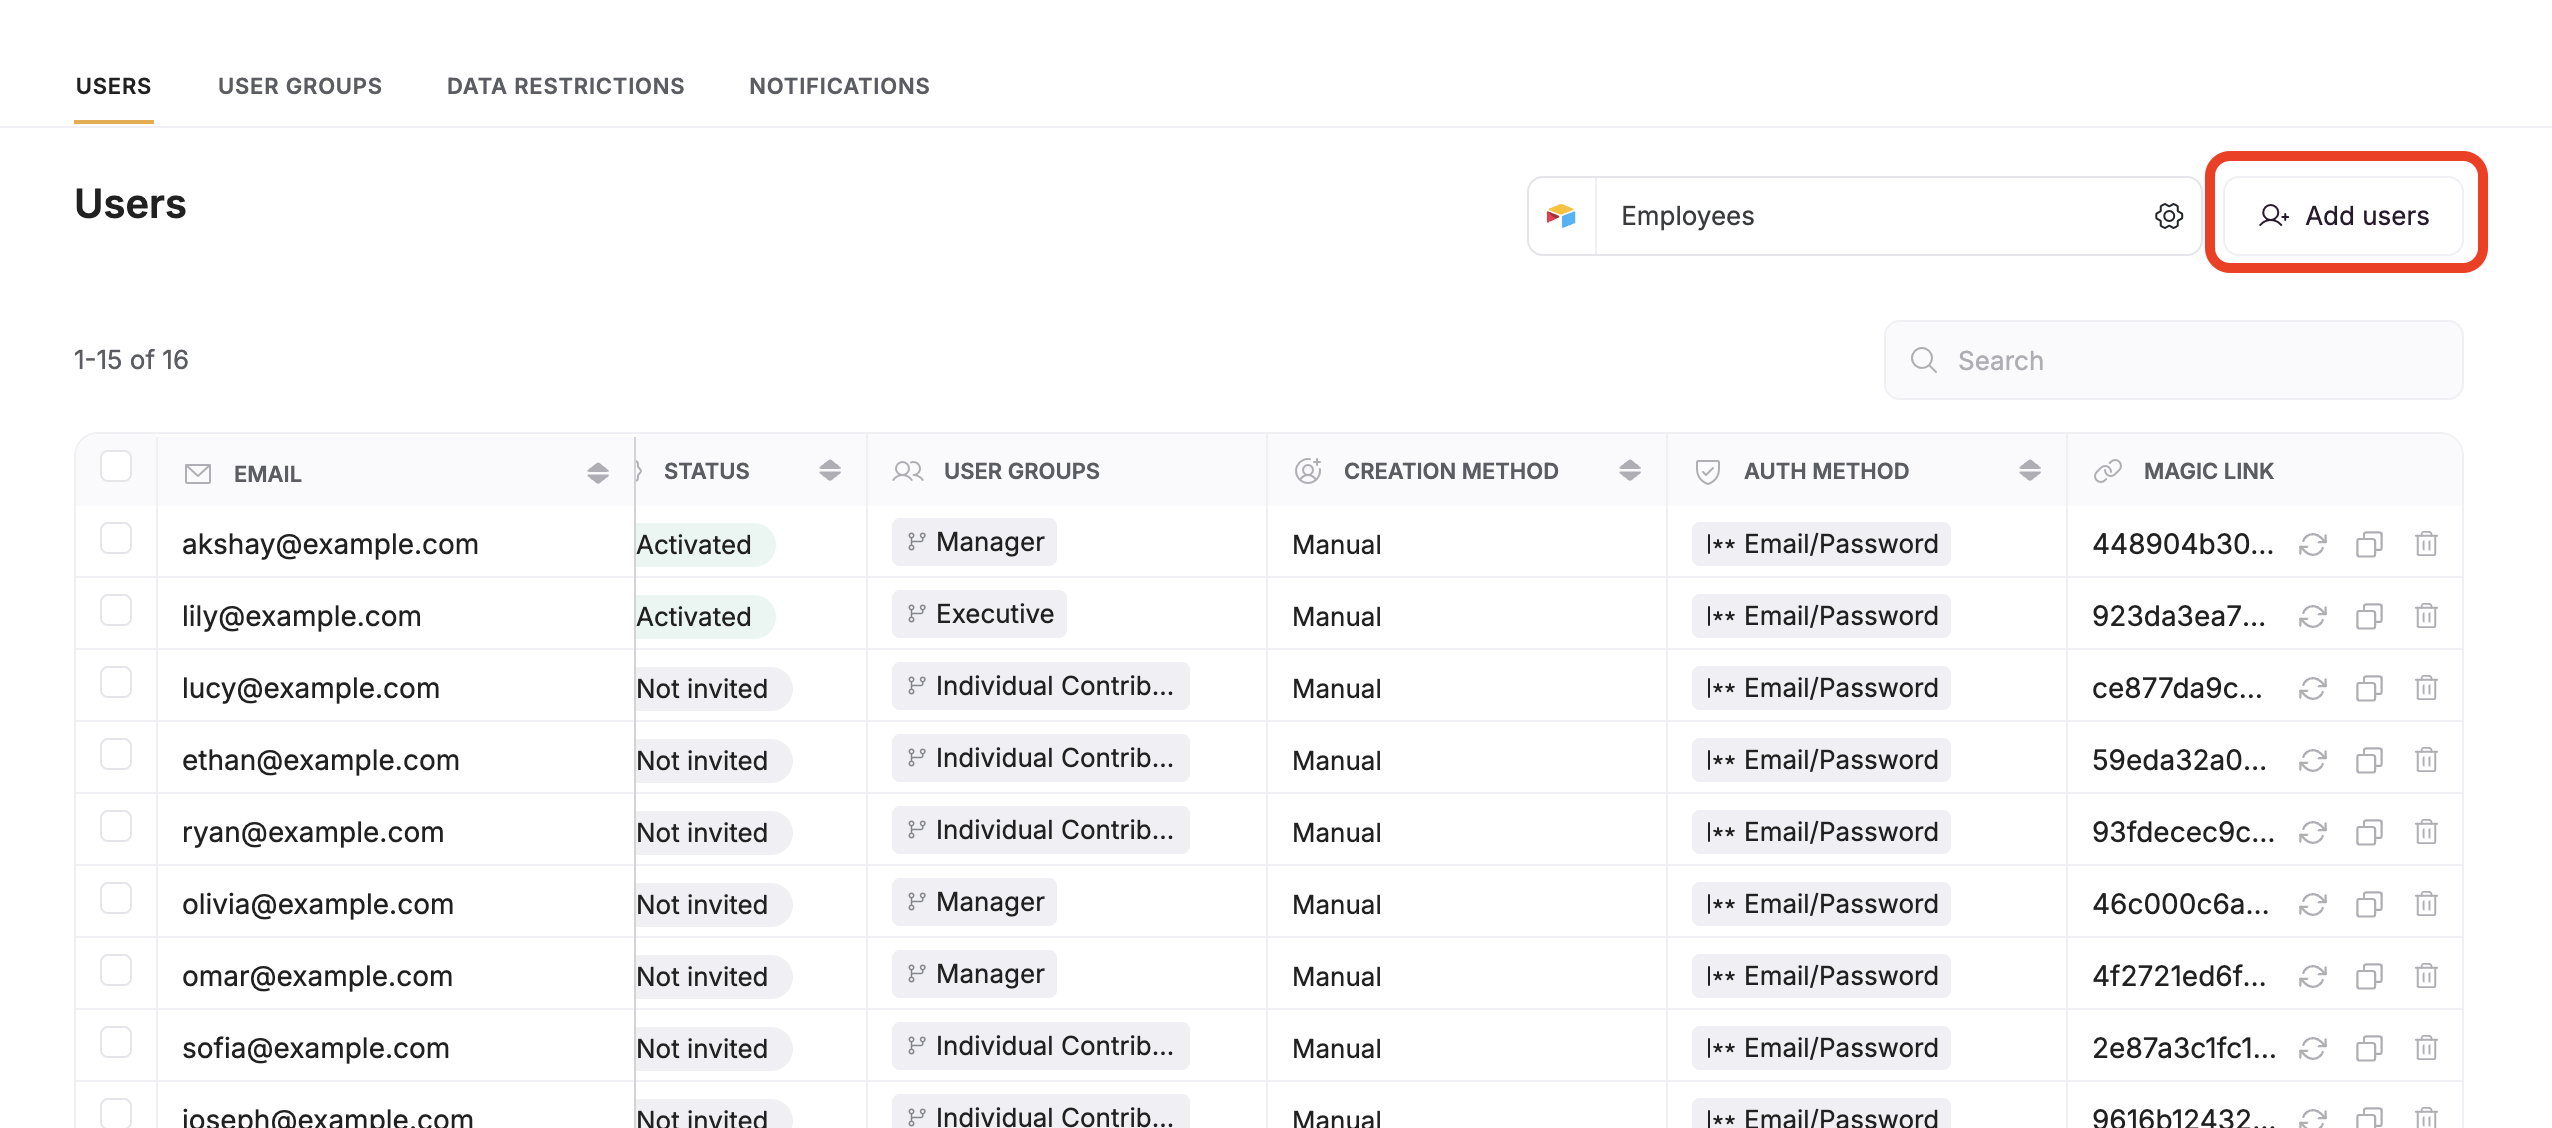
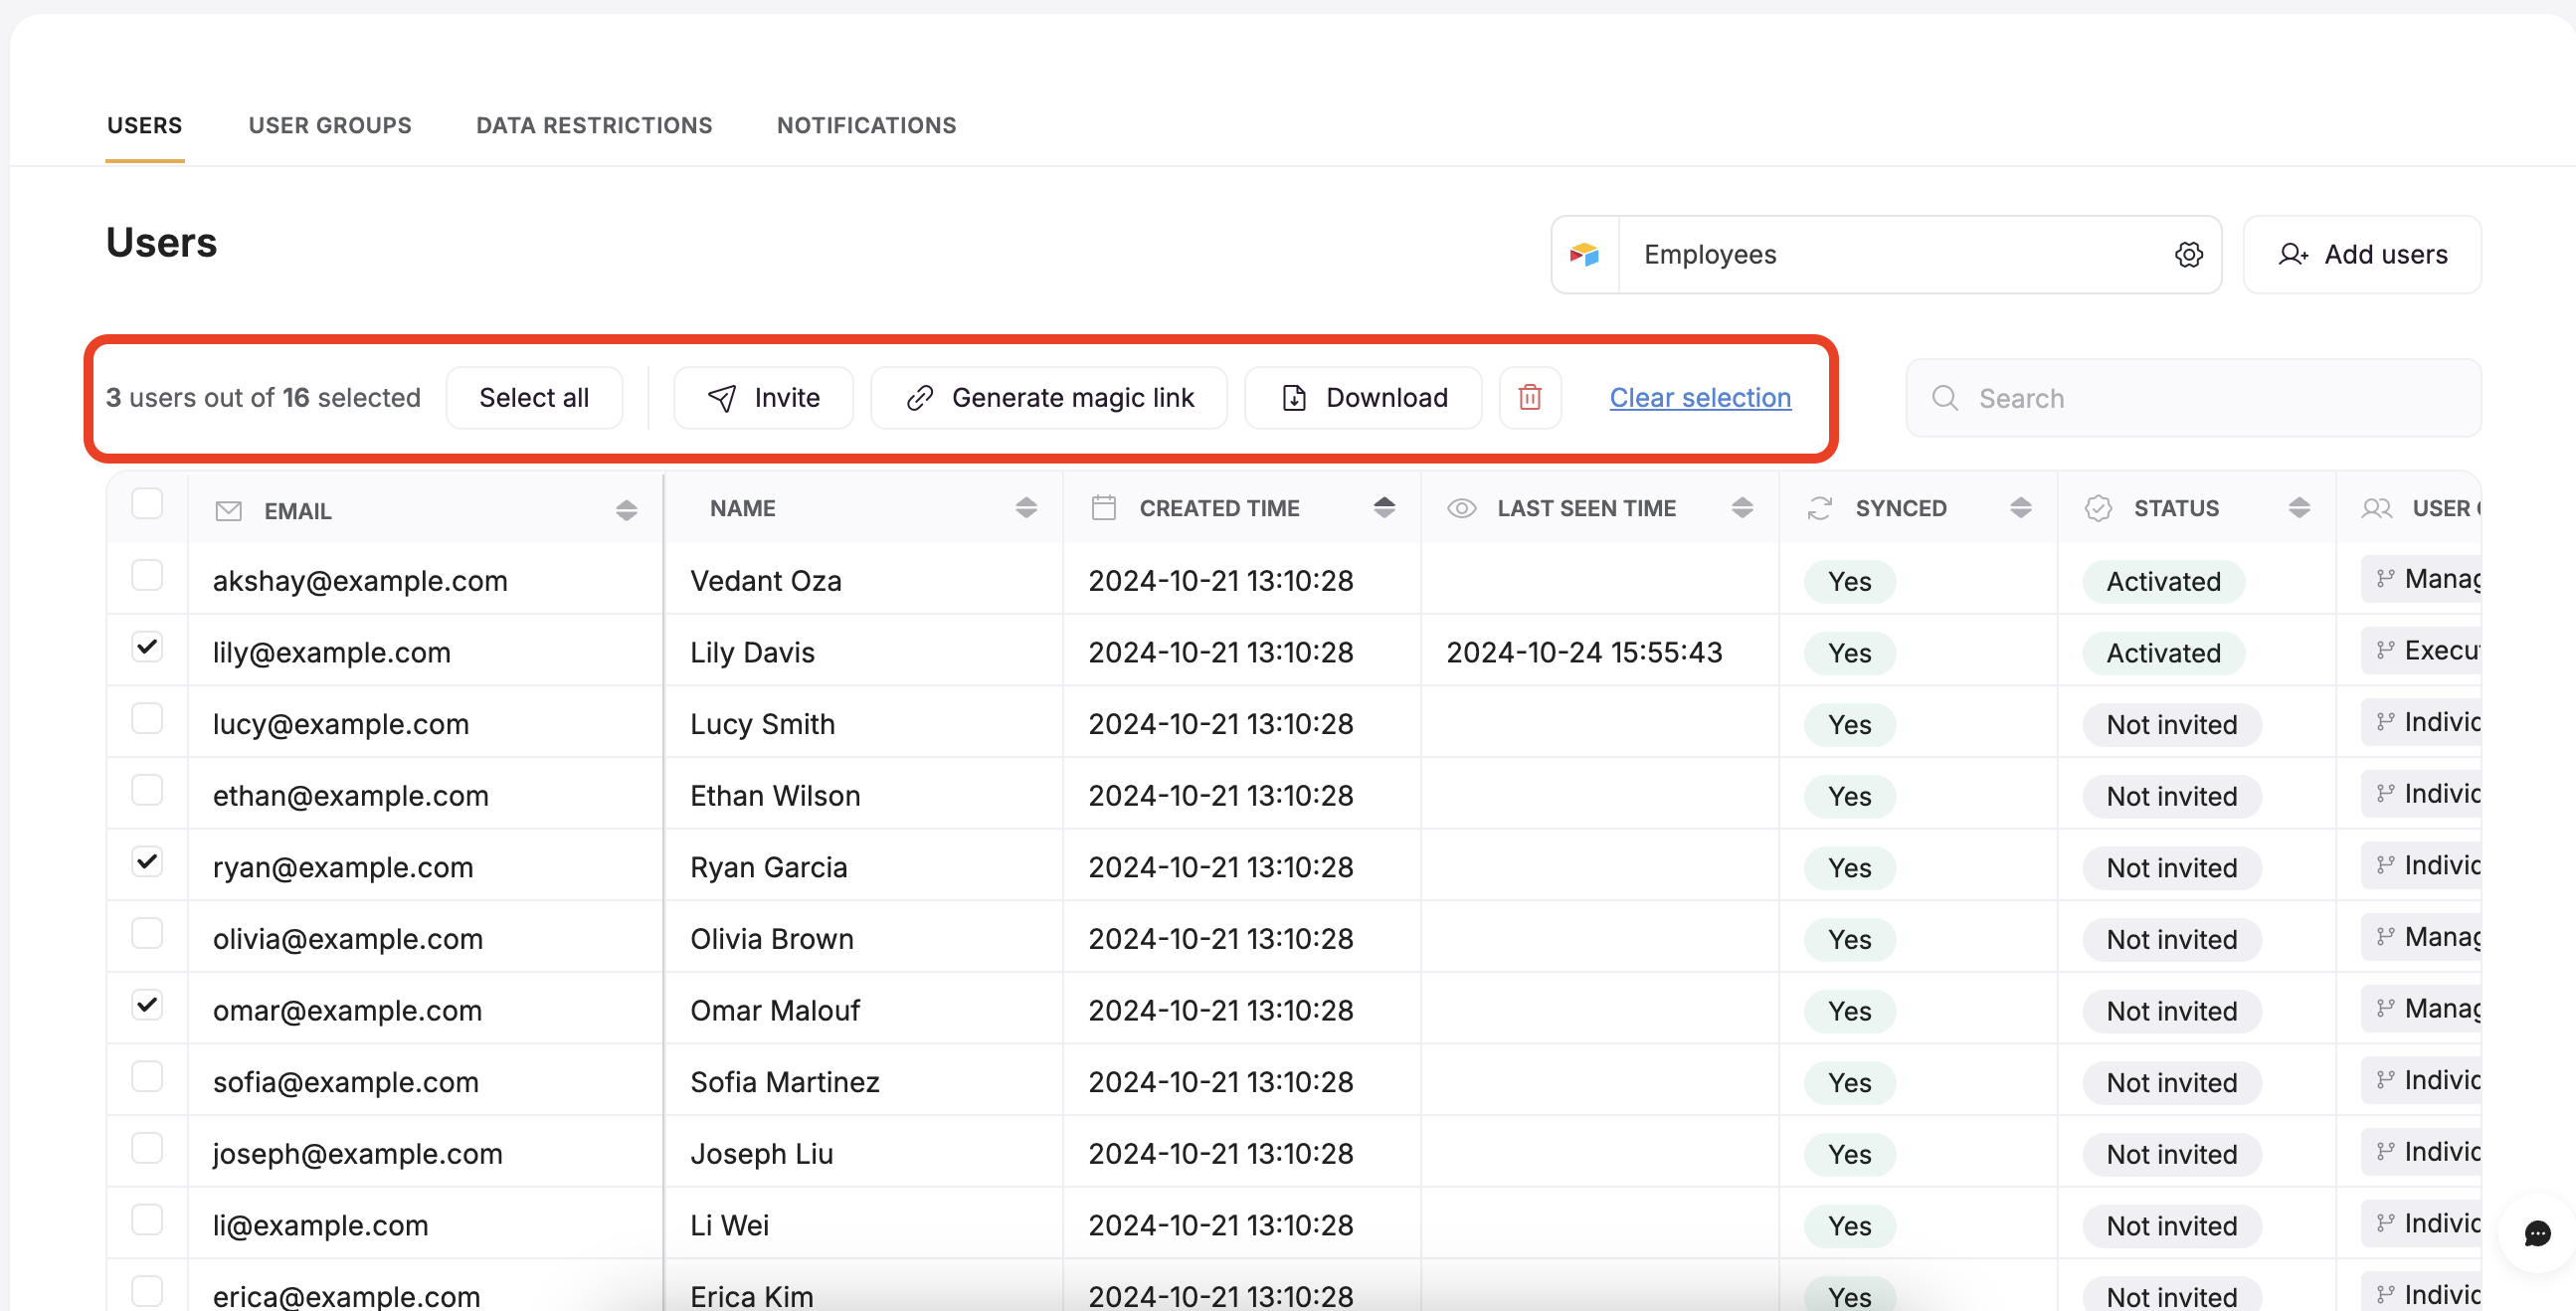
Managing users
By selecting users you want to manage, you will be presented with a list of actions:- Generate a magic link for the selected users.
- Resend invite emails to the selected users.
- Download the user list as a CSV file.
-
Delete the selected users.
Manage magic link
With Magic Link, you can generate a unique token for your users to log into your Softr app without manually signing in with a password. This can be handy when you create a user in the Users section and need them to sign in for the first time. Later on, the user can set up the account info in User Profile and sign in the usual way. Let’s see how that works.Generating magic link
First, you need to select the users you want to generate the link for (using the checkboxes in the first column). After selecting the users, click Generate Magic Links under the Actions menu.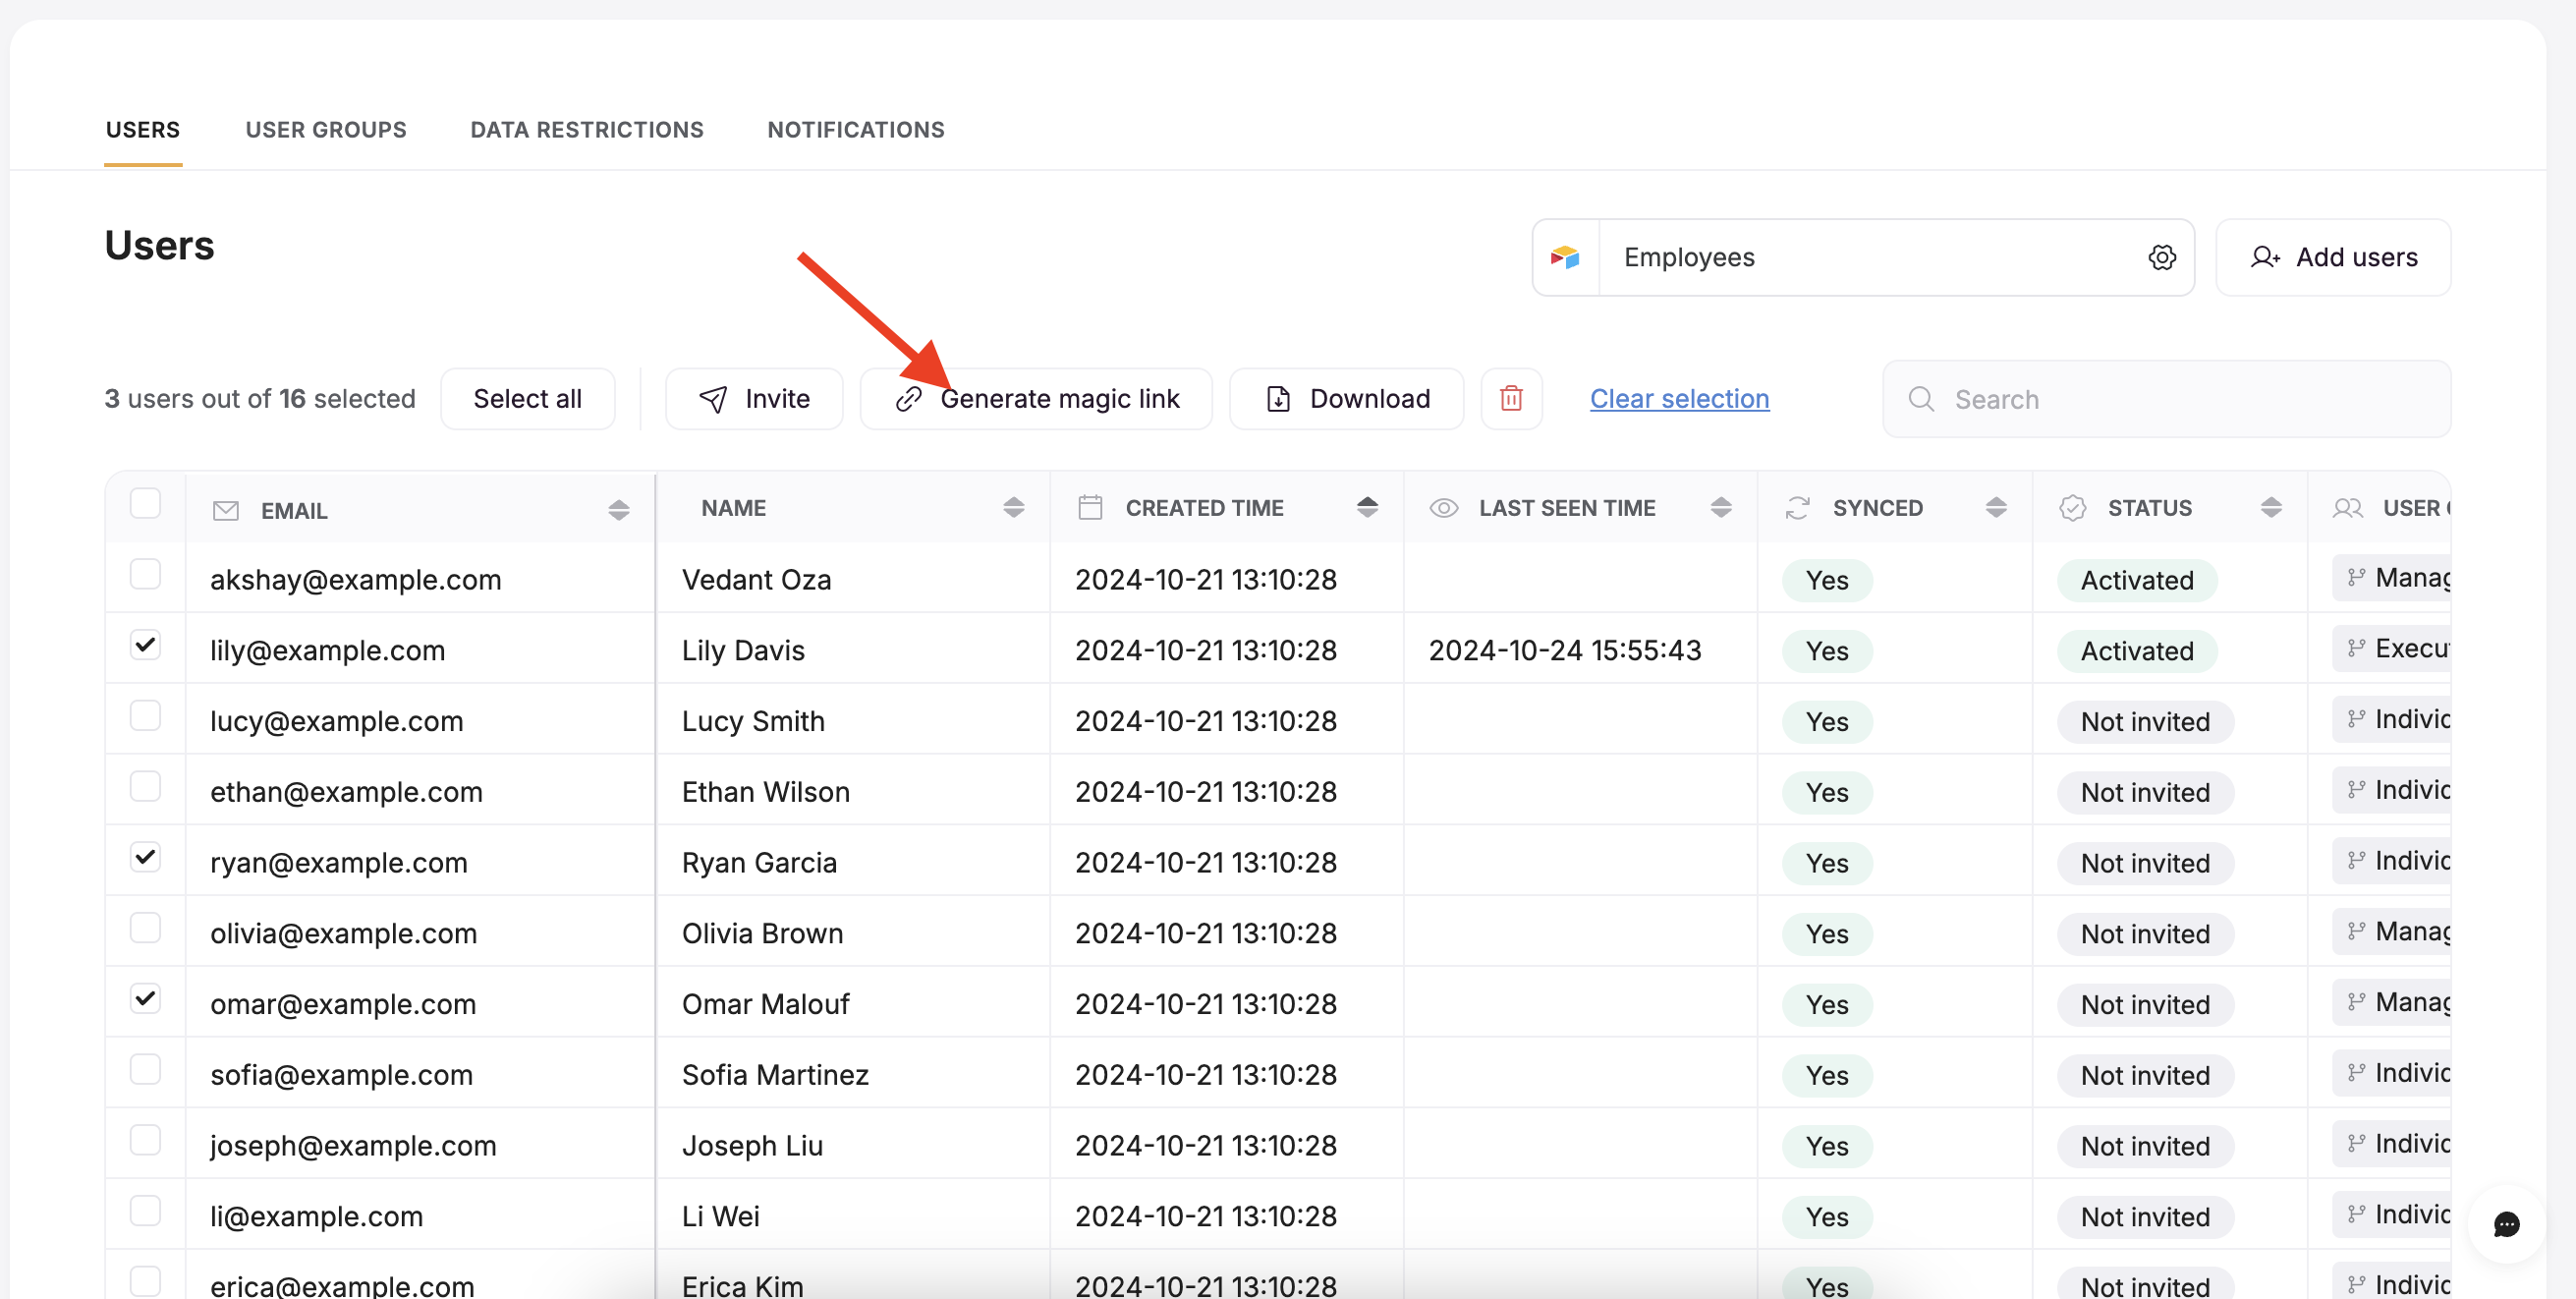
Generate magic link
Copy magic link
After generating the link, you can copy it using the copy button.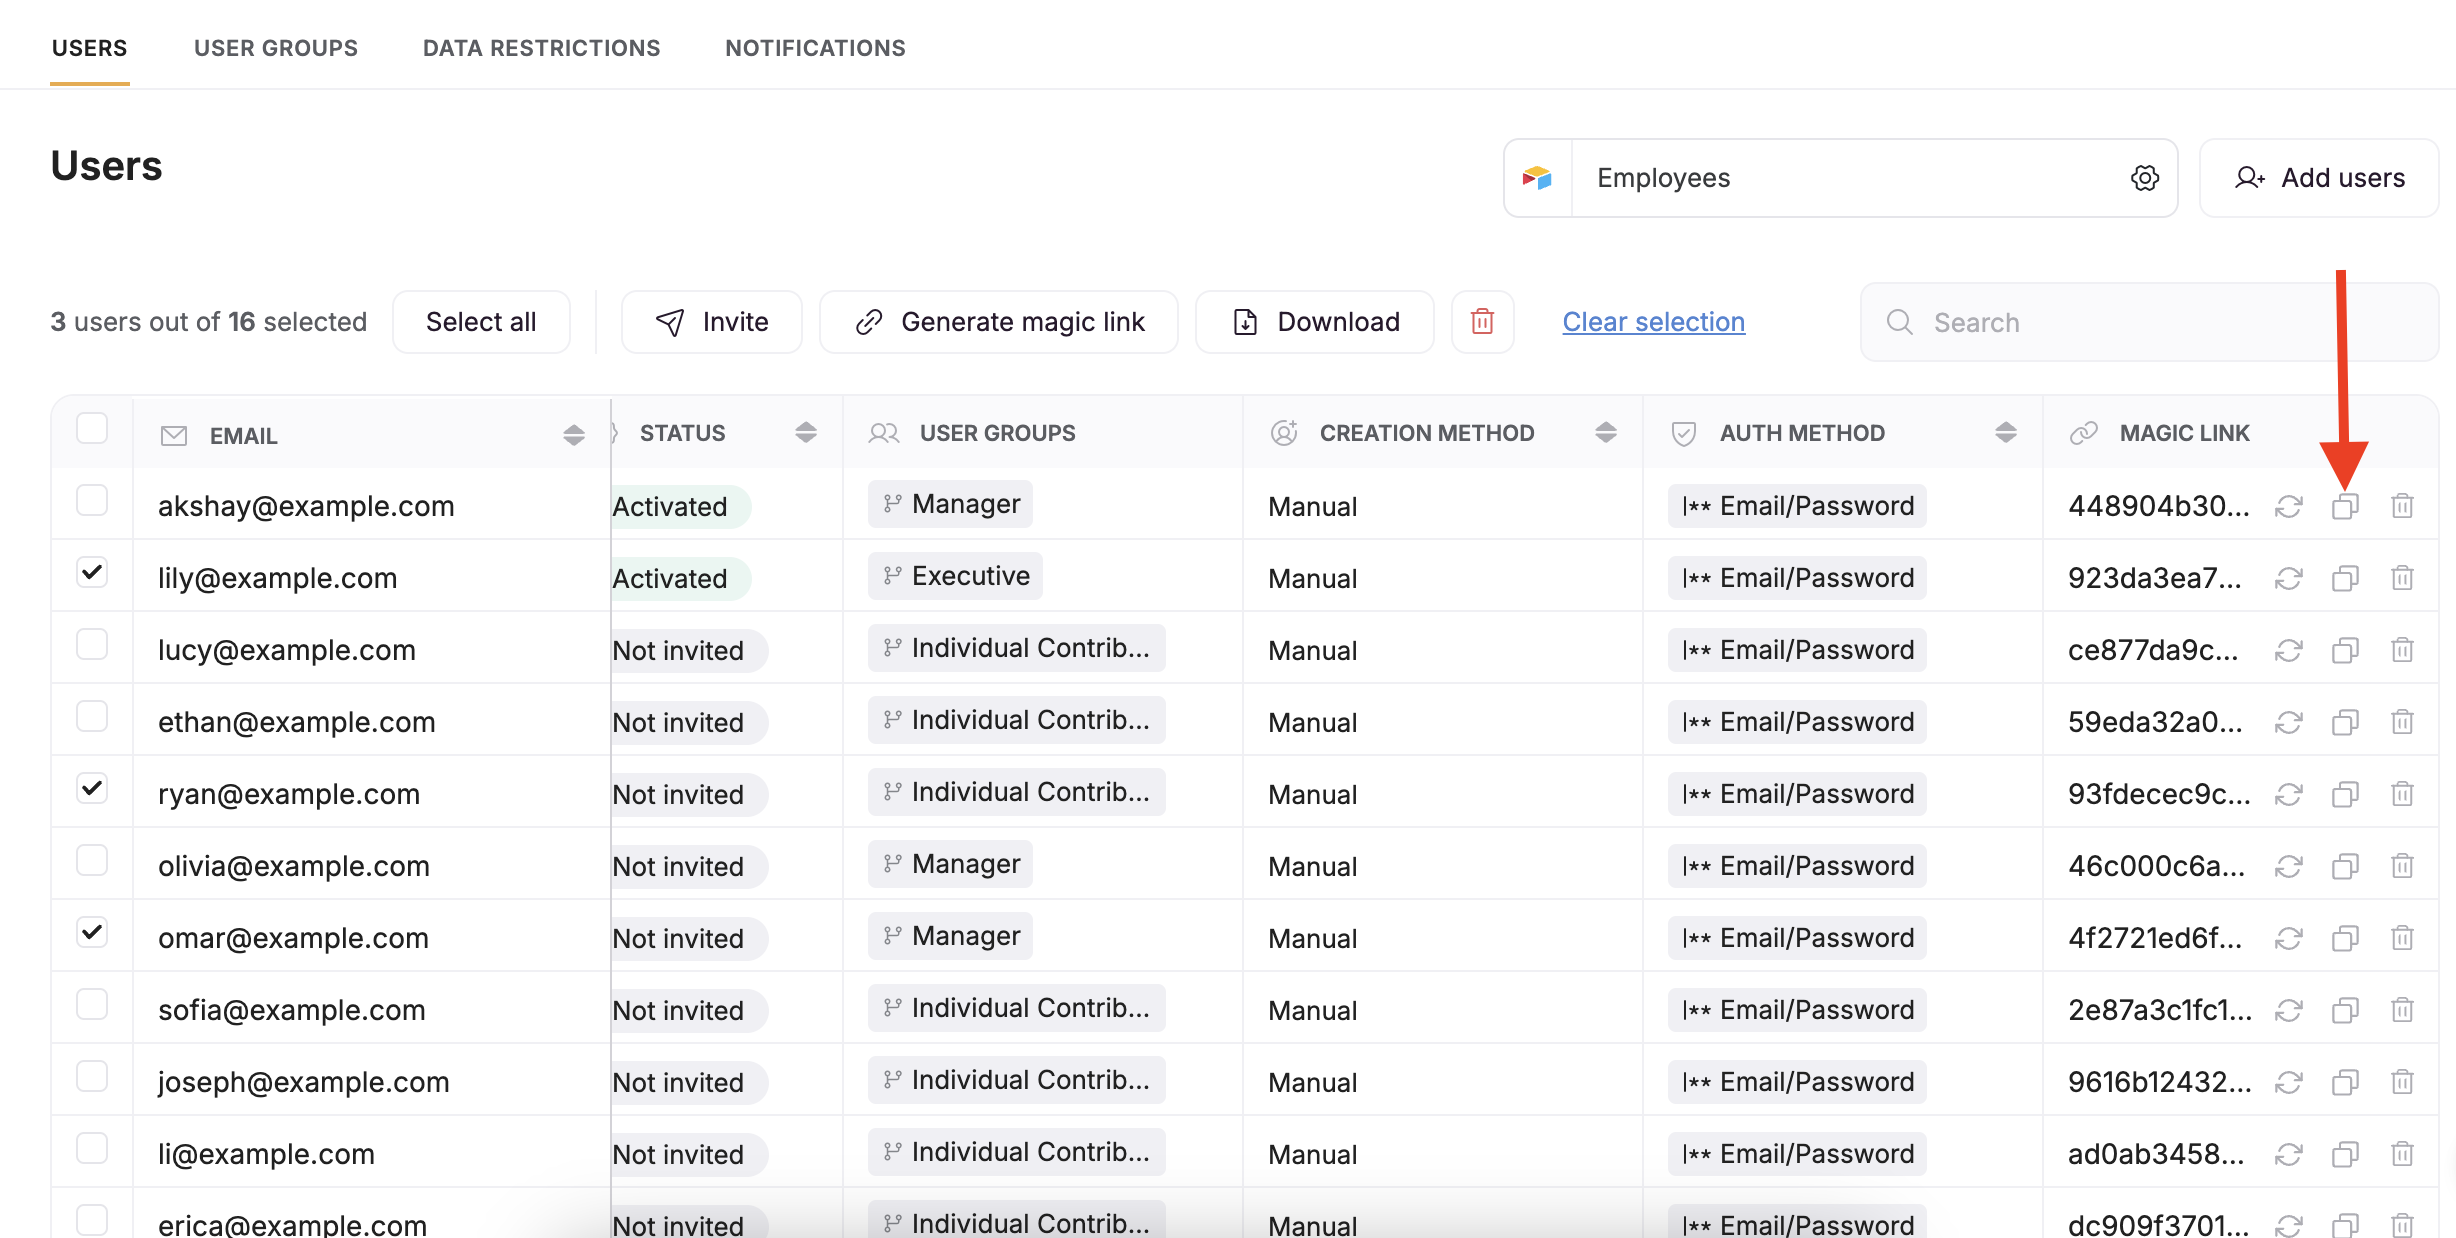
Copying the link
Regenerate magic link
You can regenerate any user’s Magic Link at any time using the regenerate button as shown below.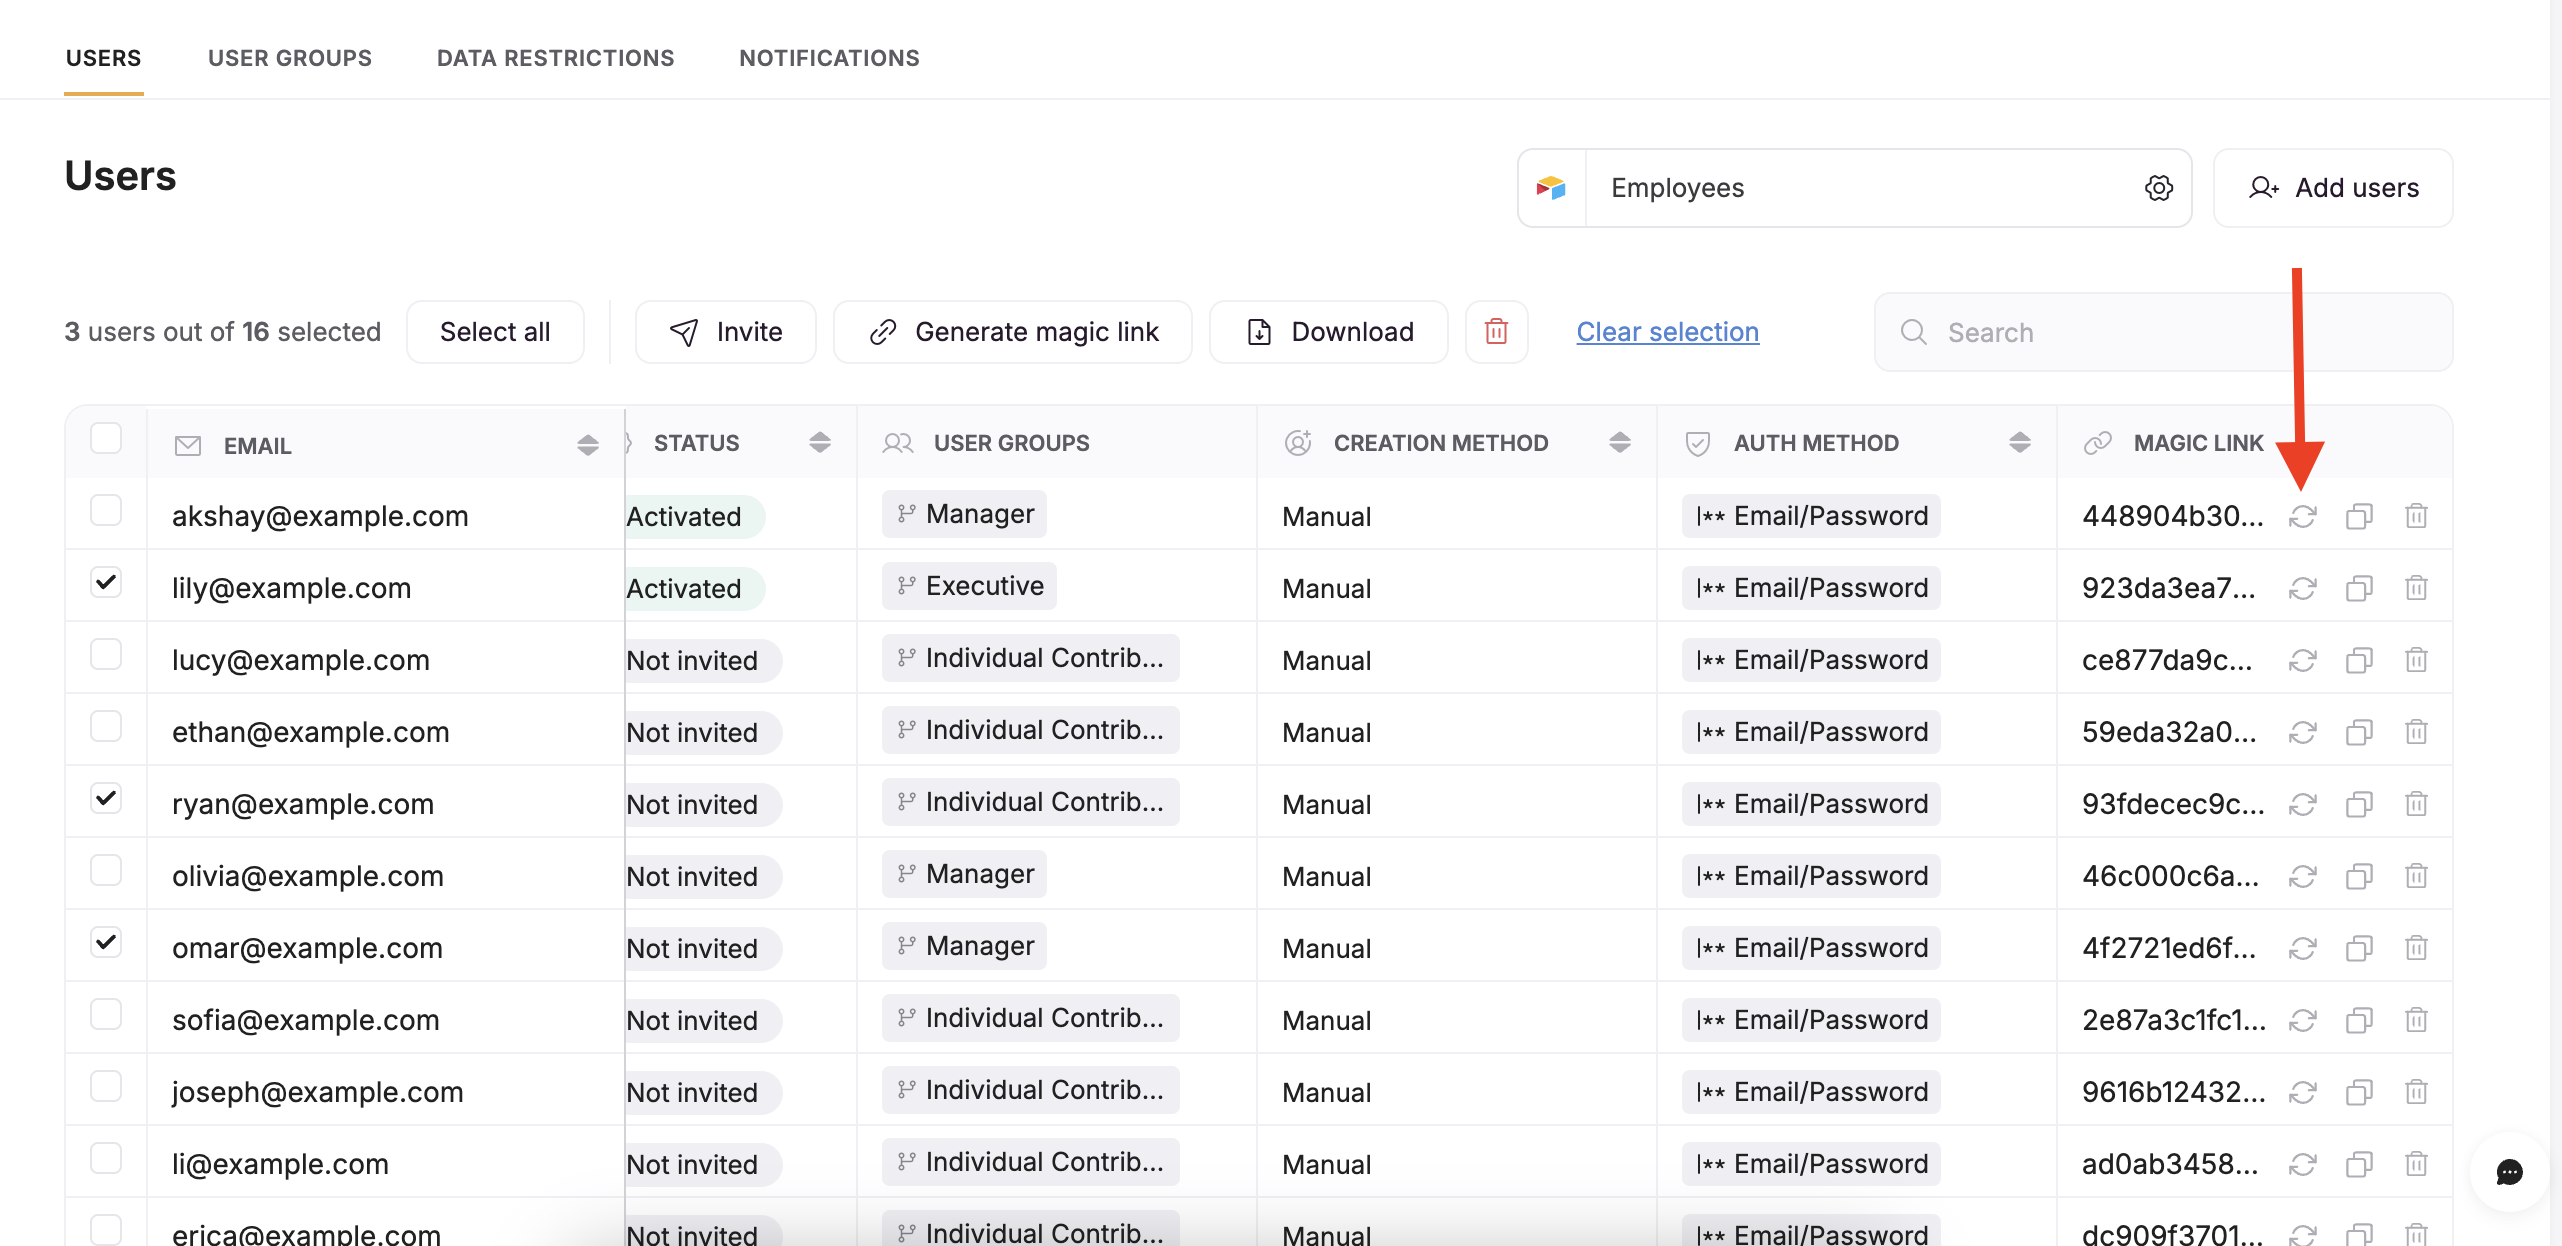
Regenerating the link
Delete a Magic Link
You can also revoke/delete a magic link by clicking on the trash can icon: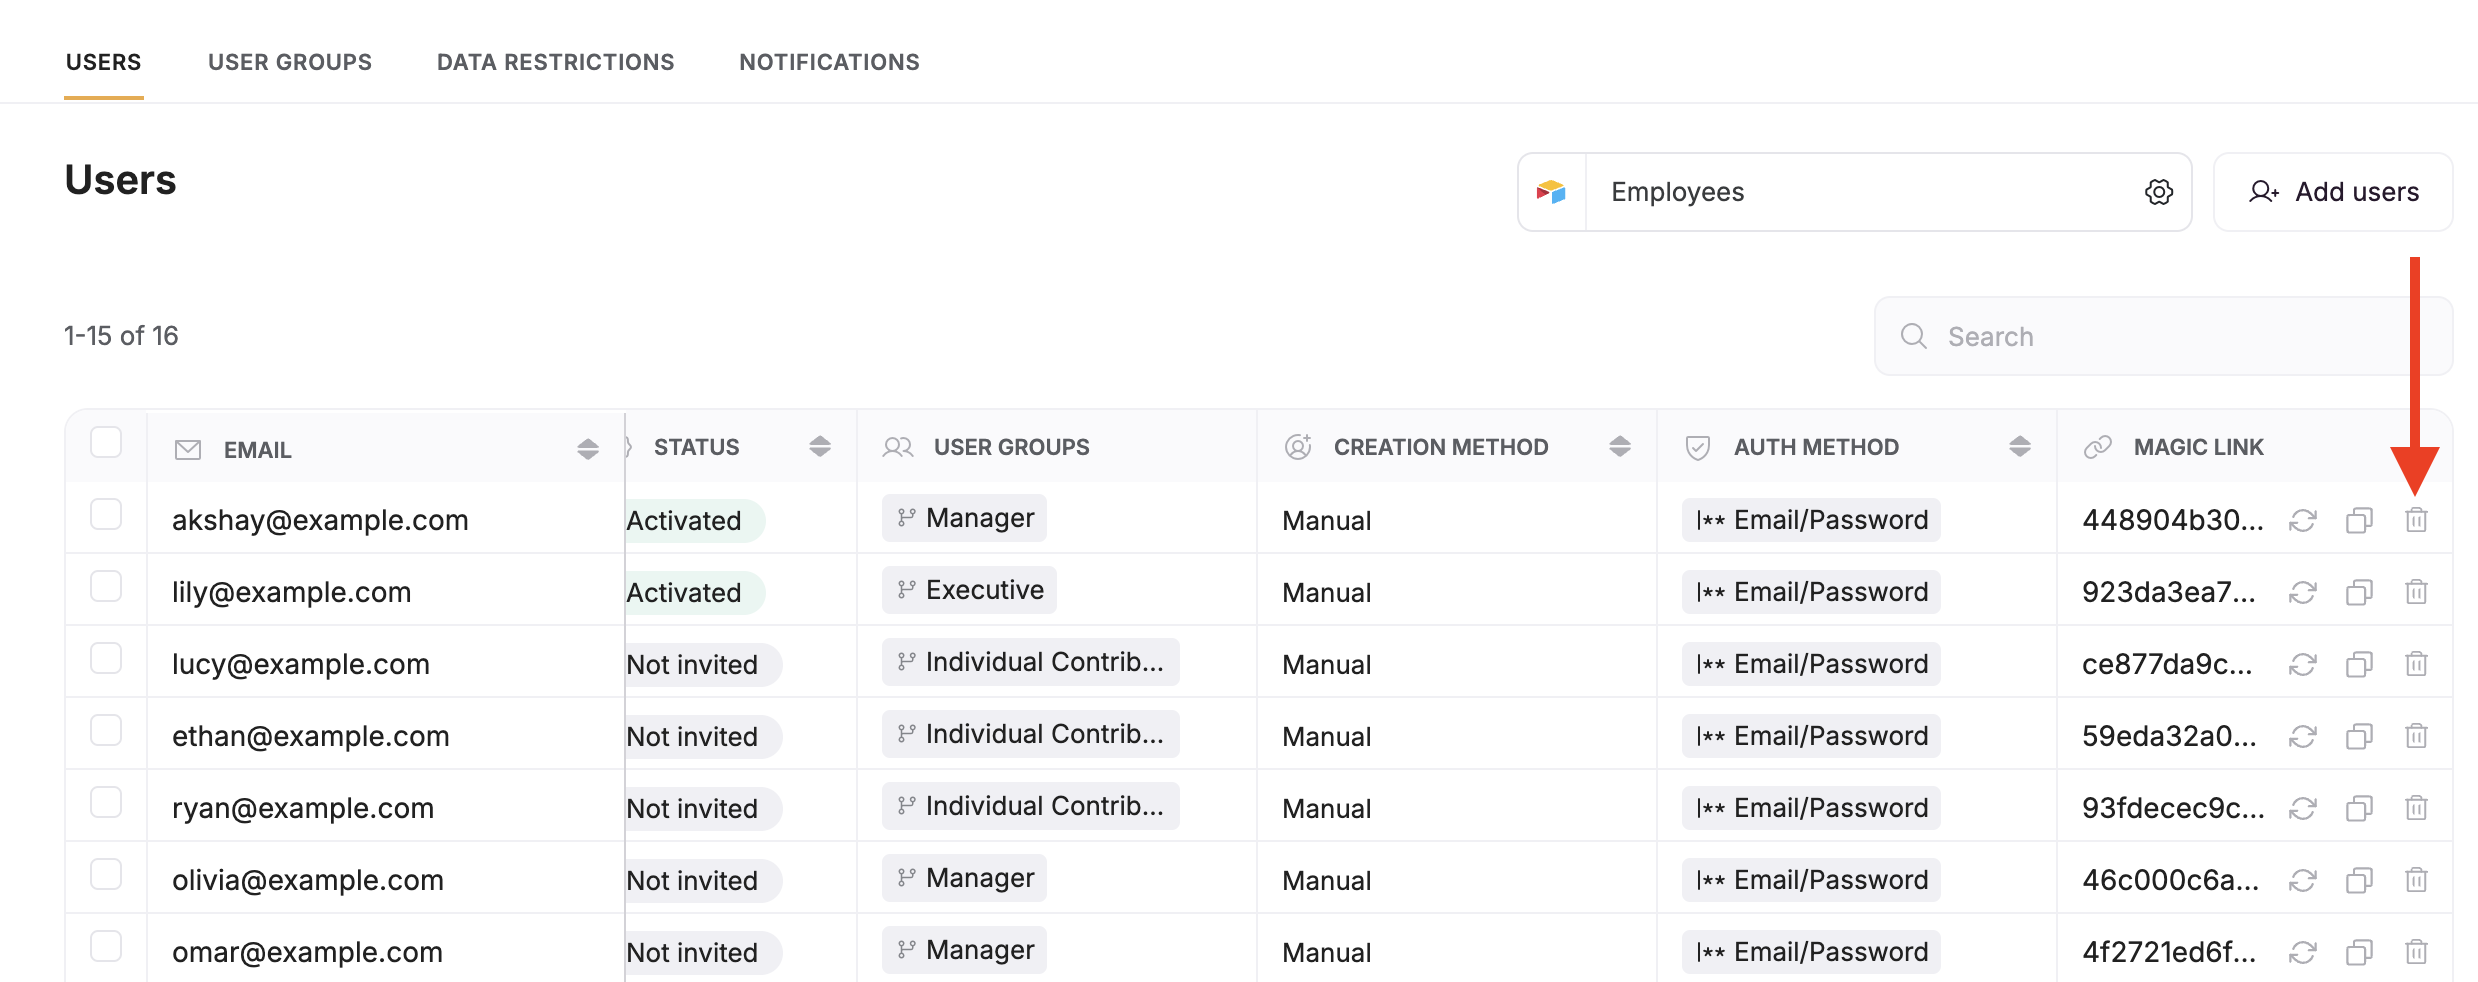
Delete a magic link using the trash can icon