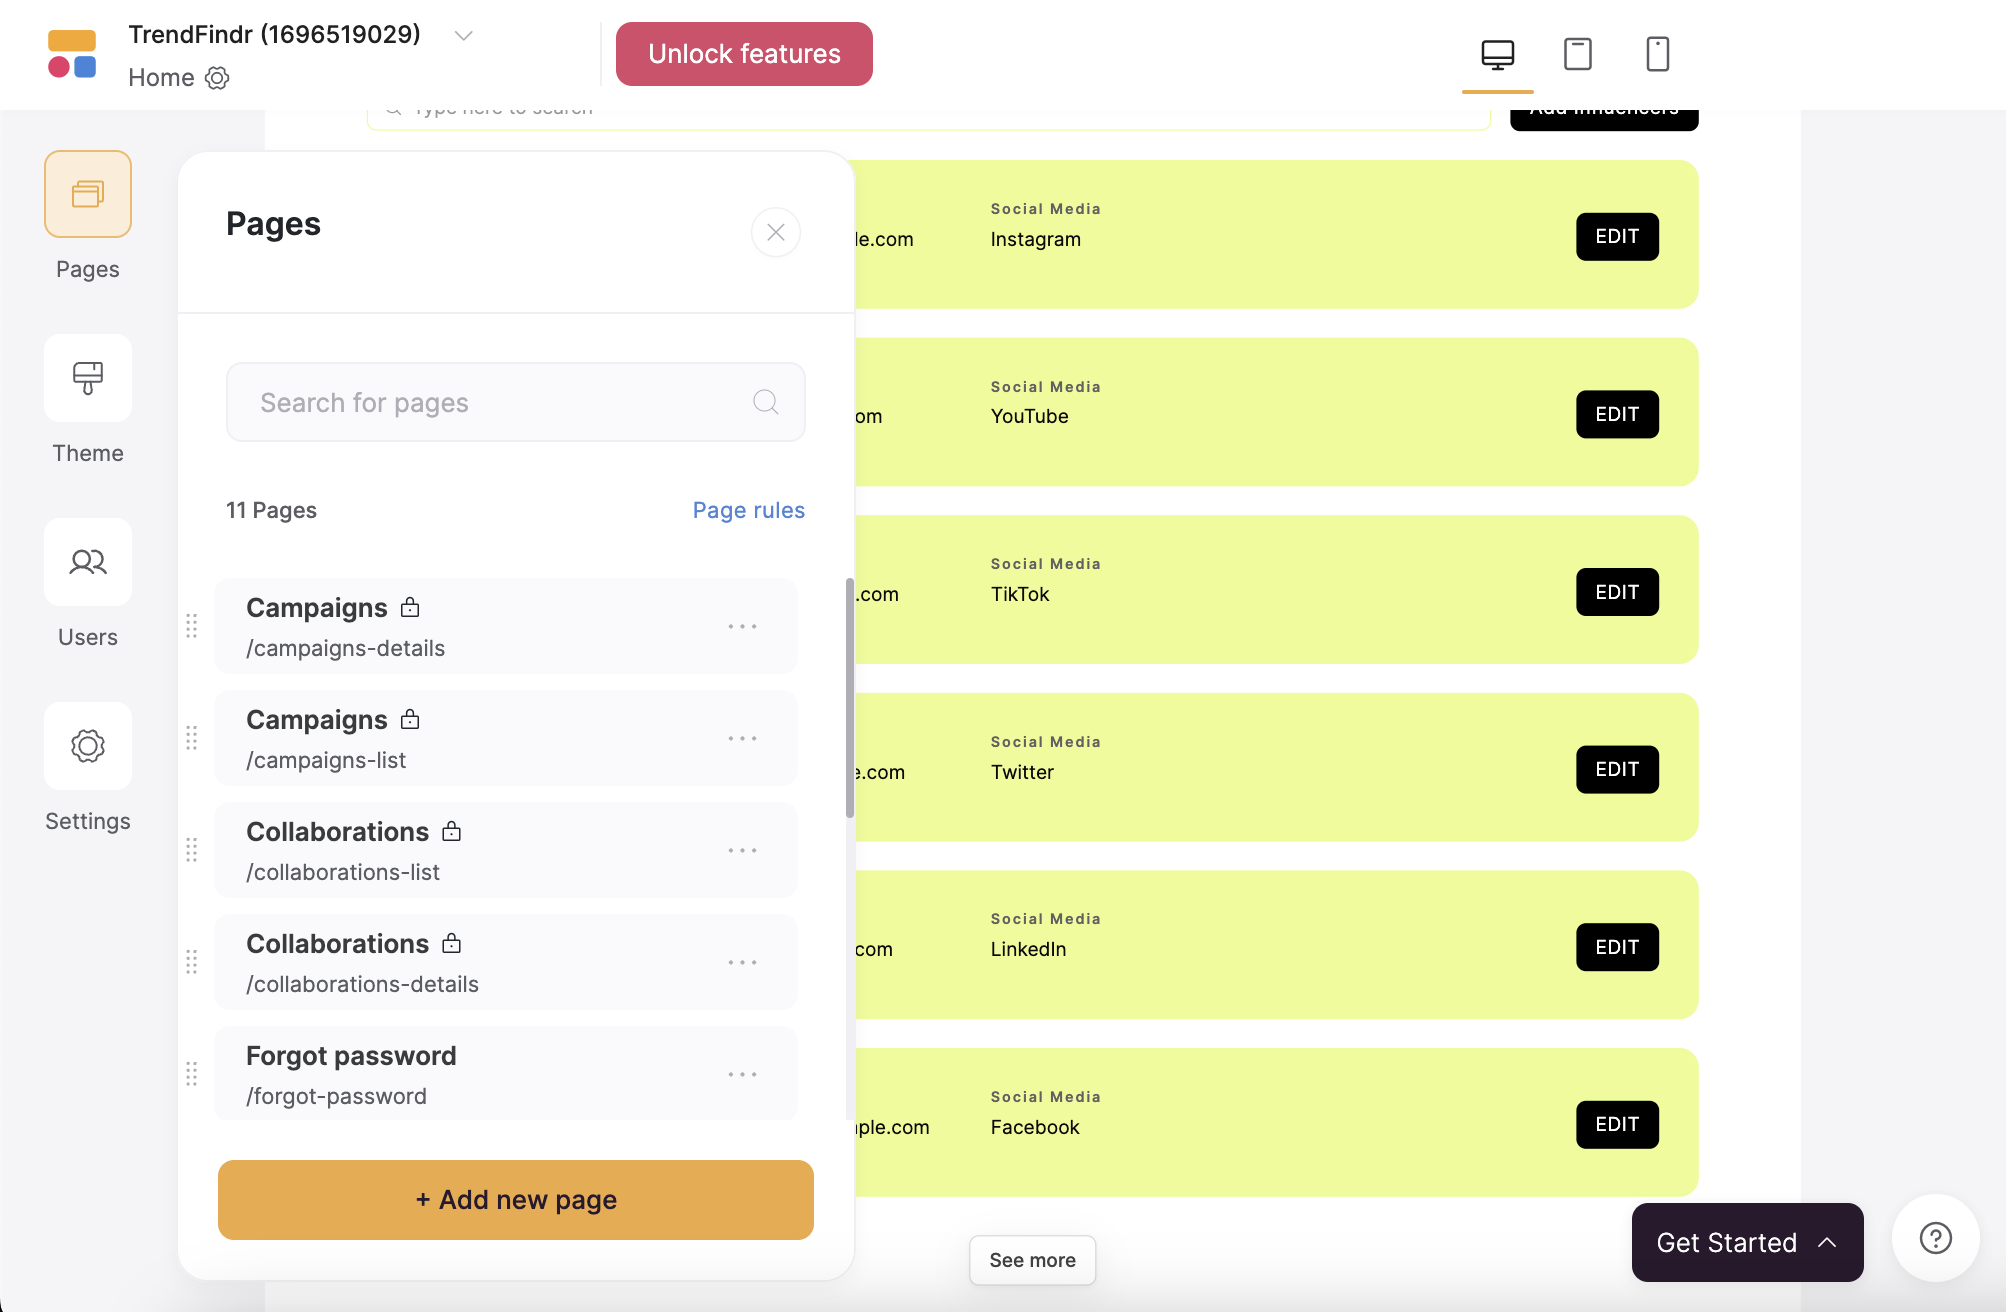
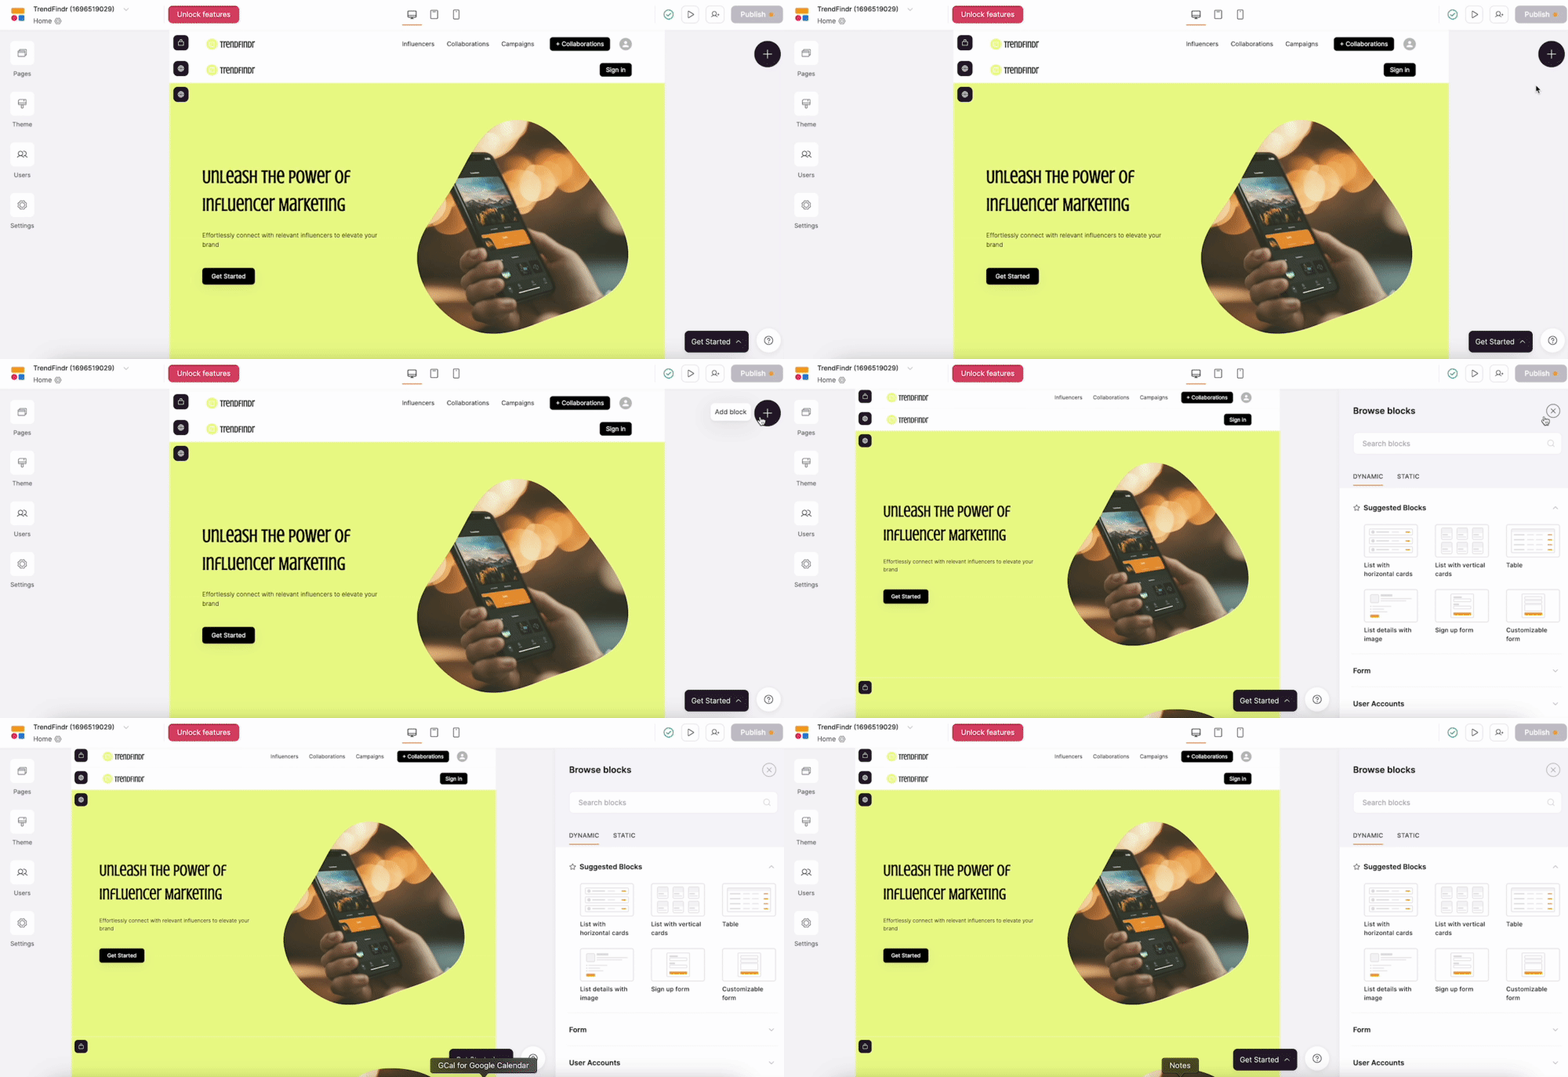
A step-by-step guide to generating your first app
Step 1: Head to Softr dashboard and select Generate with AI Step 2: Select what type of app you want to generate:- Client Portal
- Internal tool
- Directory
- Membership platform
-
Website
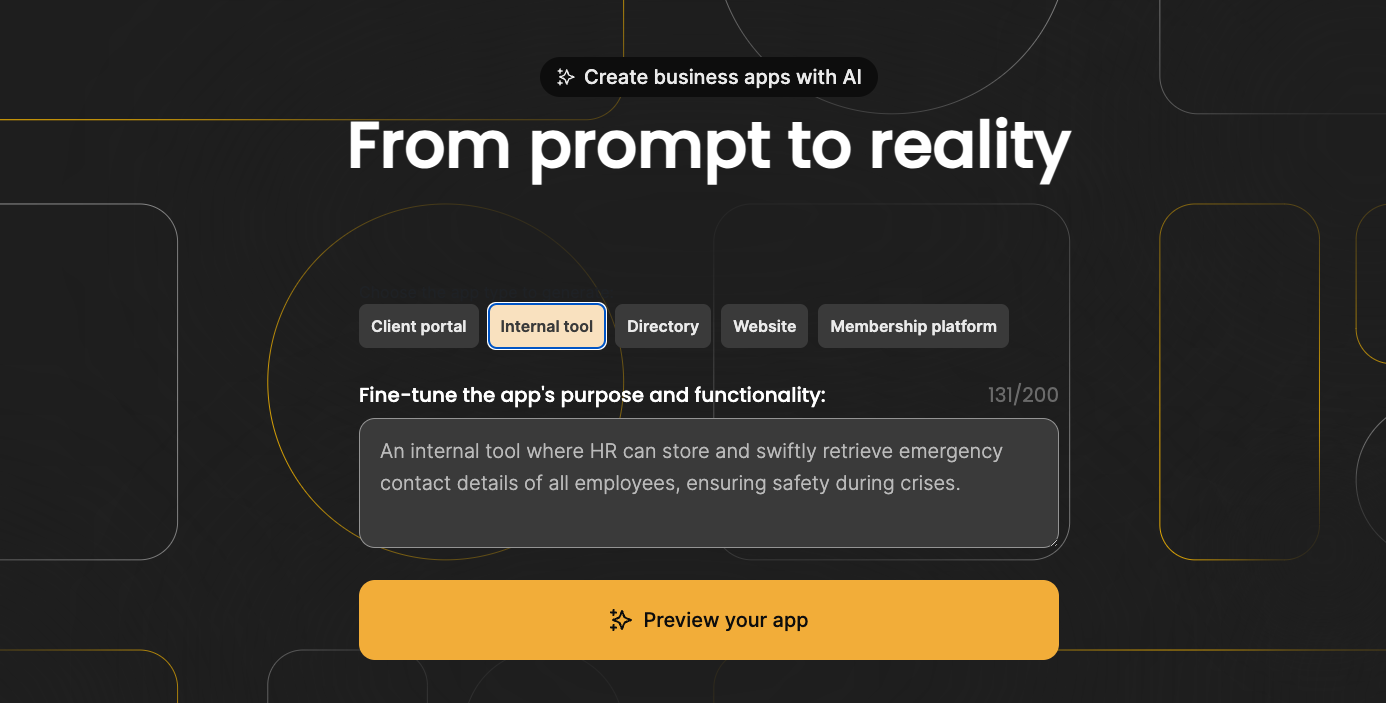
- A client portal for a VC fund to share updates with their investors.
- An employee intranet for knowledge sharing and communicating company updates.
- A directory of companies specializing in VR content and VR experiences.
- A membership platform where businesses keen on franchising can access insights, receive legal advice, and learn from success stories.
- A website for a blockchain consultancy company, presenting successful blockchain integrations, educational workshops, and client success stories.
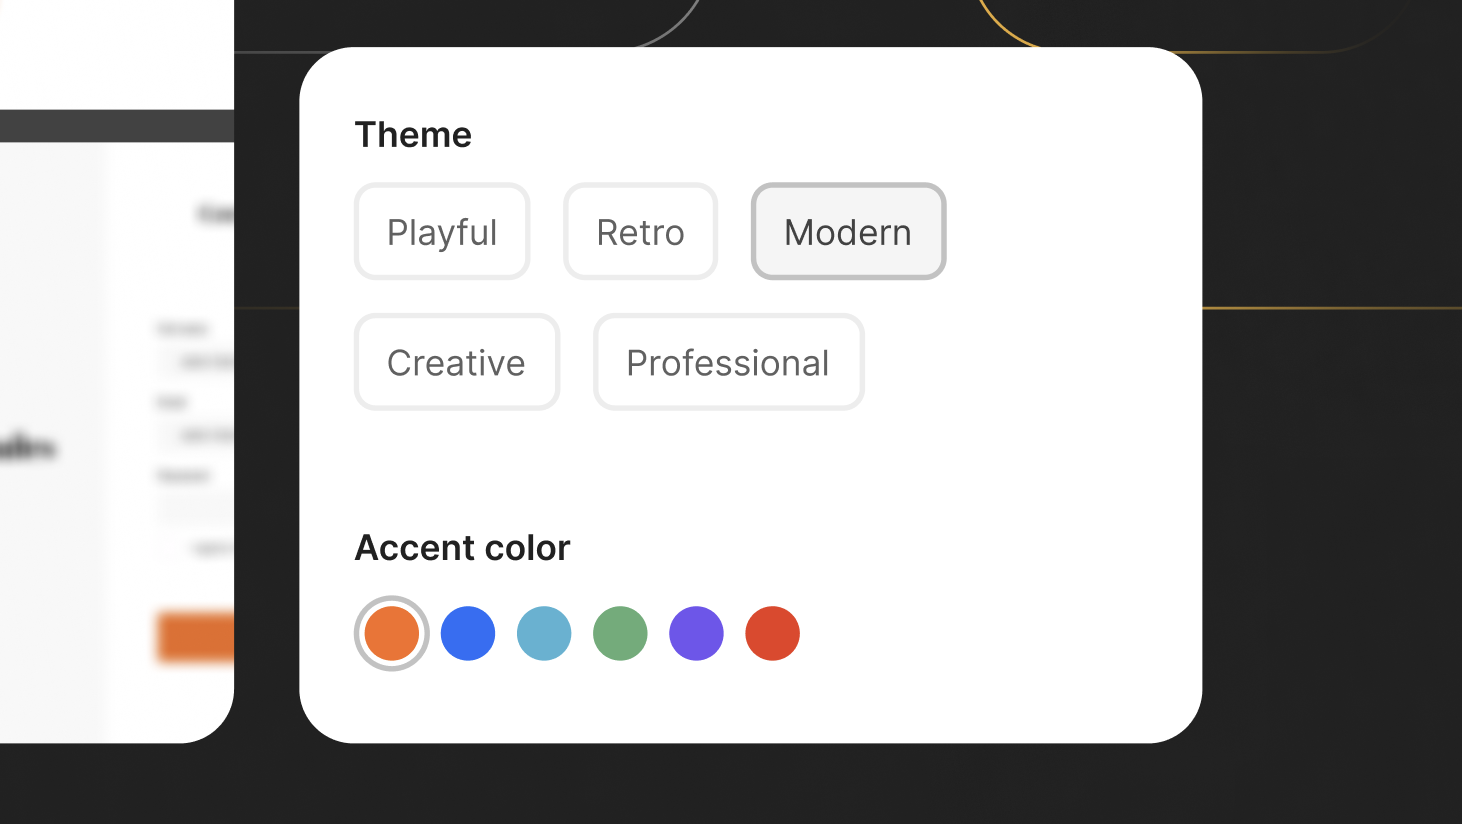
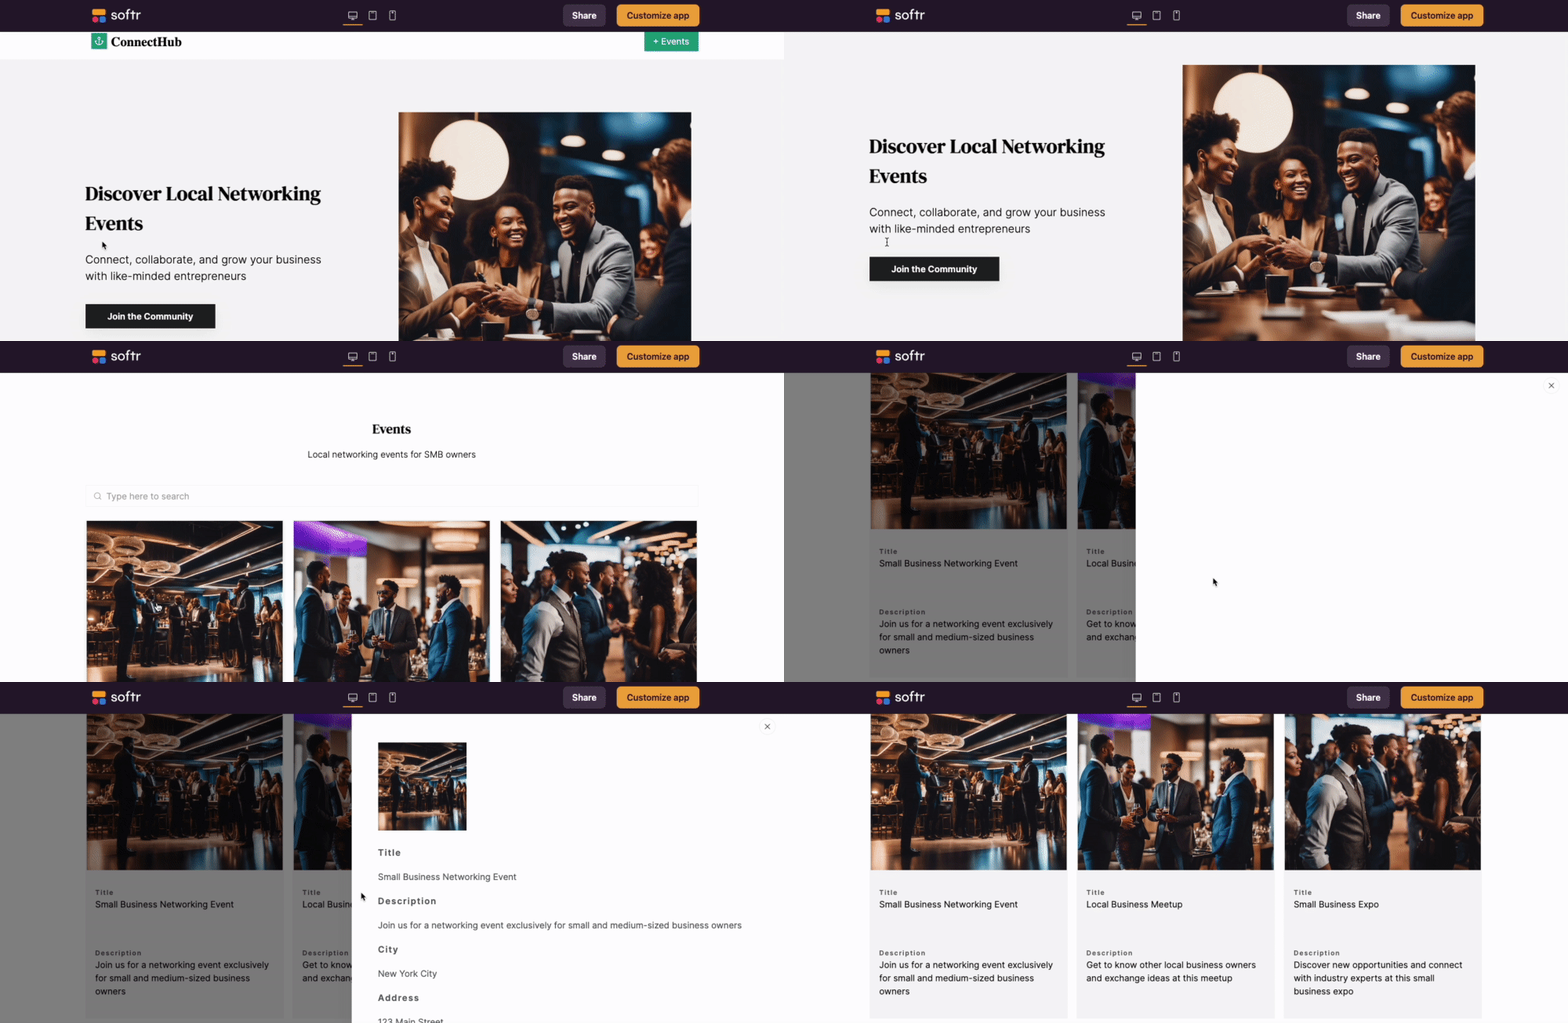
What to expect from an AI-generated app?
Depending on the app type, your generated app can include the following:- Generated data in Google Sheets (you can connect your own data in Google Sheets or Airtable)
- Multiple Pages and Blocks
- Sample Users and User Groups
- Action buttons
- Sign-in page
- User Profiles
How to Customize an AI-generated App
Set up your data
AI-generated apps already have generated data in Google Sheets connected to the app. You need to copy the database to your Google account to make it your own and customize it as you wish.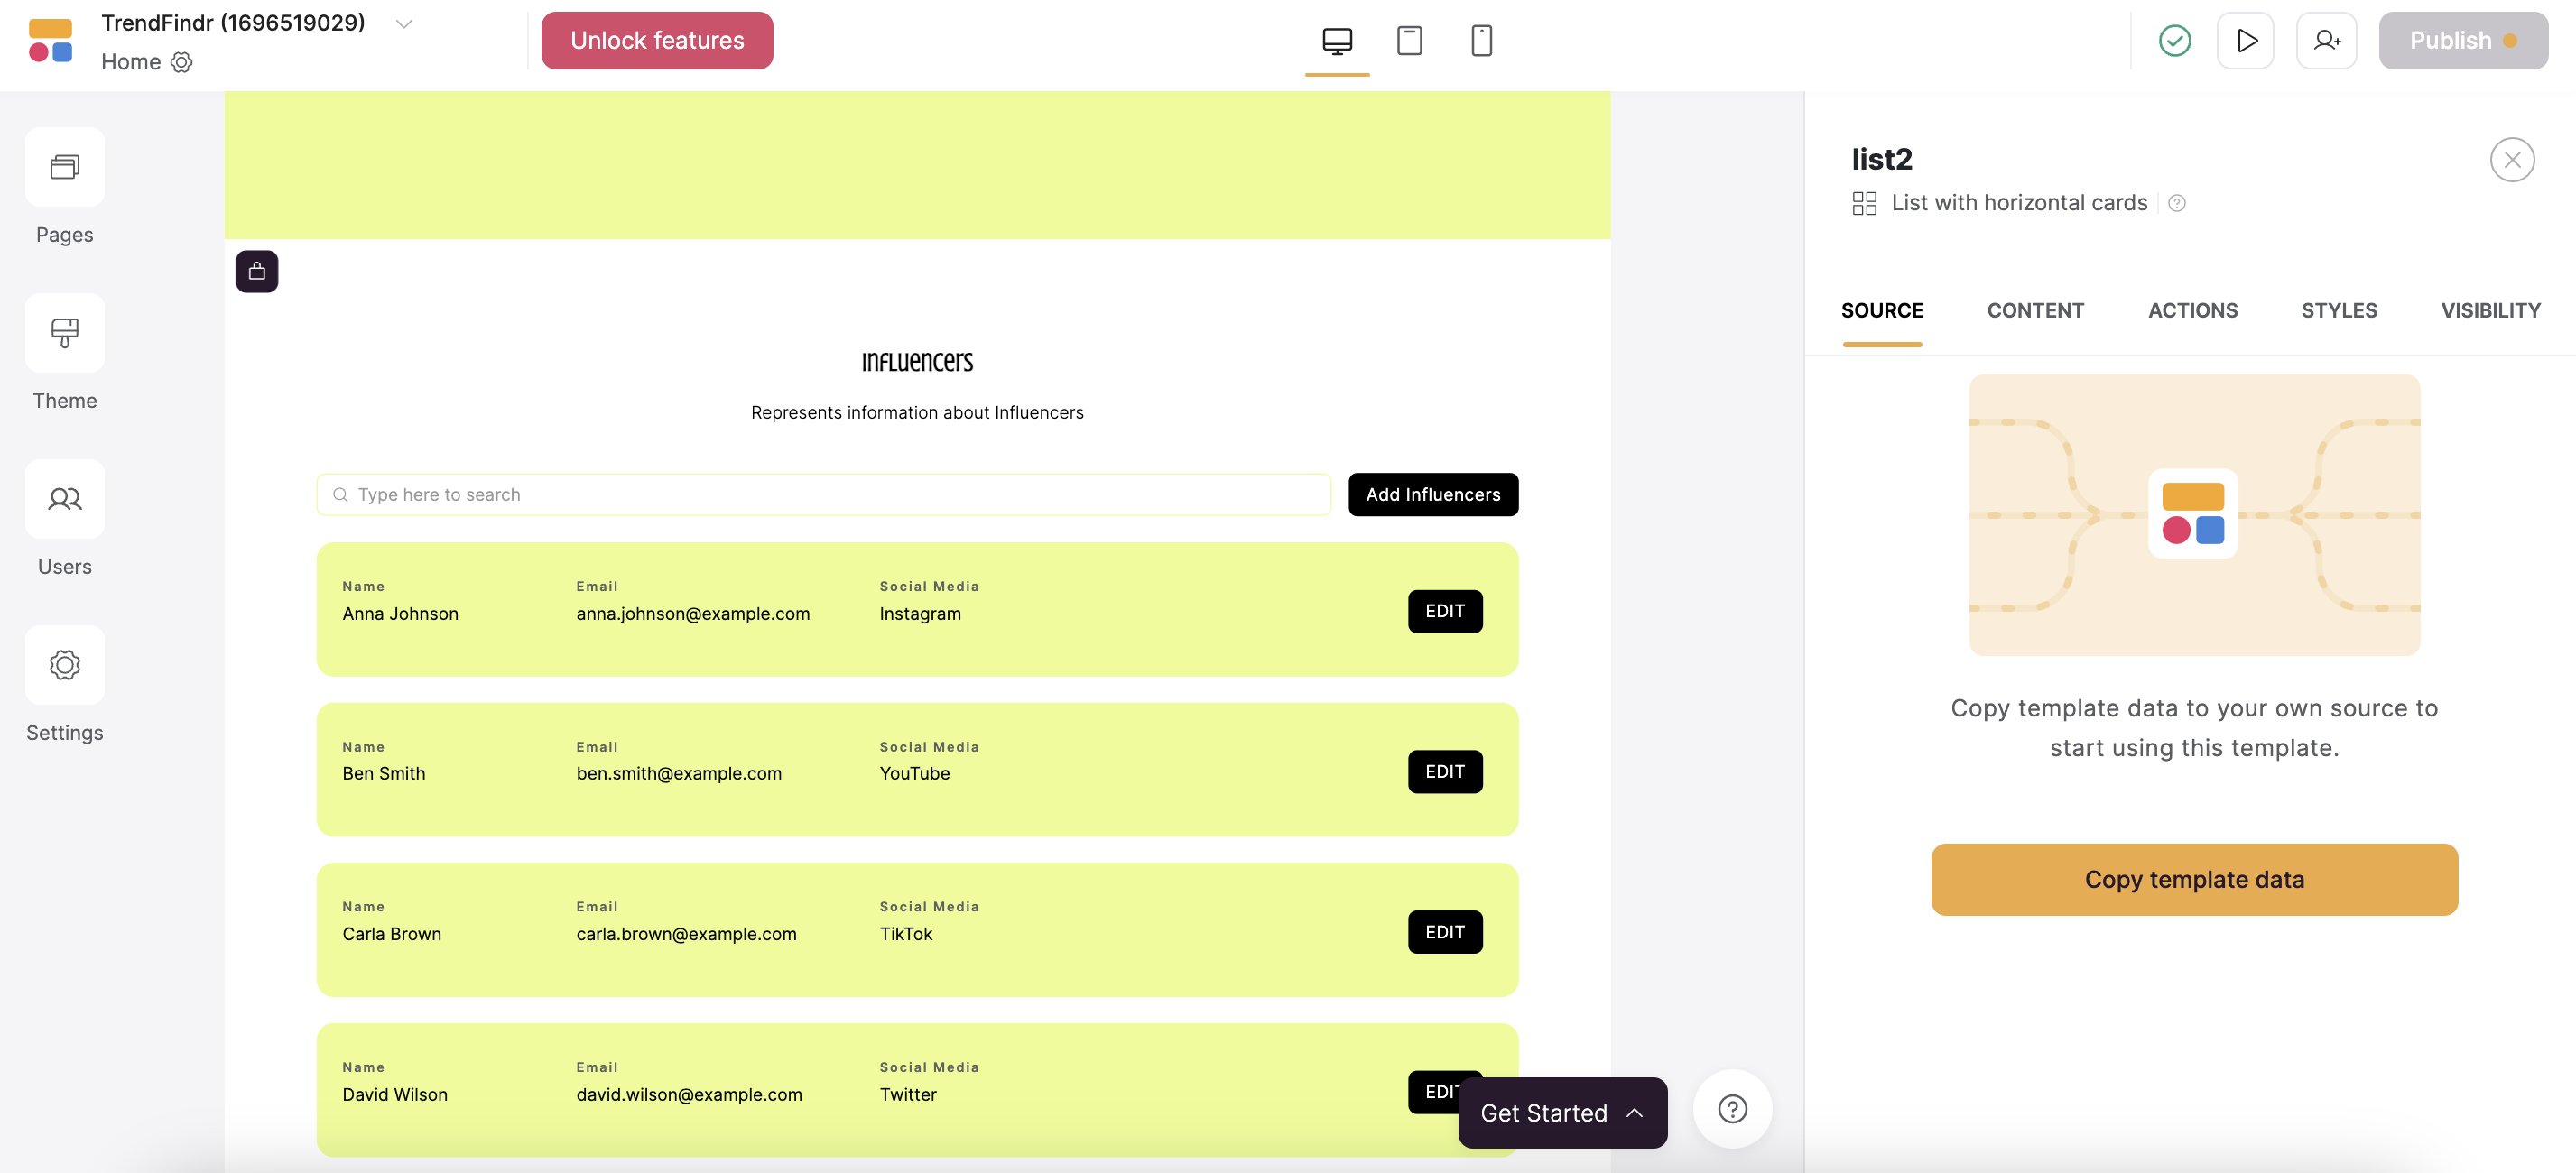
If you want to connect your existing data, you can do that once the template data is copied.

Update Users and User groups
Generated apps can come with generated user roles. You can update them in the Users setting and customize User Groups & Permissions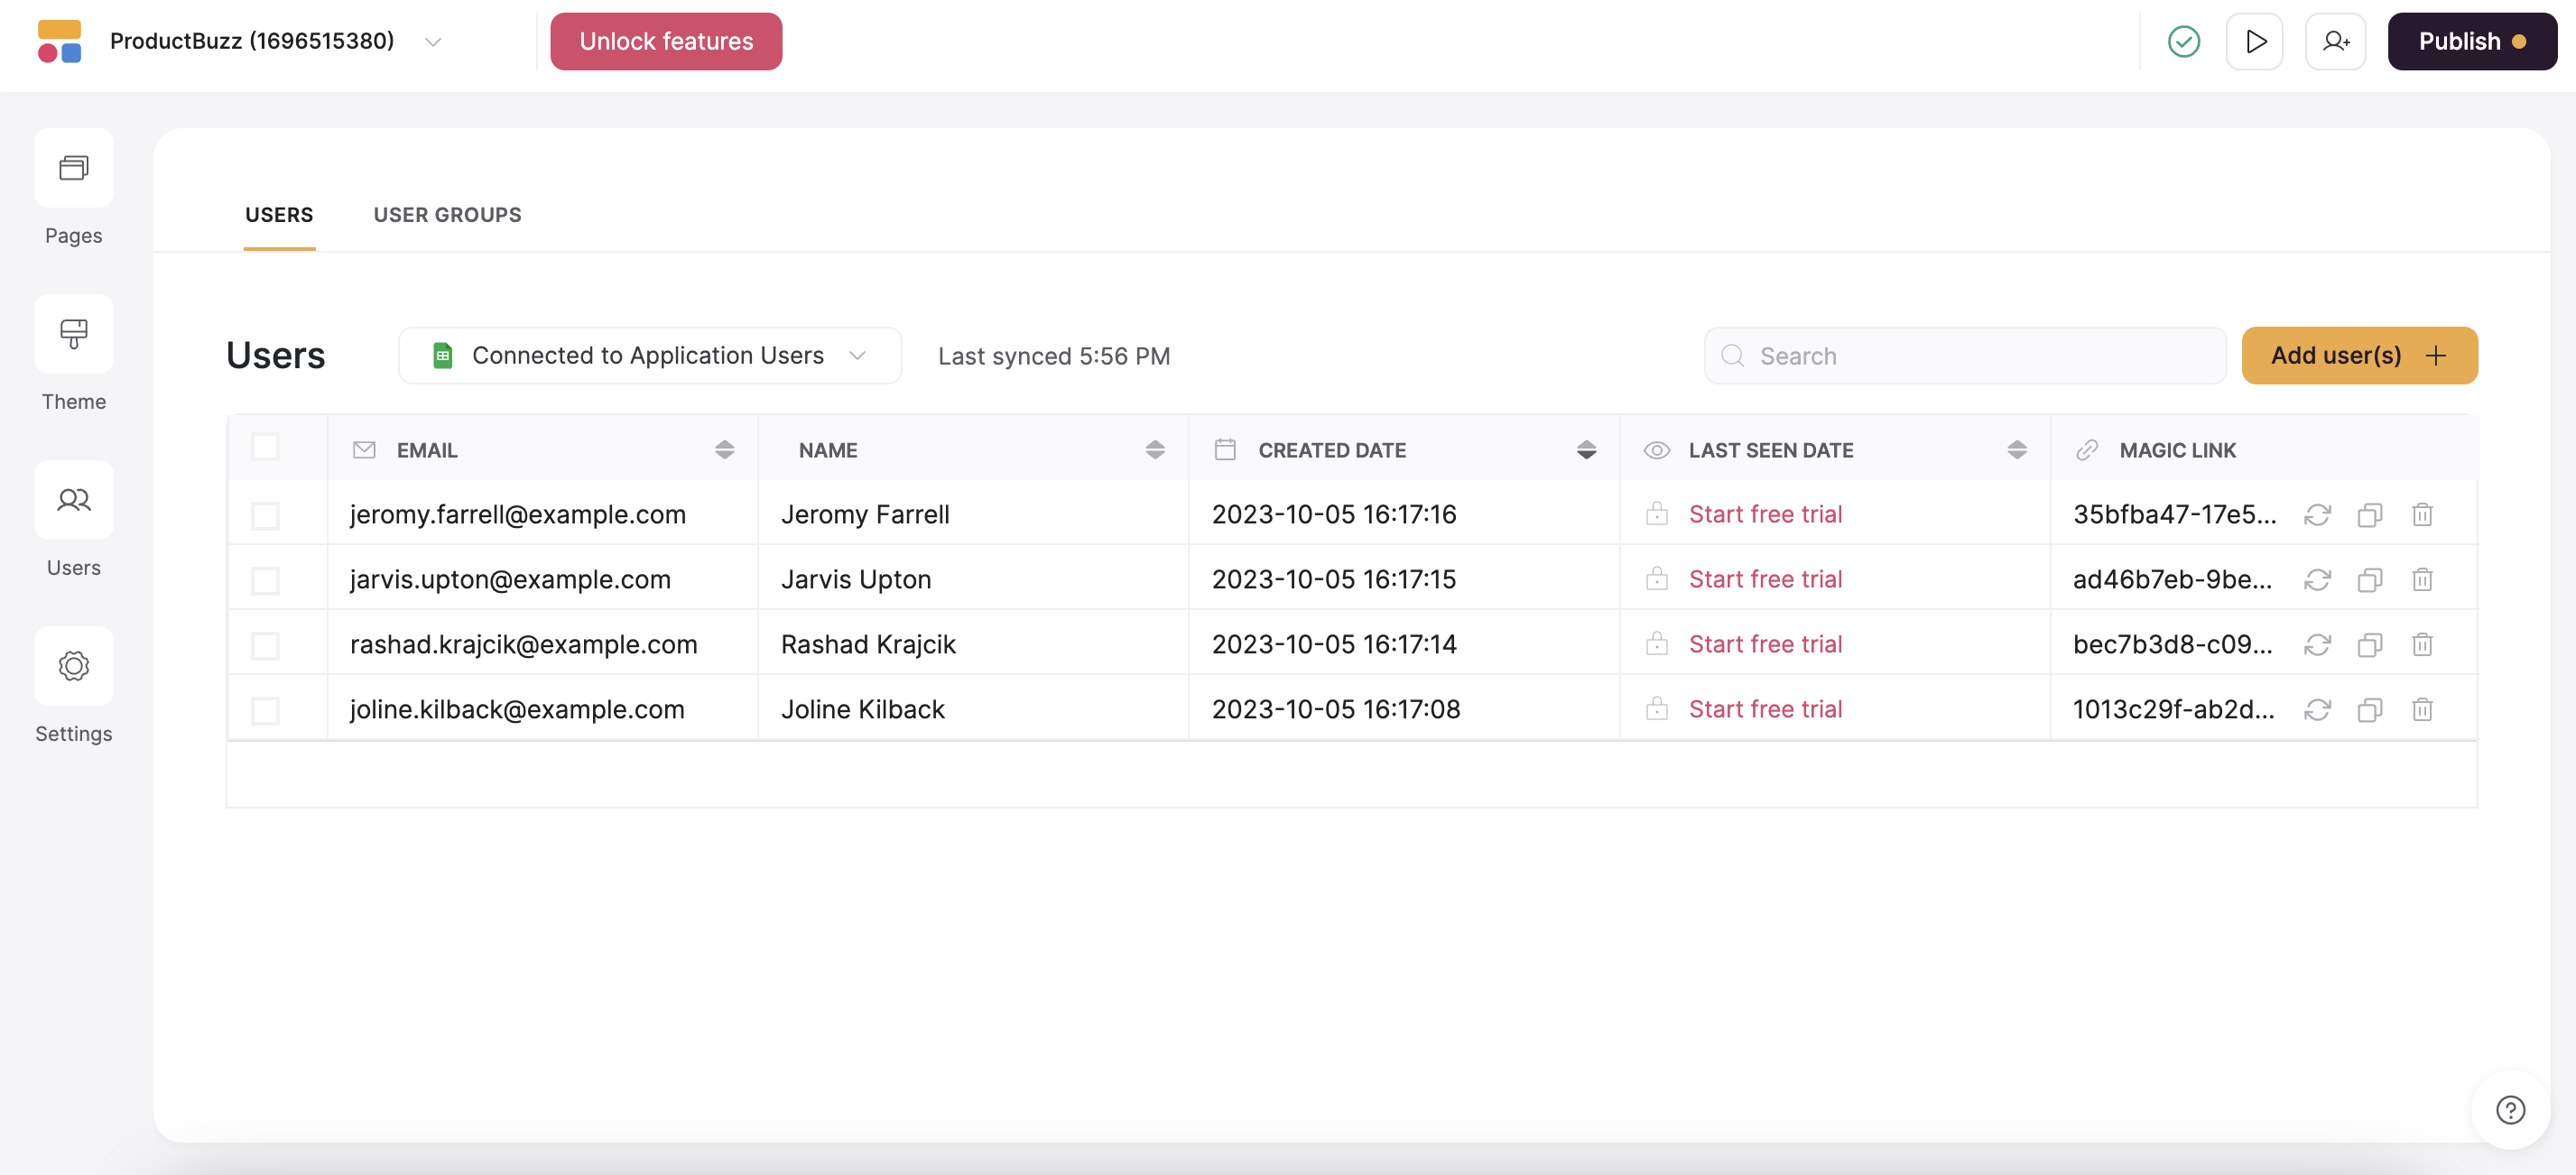

Review app settings
Before publishing your app, review the app Settings to define custom domains, integrations, SEO, and others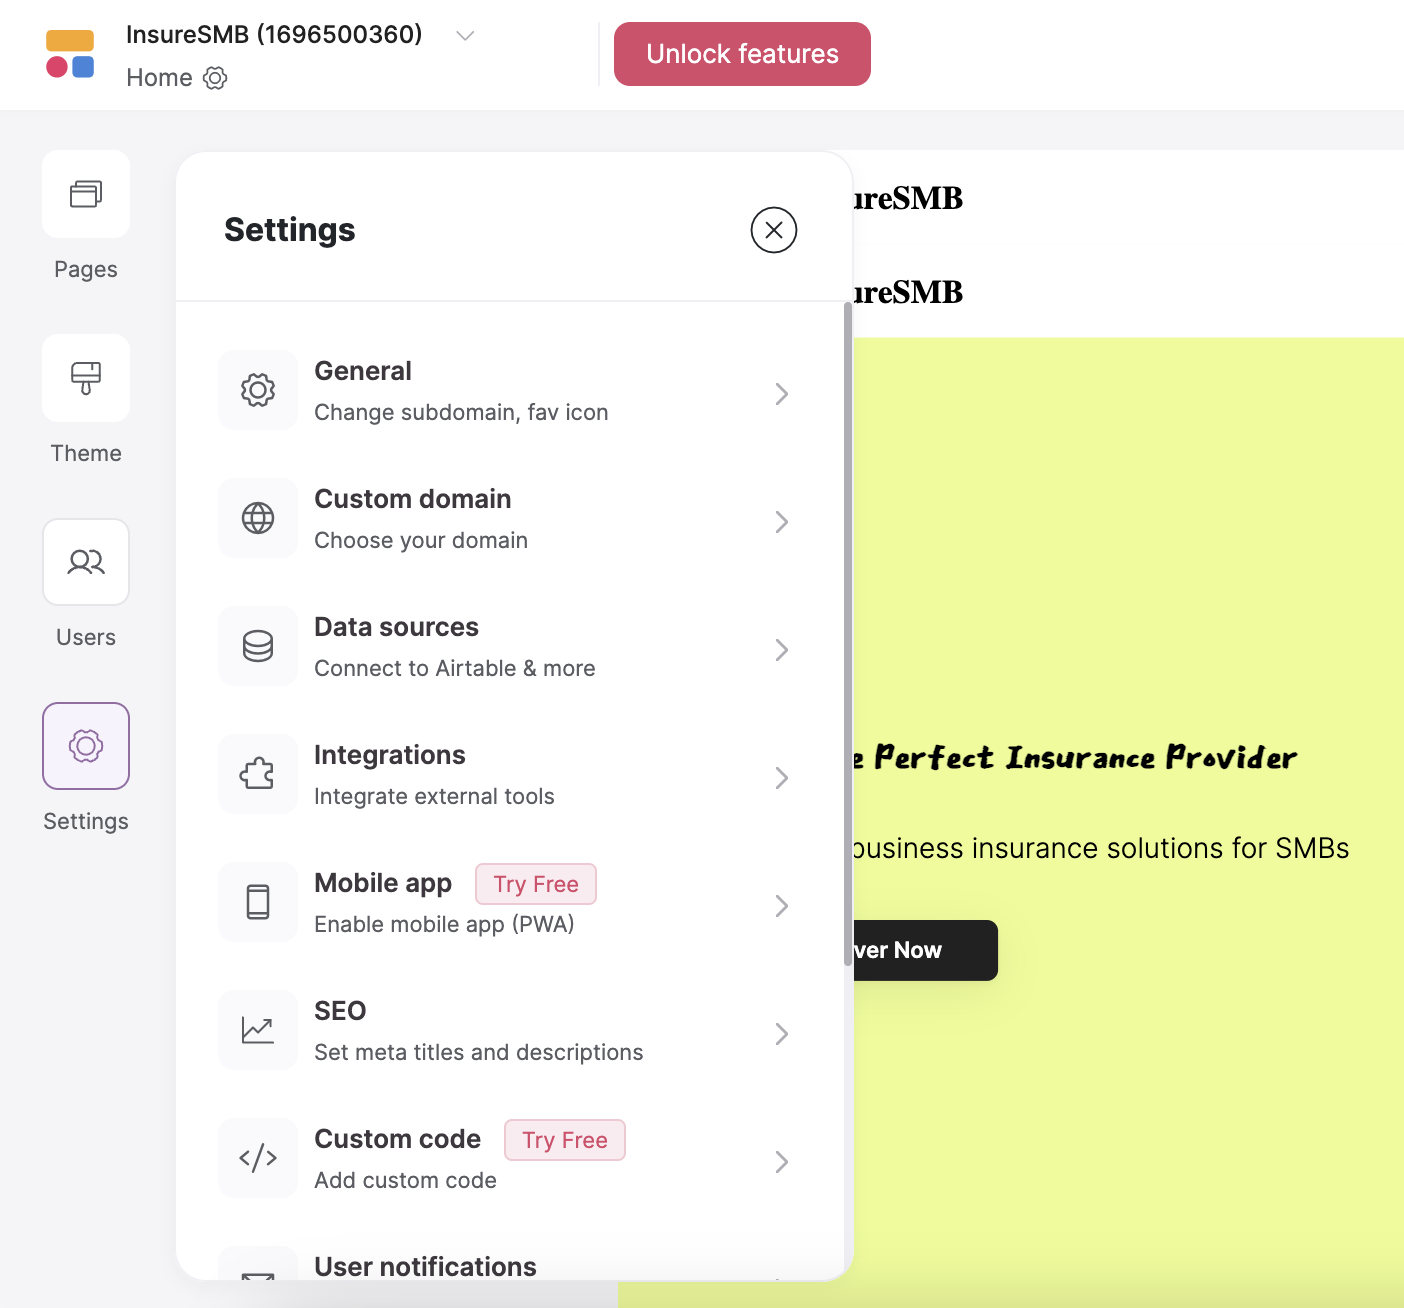

Preview & Publish
In the upper right corner, you have the Preview button, which can be used to preview your app at any moment, and the Publish button when it’s time to go live! Click the Publish button on the top right corner. After publishing, you can always make changes in your app and publish your changes the same way.
