Finding and previewing templates
When creating a new app in the Softr studio, you will see options to start from scratch, use AI, or start from a template.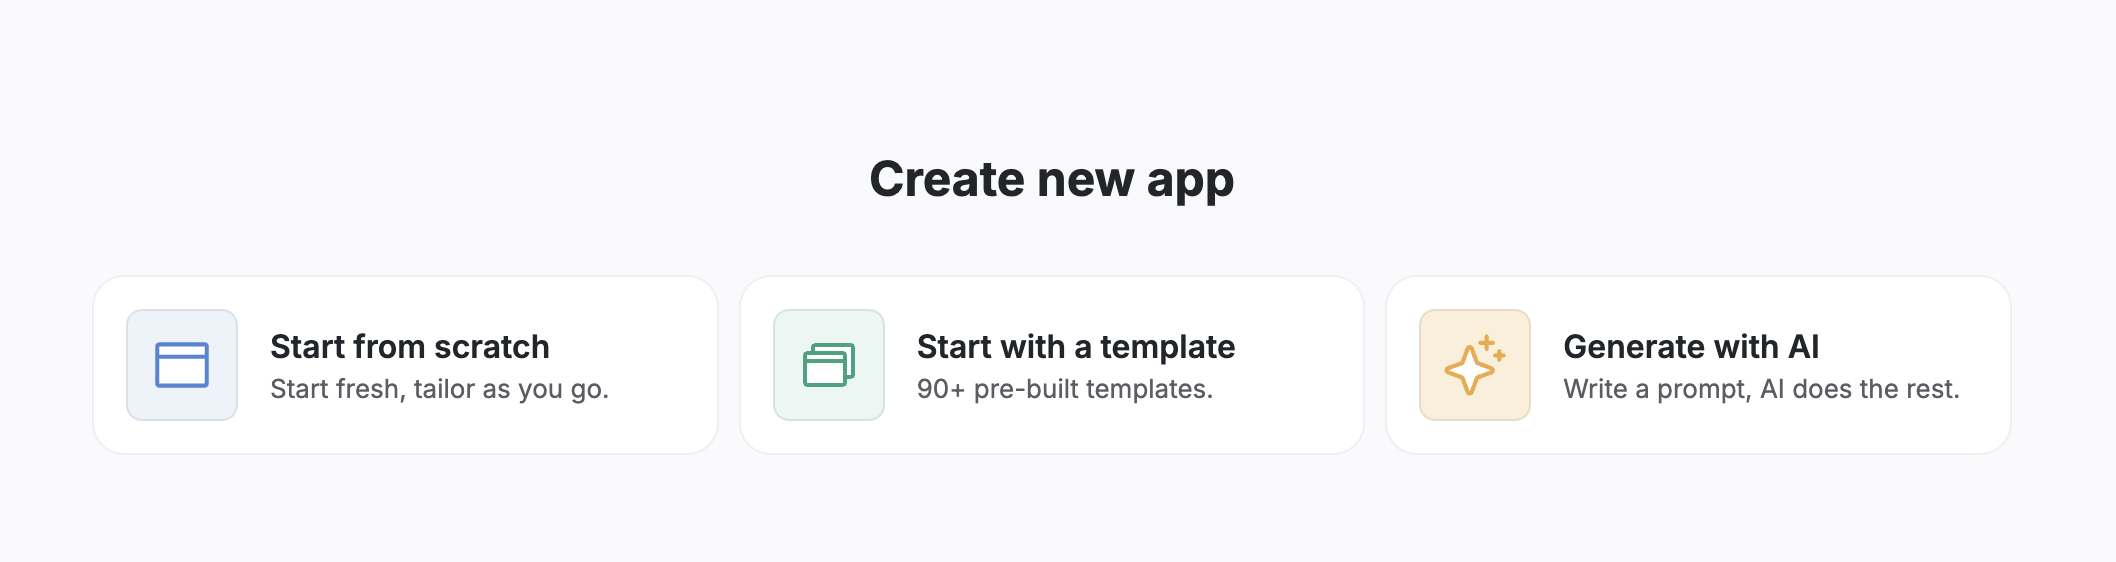
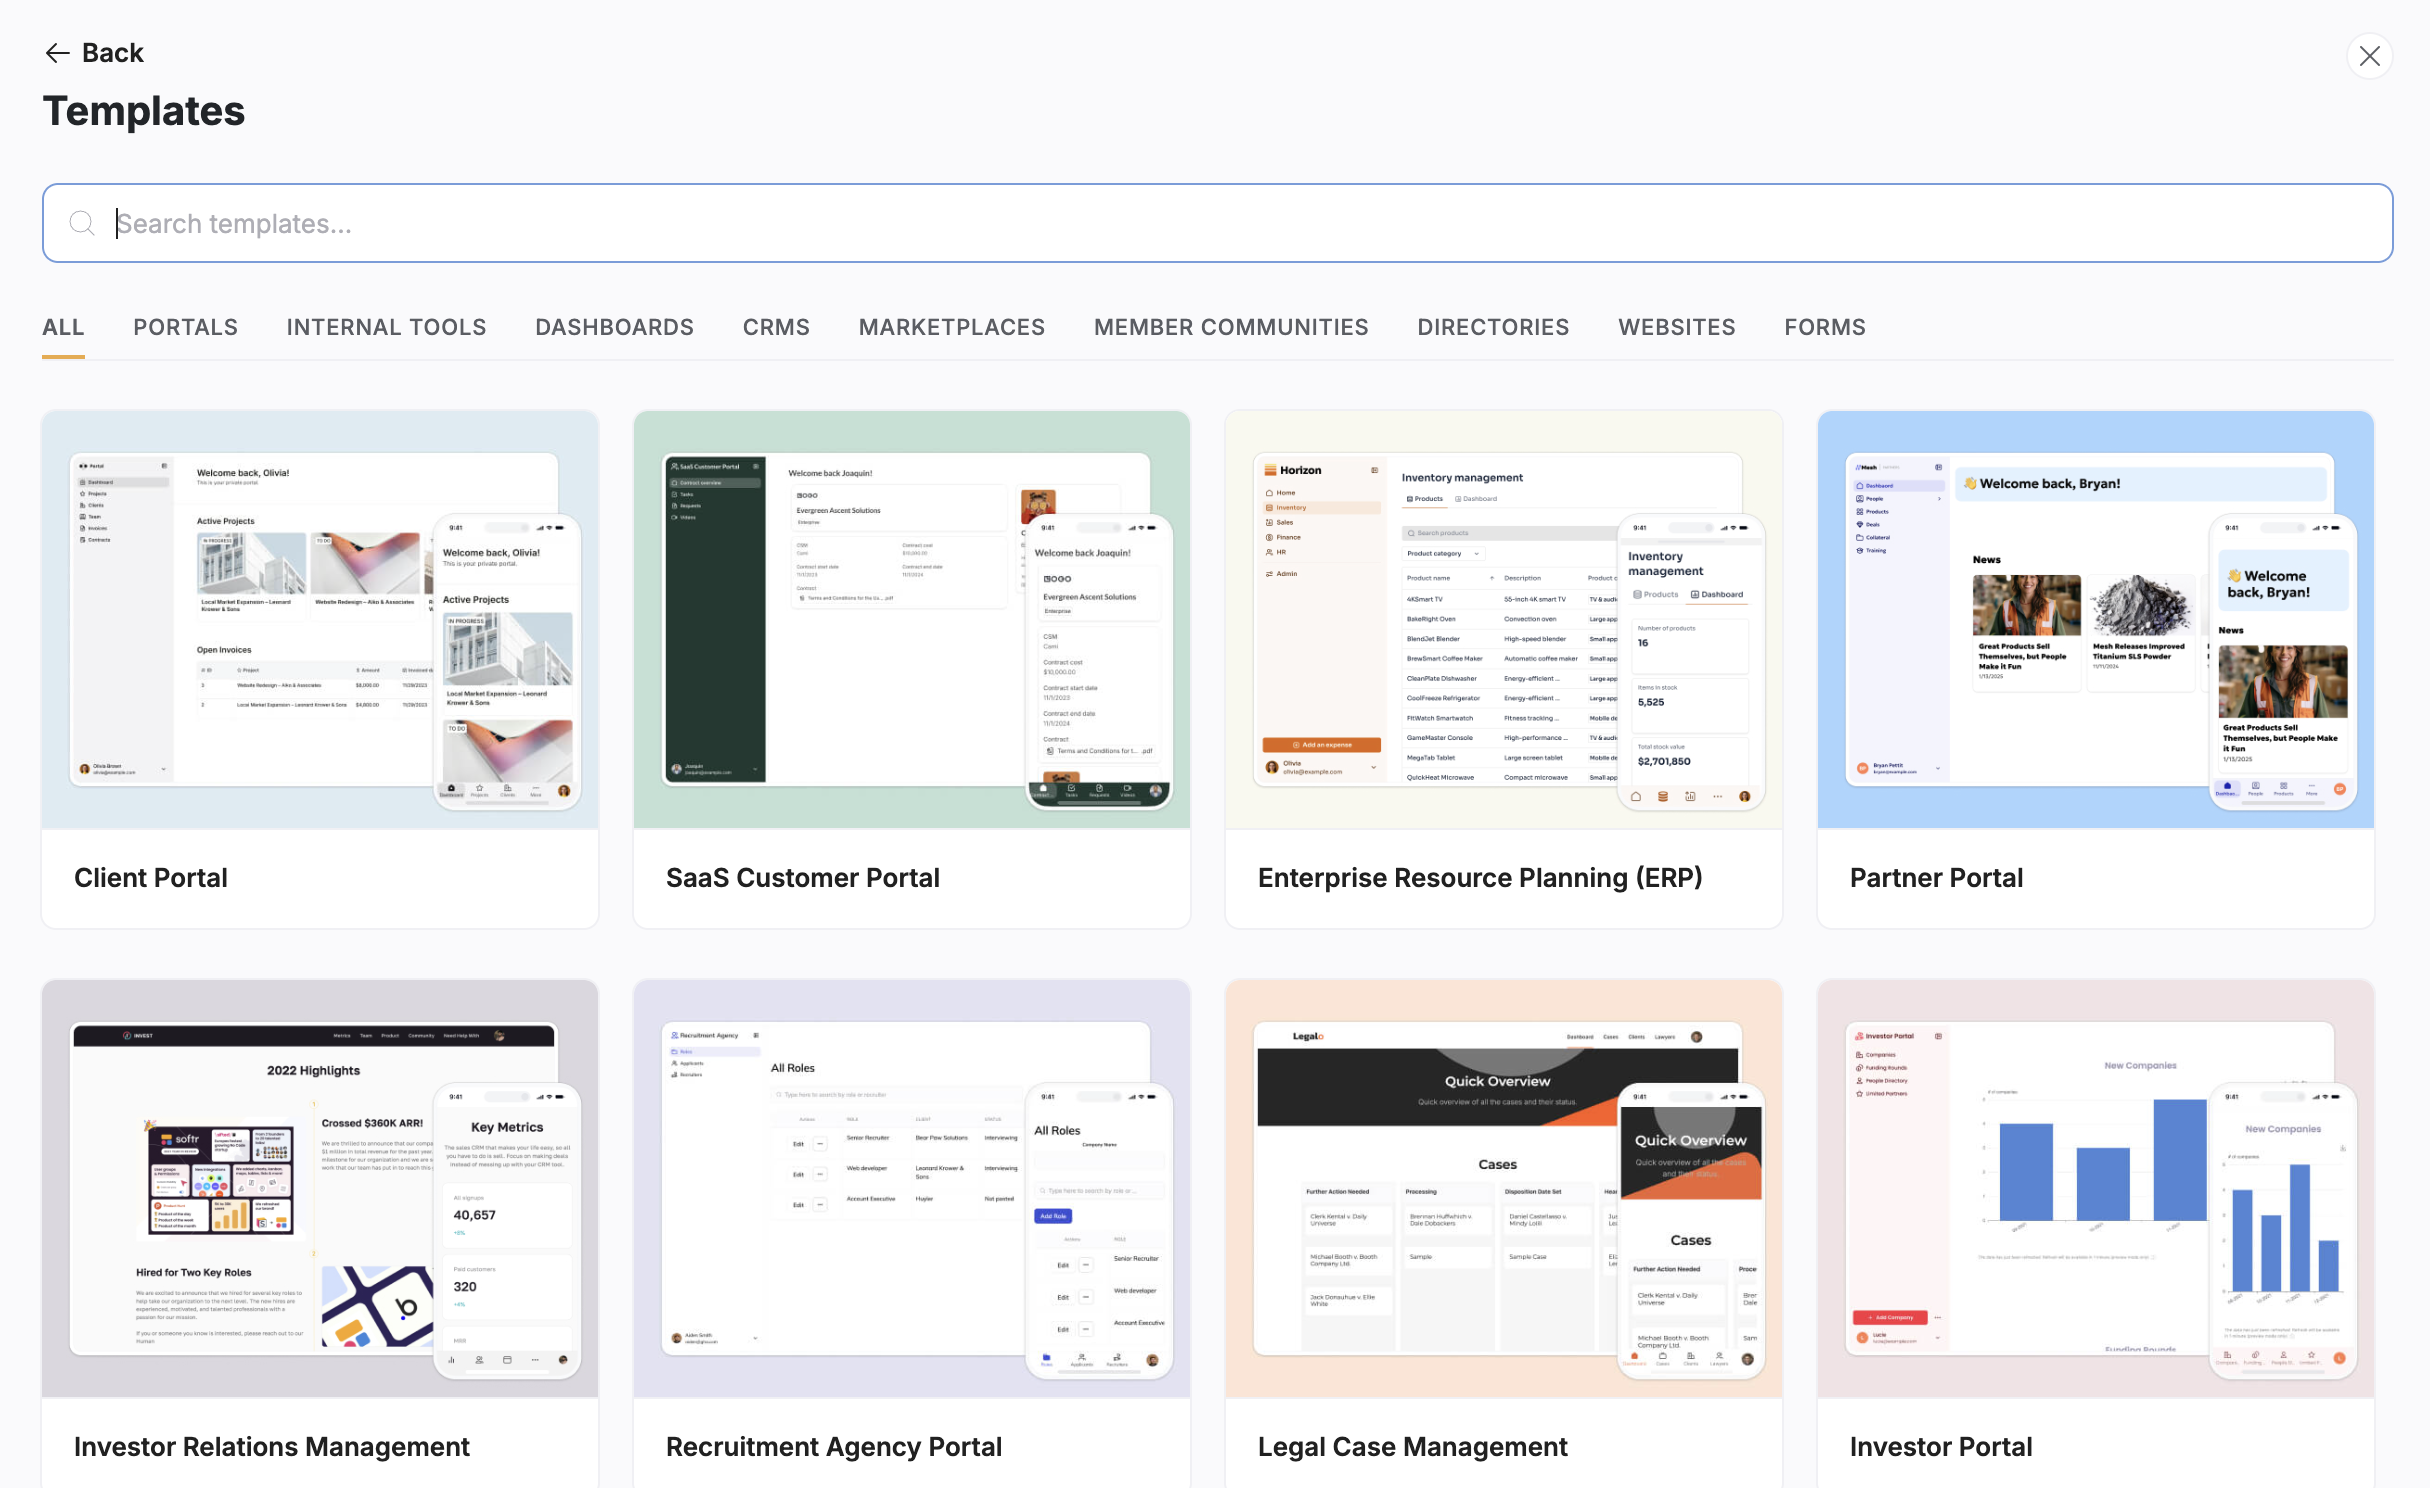
- Search or browse: Use the search bar to look for specific keywords (like “CRM”) or filter by category.
- Preview: Hover over a template thumbnail and click the Preview button. This opens a functional view of the app where you can click through pages and see how the data is presented before you commit to using it.
Tip: You can also browse templates directly on the Softr Website before logging in.
Using a template
Once you have found the right fit (for example, an AI CRM), simply click the Use template button.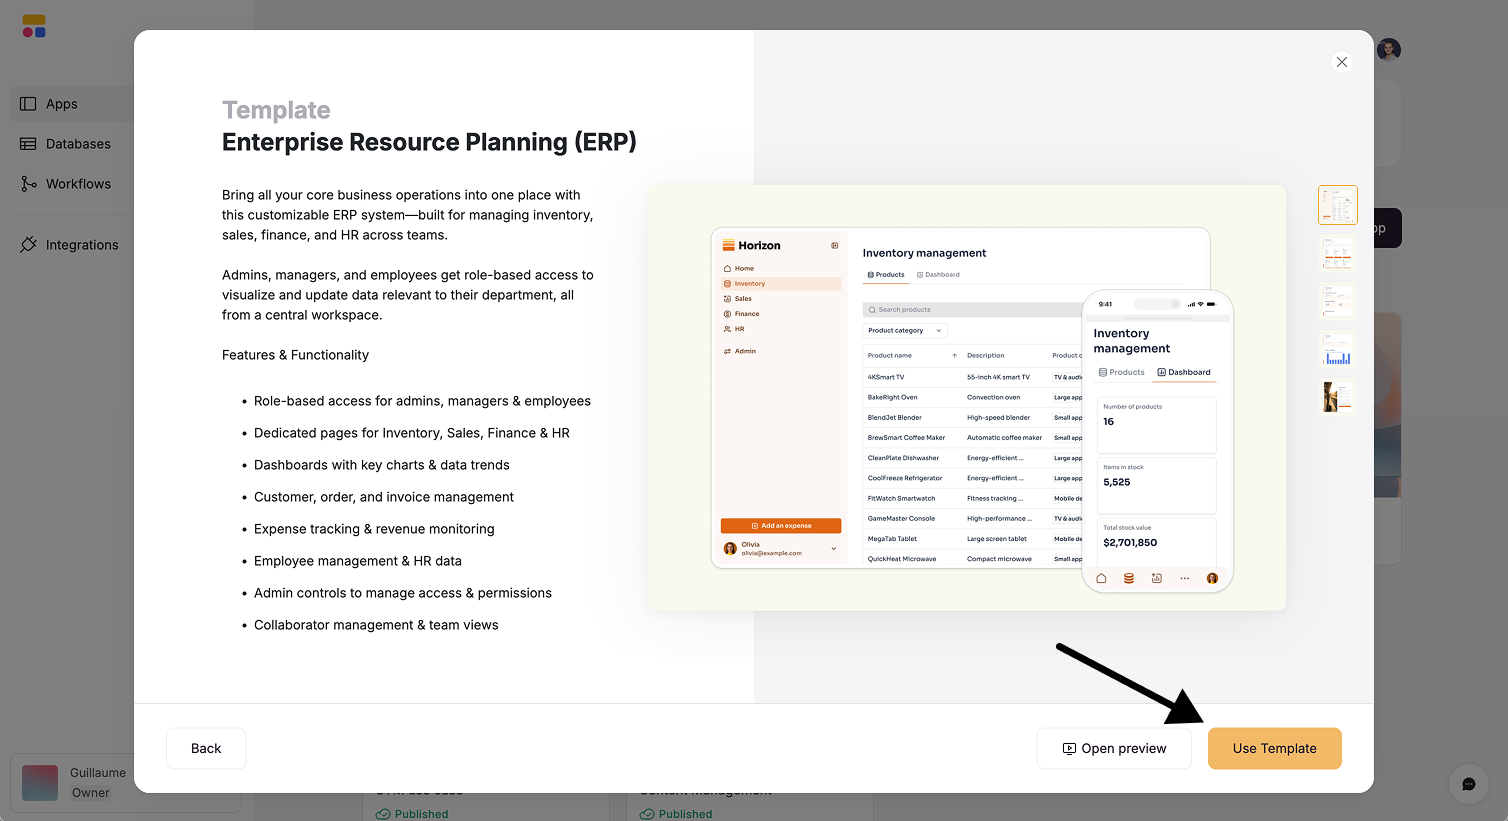
- Copy the interface: All pages, design settings, and navigation are duplicated to your account.
- Copy the database: A new Softr database is created in your workspace, pre-filled with sample data that matches the template.
Note on data sources: Some templates may still use external data sources like Airtable or Google Sheets. We are progressively migrating all templates to Softr databases to ensure a unified experience.
Personalizing your app
After the template is copied, you will land in the Softr studio. Since the database and interface are already connected, you can begin customizing right away.Customizing data
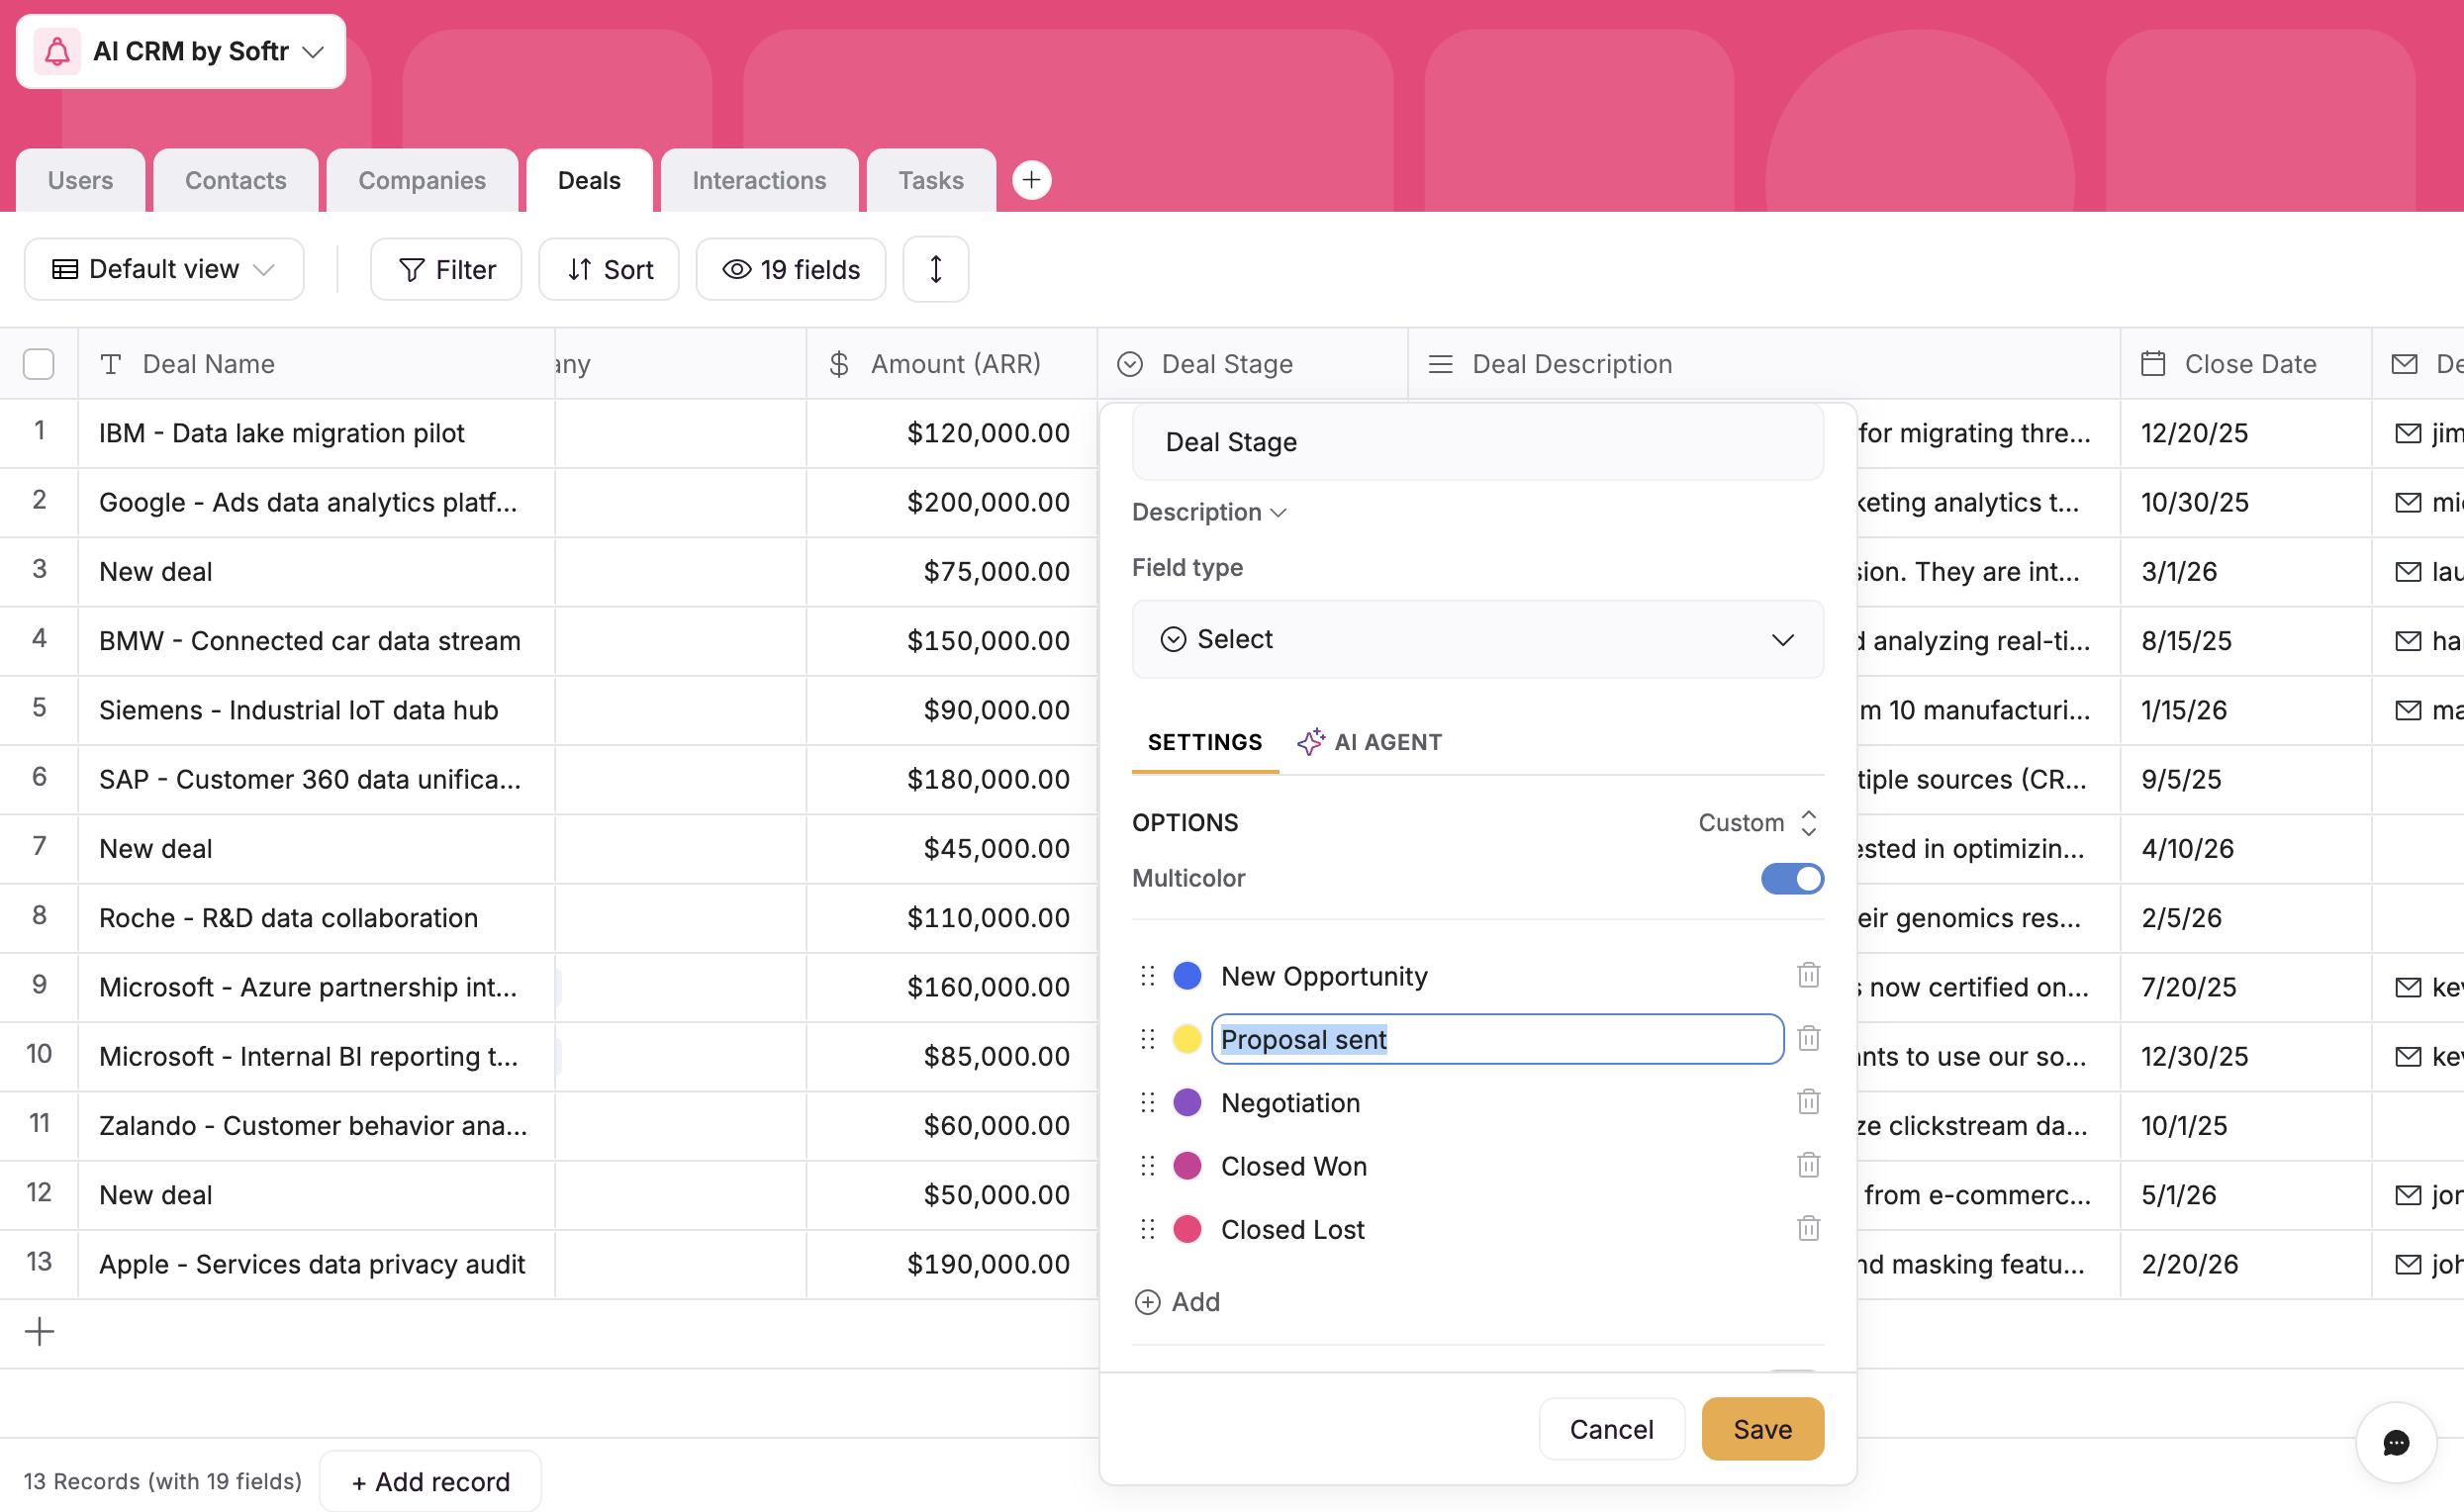
You can modify the underlying data structure to fit your company’s specific workflow.- Navigate to the data settings.
- Add or remove fields to match your needs.
- Example: In a CRM template, you might want to add an additional “Stage” to your sales pipeline.
Customizing design
Make the app look and feel like your brand.- Theme: Update the accent color, fonts, and button styles in the application settings.

- Content: Click on any block to edit text, swap images, or change visibility settings.
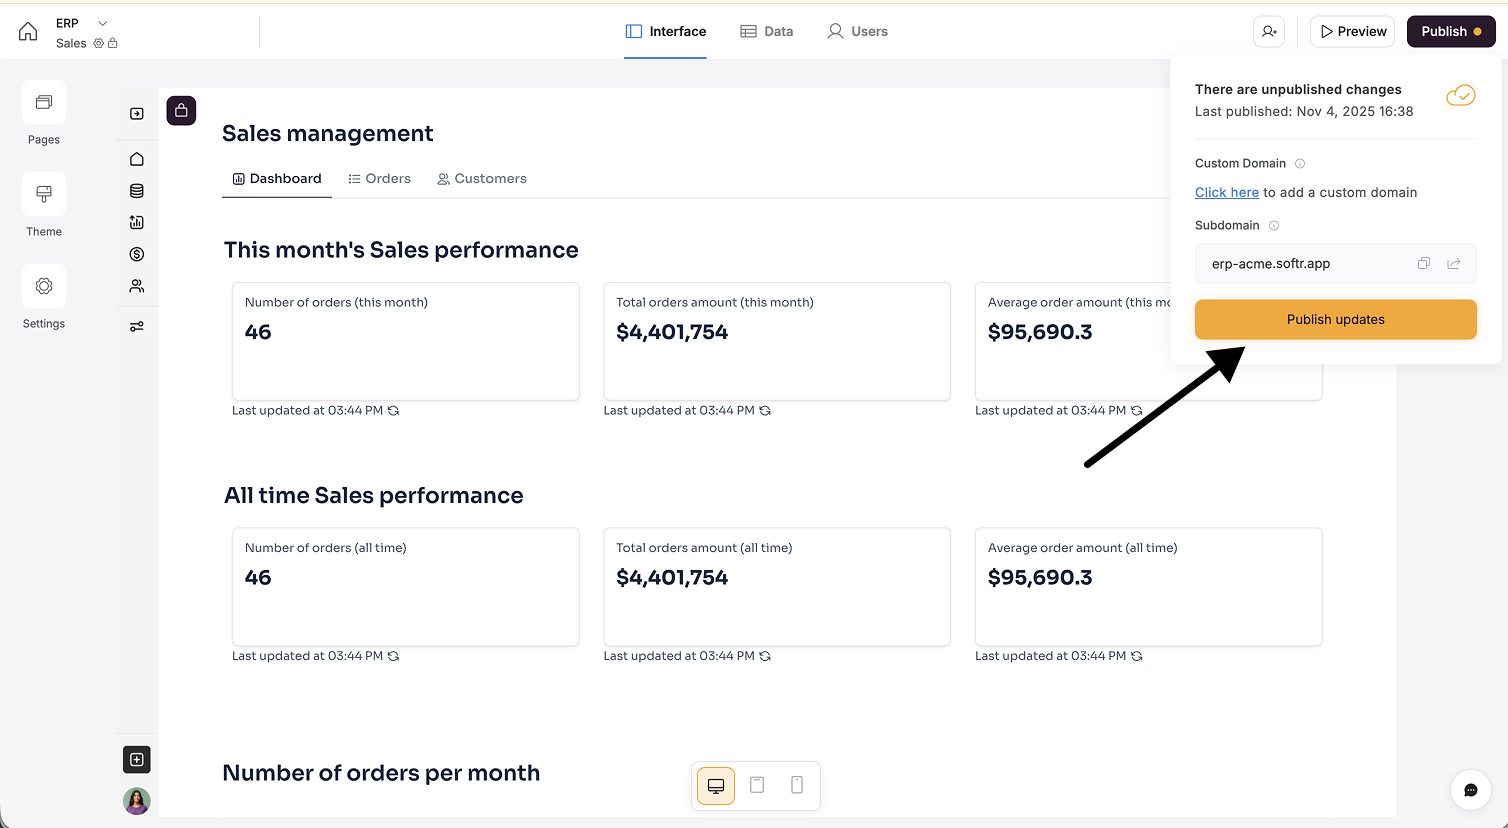
Publishing
When your app is ready for users:- Go to Settings to configure a custom subdomain or connect your own custom domain.
- Click the Publish button in the top right corner to make your changes live.