Logo, Title, and Background Image
Under the Features tab of block settings, you can add a logo to the block, change the title, as well as set a background image for the whole block.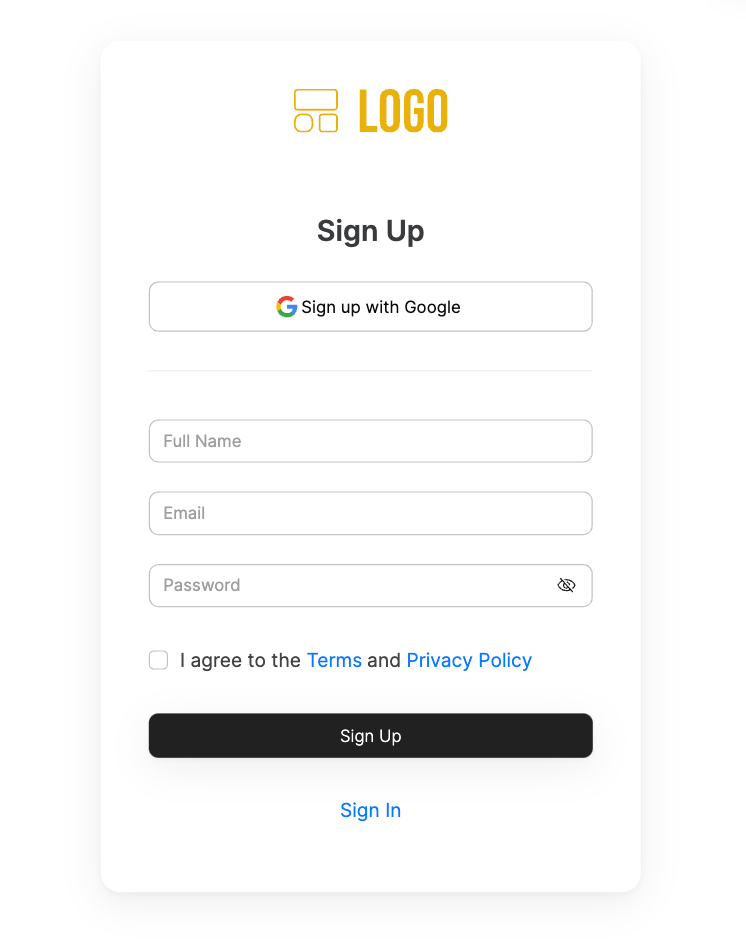
Signup Form
Sign up with Google
If you enable this option, a Sign up with Google button will be added to the form, allowing your users to sign up with their Google Accounts.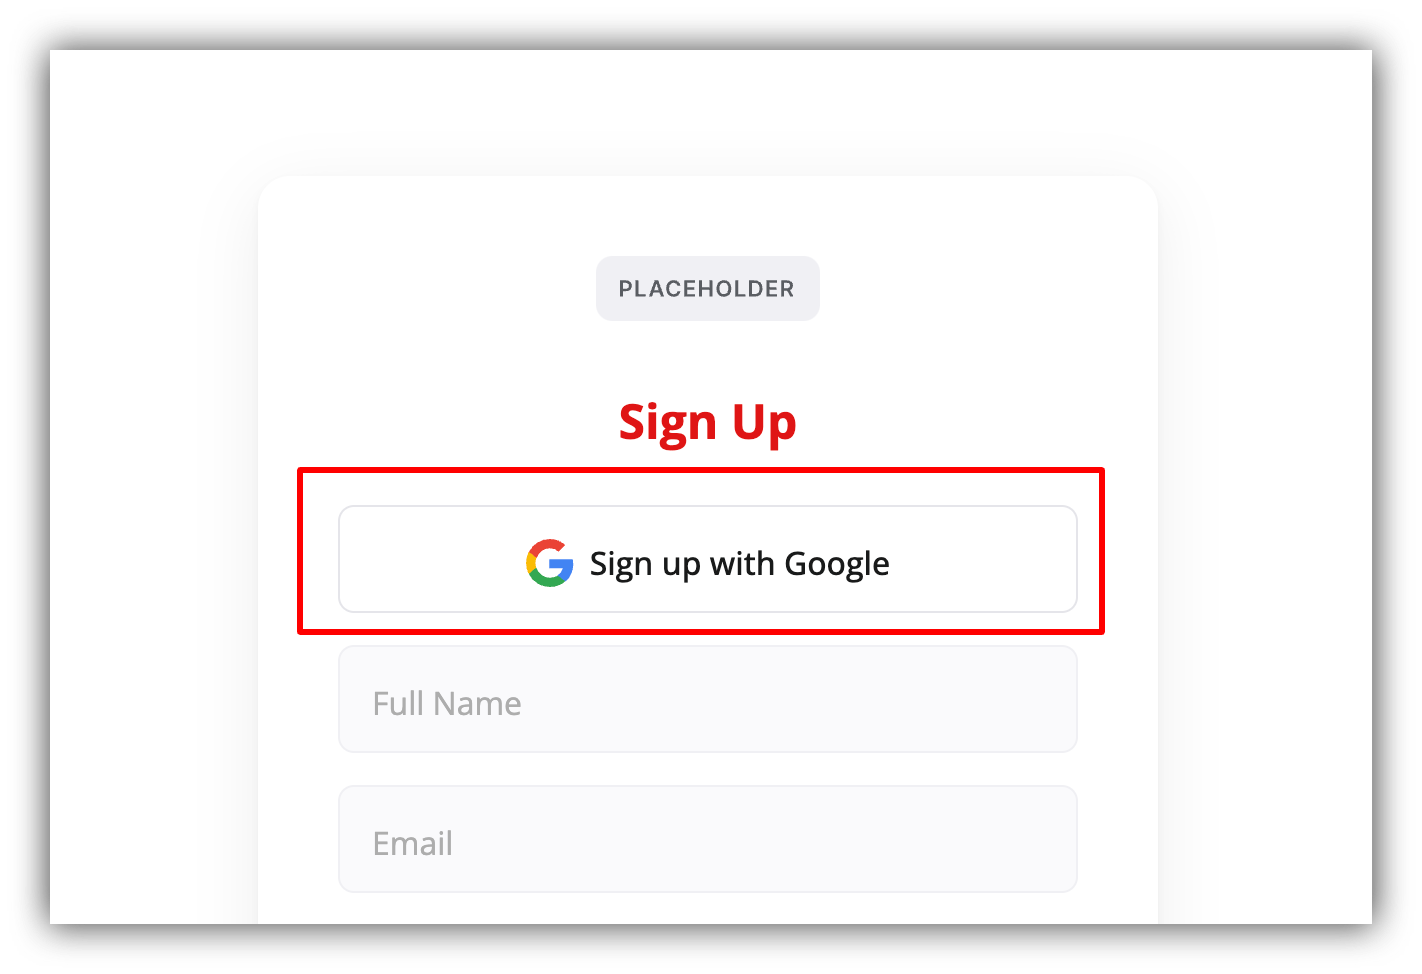
Signup with Google
Domain-based signup
Here, you can allow users to sign up only from specified domains. To do so, you need to add these domains inside the Allowed domains field. For instance, if you want only people with “softr.io” domains (e.g. john@softr.io) to sign up, you need to enter “softr.io” into Allowed domains and hit Enter (see below). You can add as many domains as needed.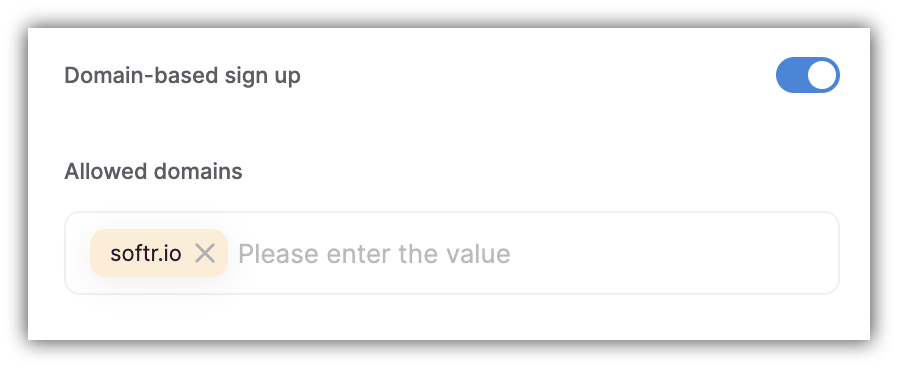
Adding allowed domains
Form fields
Default Fields
By default, you have three fields: Name, Email, and Password, where the Name field can be enabled or disabled. The placeholder texts of these fields can be modified as well. However, it’s also possible to add any number of additional fields after connecting an Airtable users base, which we’ll discuss next.Adding Custom Fields
You also have the option of customizing the Signup block by adding more fields. The values of additional fields will be stored in your data source, therefore you need to have a data source connected in the Users section. If you haven’t connected a users base data source yet, you’ll see a Create Data Source option under the Signup Form section in the Features tab.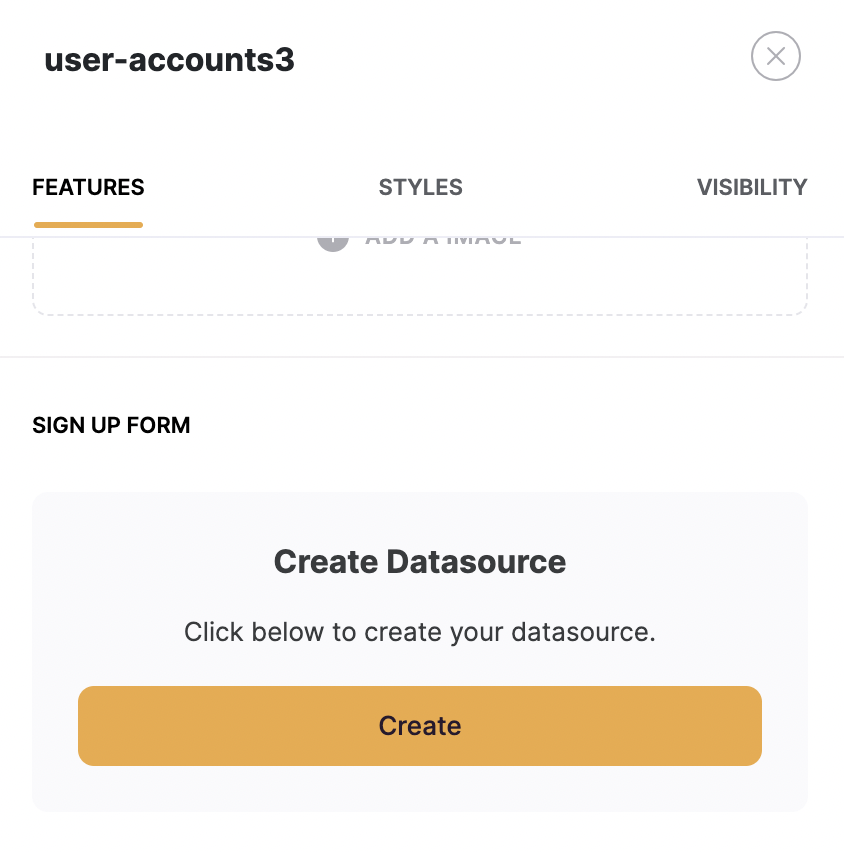
Create Data Source option
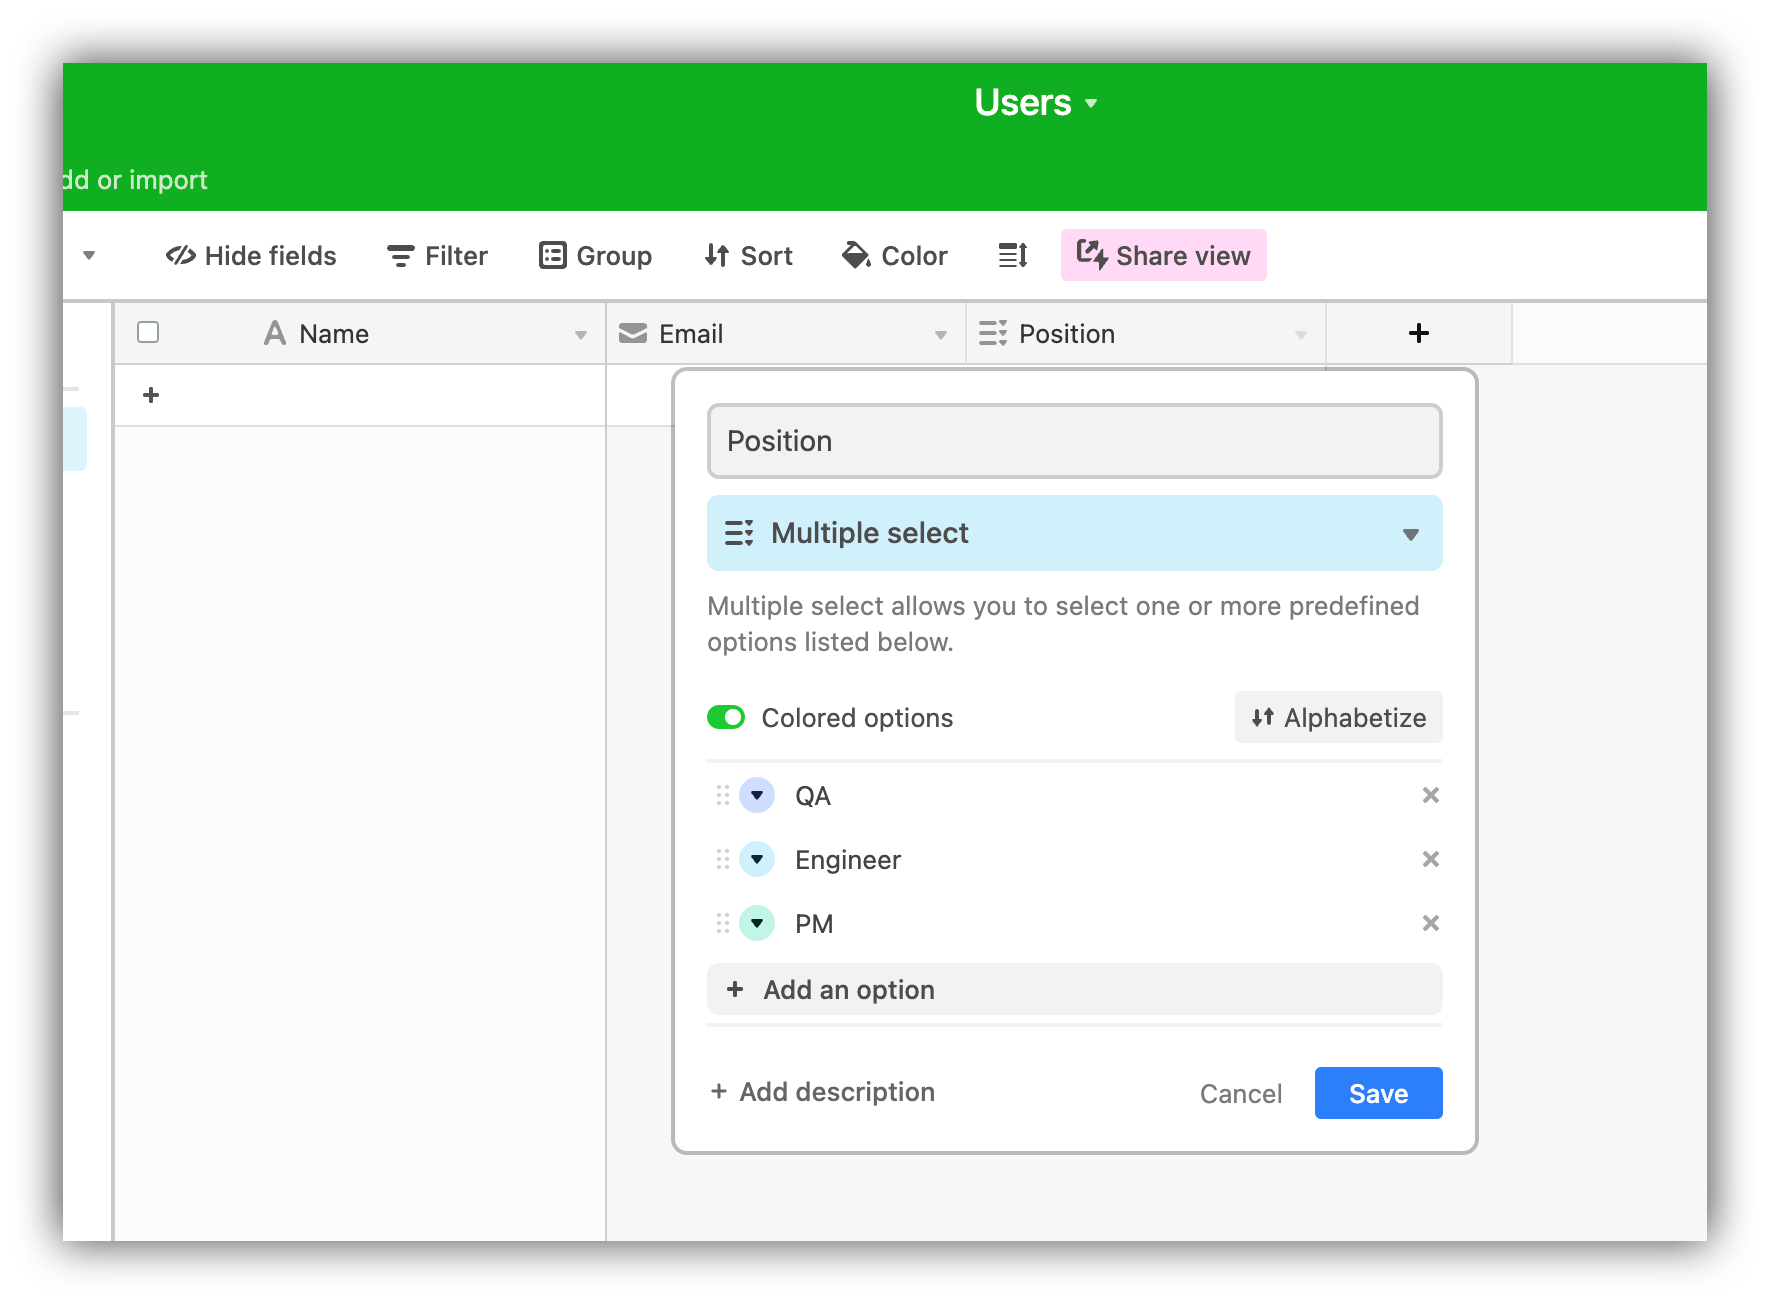
Users base with additional parameter
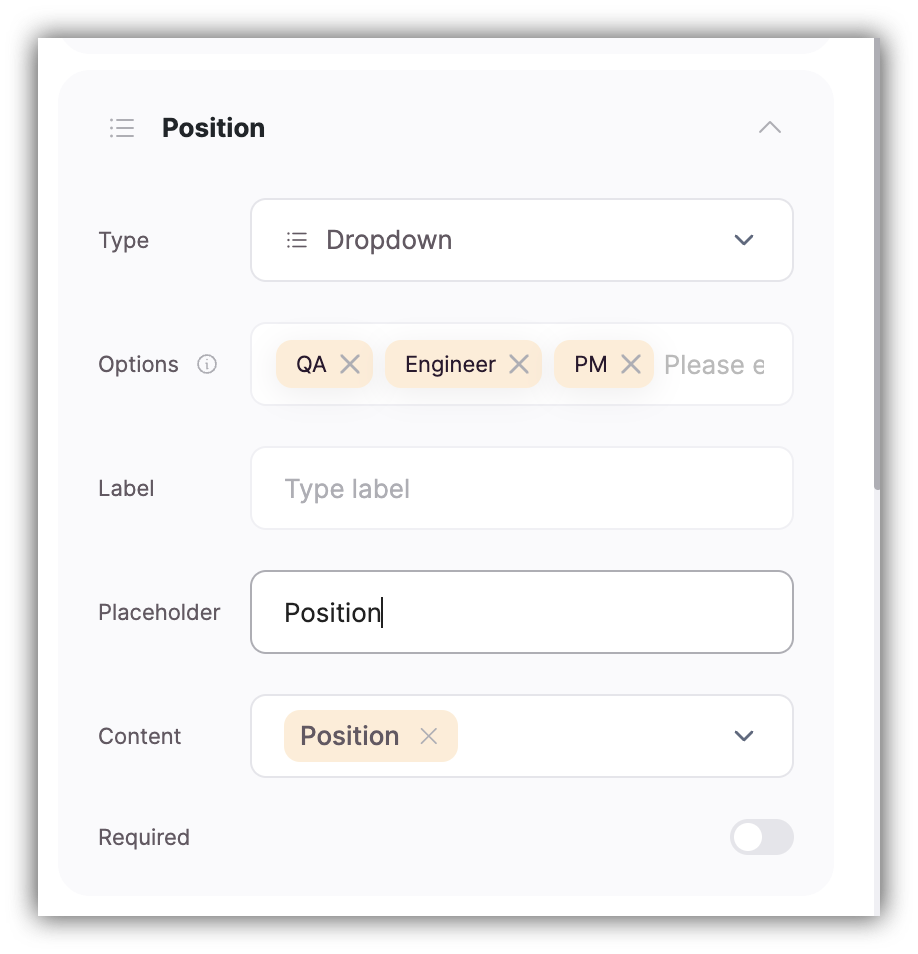
Additional Position field
Additional Signup field stored on Airtable
Sign Up Button
Lastly, there’s the Sign Up button. The button Text can be changed, while the Action is predefined and can’t be modified.Terms and Conditions
Here, you can choose if you want to display a Terms & Conditions checkbox on the form, so that the users have to accept it before proceeding with the registration. If the checkbox is enabled, there are two fields for linking Terms and Privacy Policy pages.Show Sign In
Choose whether you want to show a sign-in button (takes the user to the sign-in page) or not.On Sign up
Lastly, we need to set what page the user should be taken to after successfully signing up.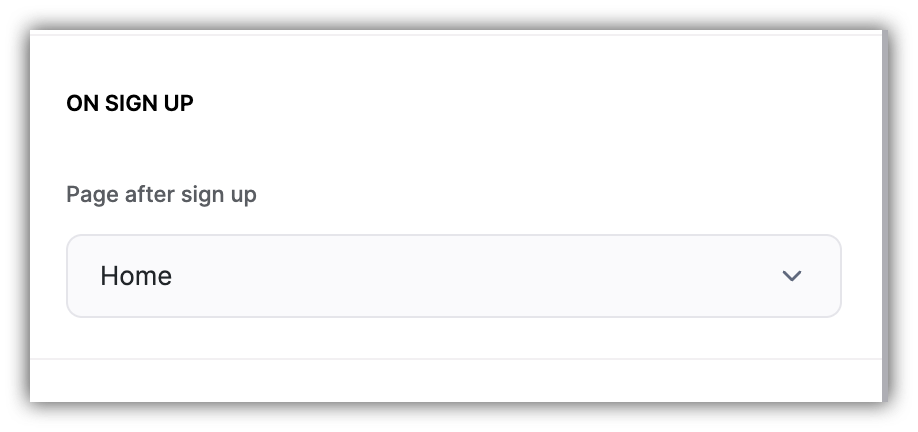
Configuring page after signup
Enable reCaptcha
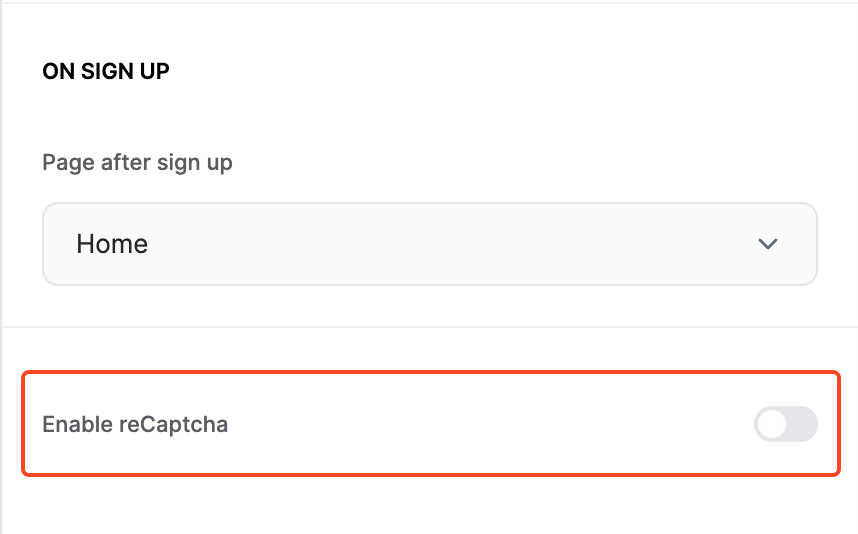
Enabling reCaptcha on Sign Up form

reCaptcha setup
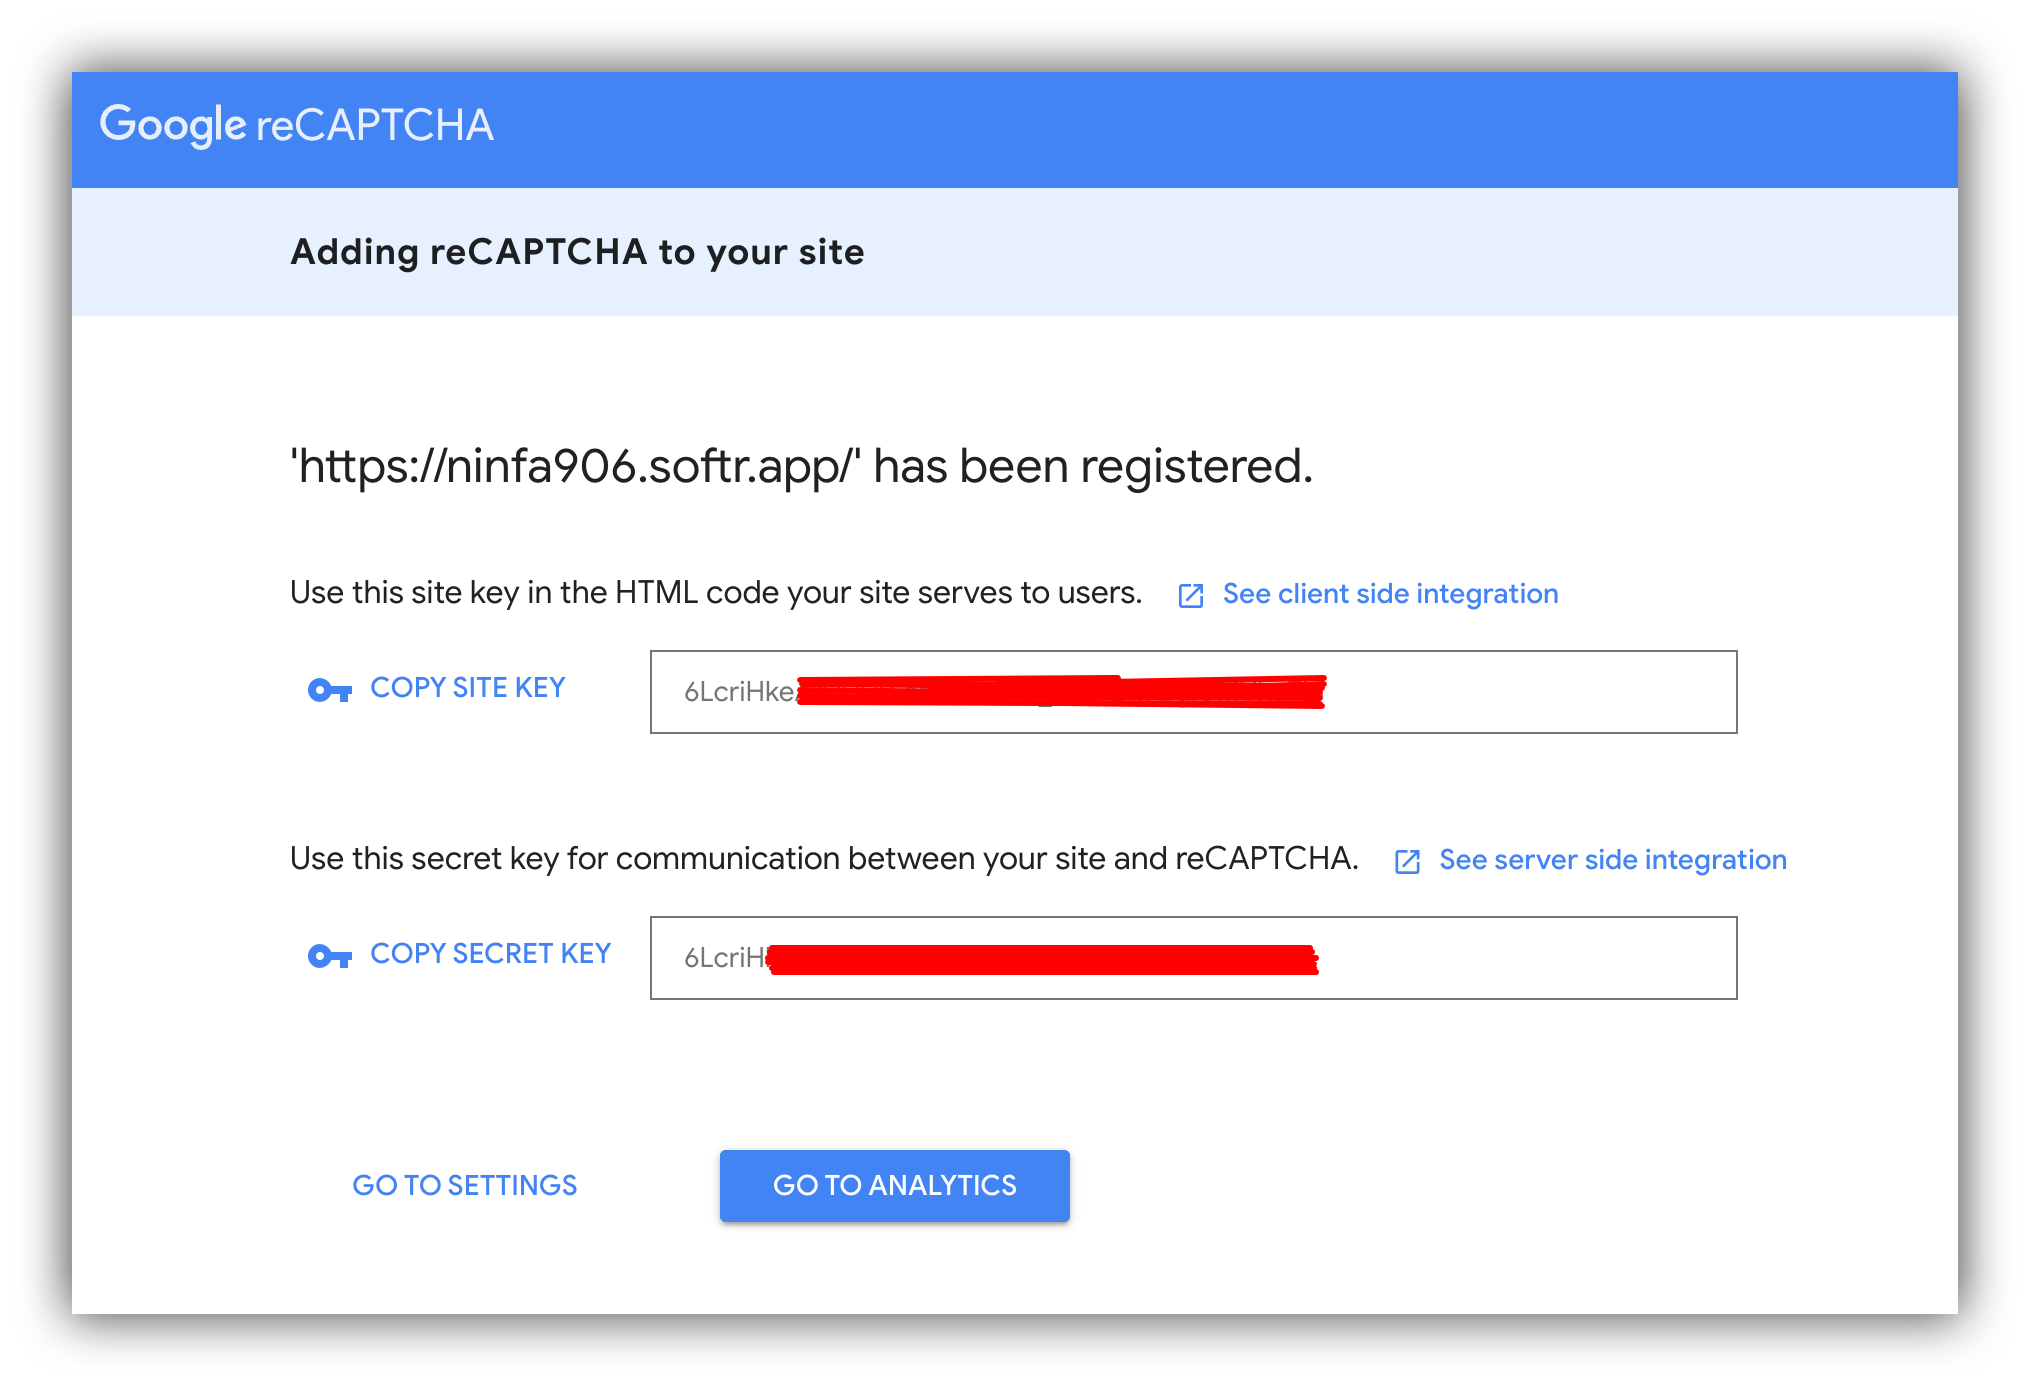
Getting Site Key and Secret Key
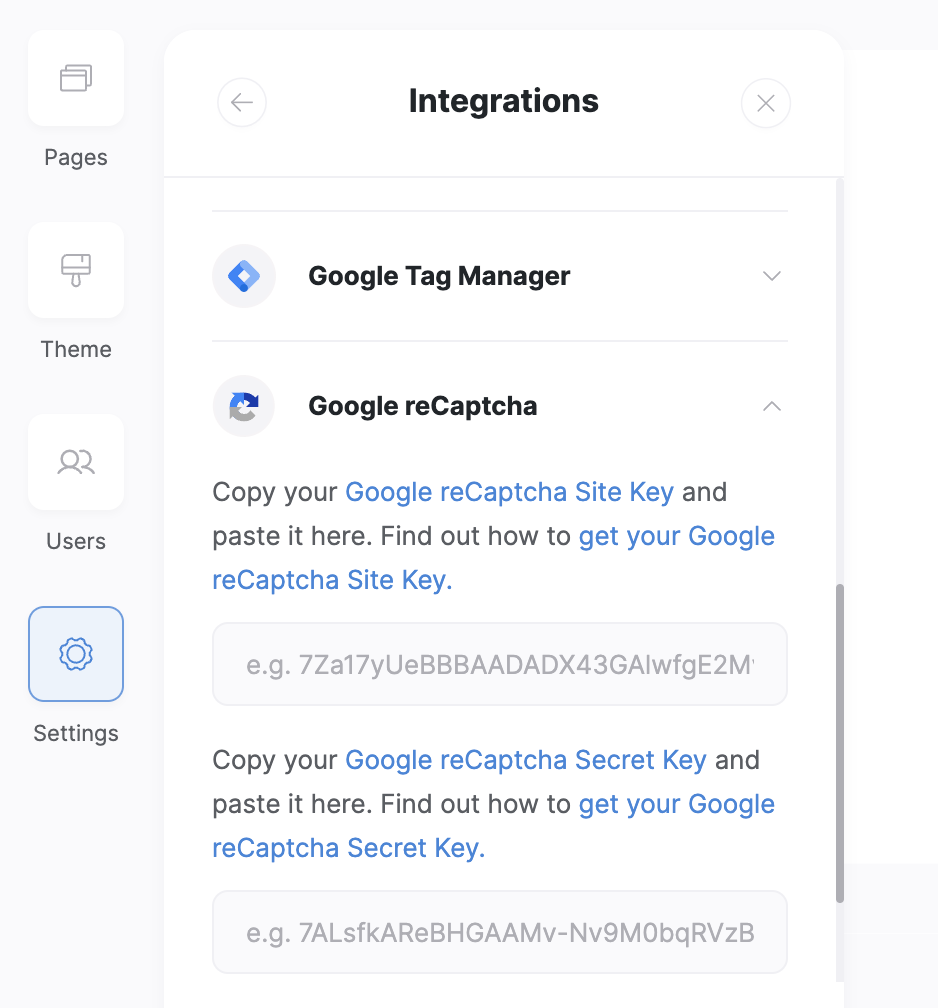
Adding reCaptcha keys