Creating a Chatflow
To add a chat widget to your Softr app, you first need to create a chatflow in your HubSpot account to be able to receive messages. To do that, go to Conversations => Chatflows => Create chatflow.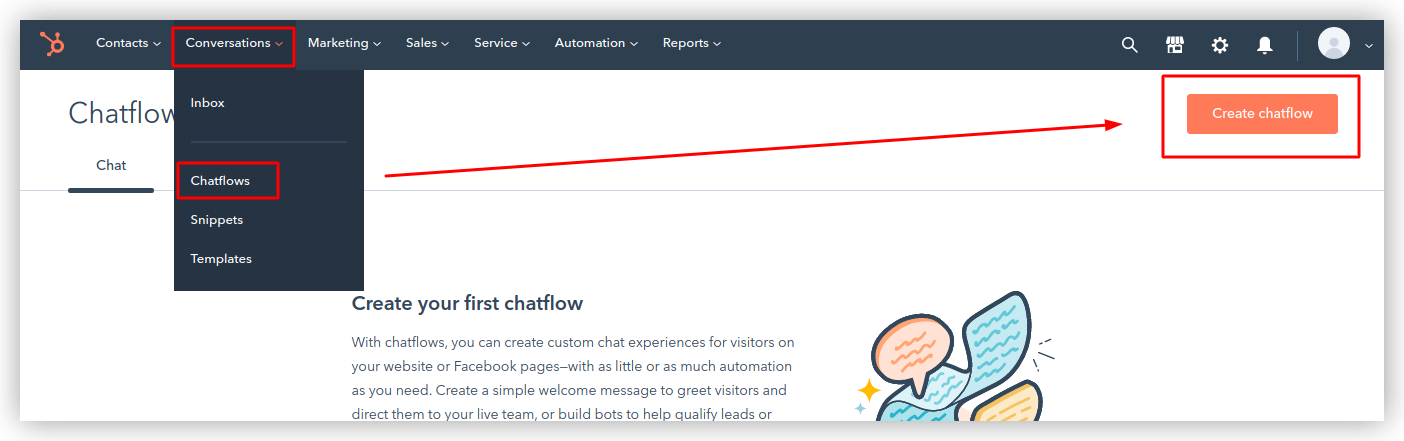
Creating a Chatflow

Choosing the “Website” option
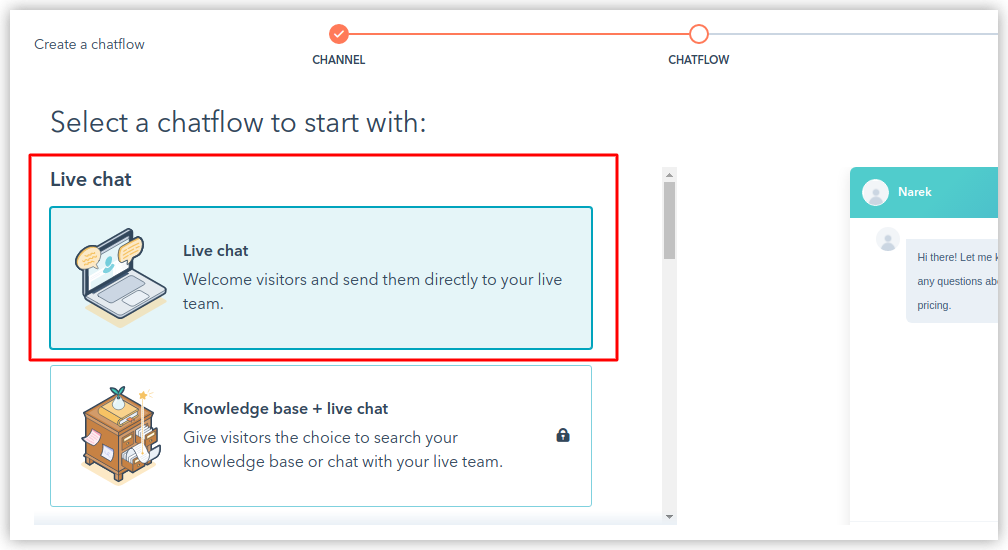
Selecting the “Live chat”option
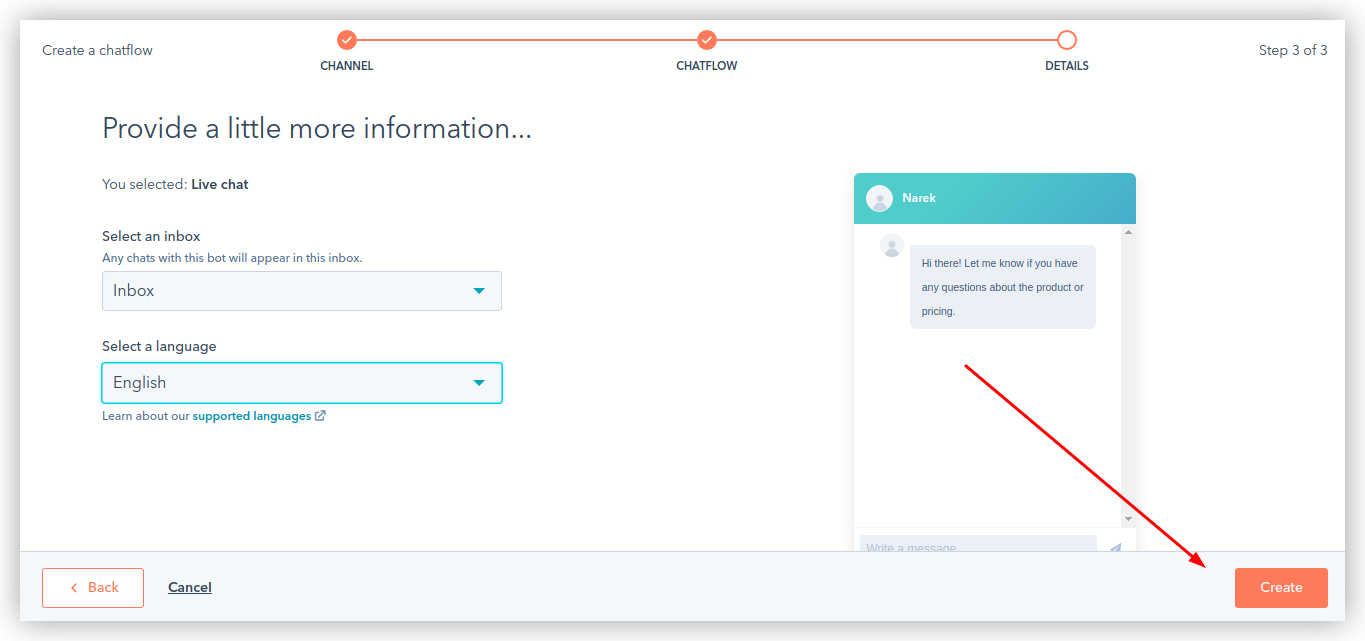
Selecting Inbox and Language
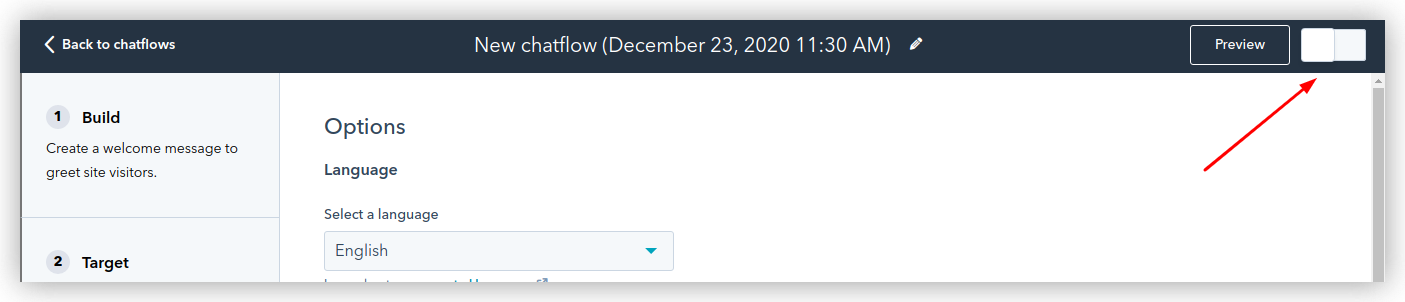
Enabling chatflow
Getting the Tracking Code
Go to Settings in your HubSpot account.
Accessing settings

Getting the tracking code
Adding the tracking code in Softr studio
In Softr Studio, go to Settings => Integrations => HubSpot Chat, and enter the Tracking Code.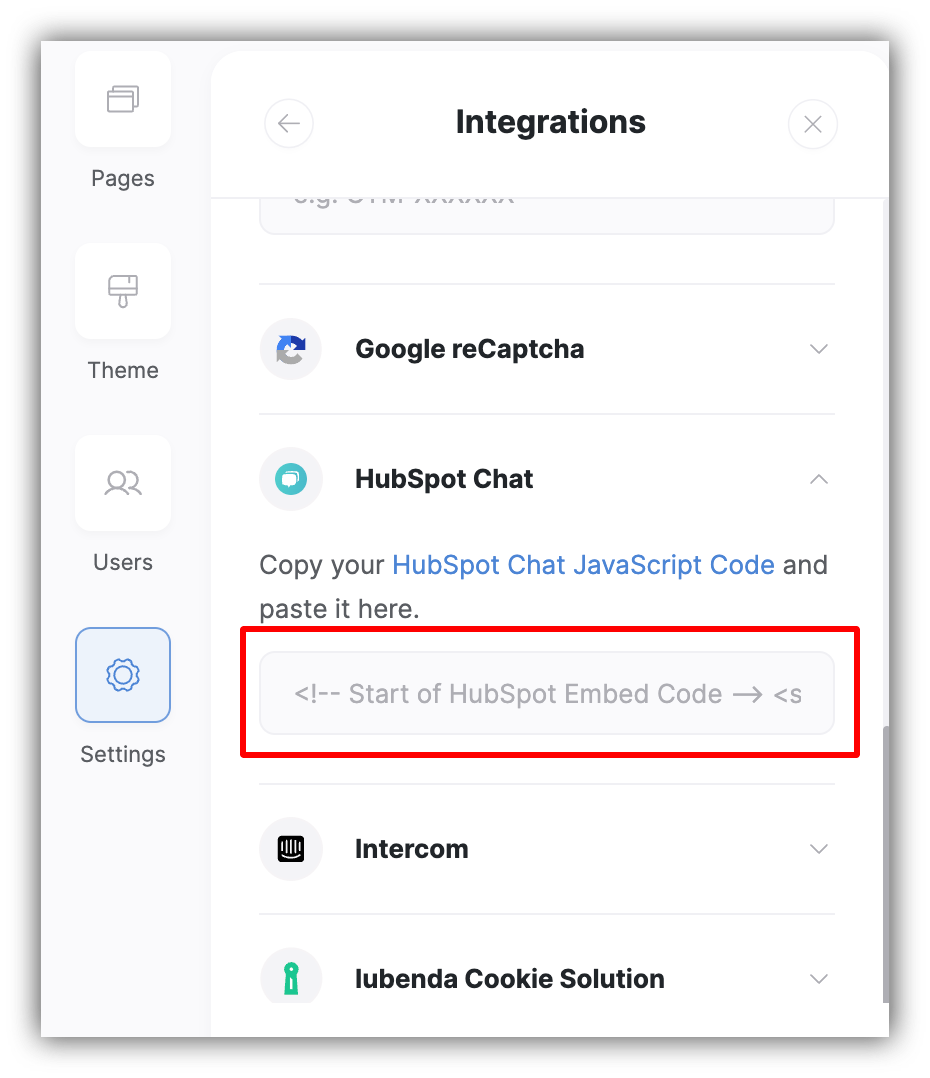
Adding the tracking code in Softr
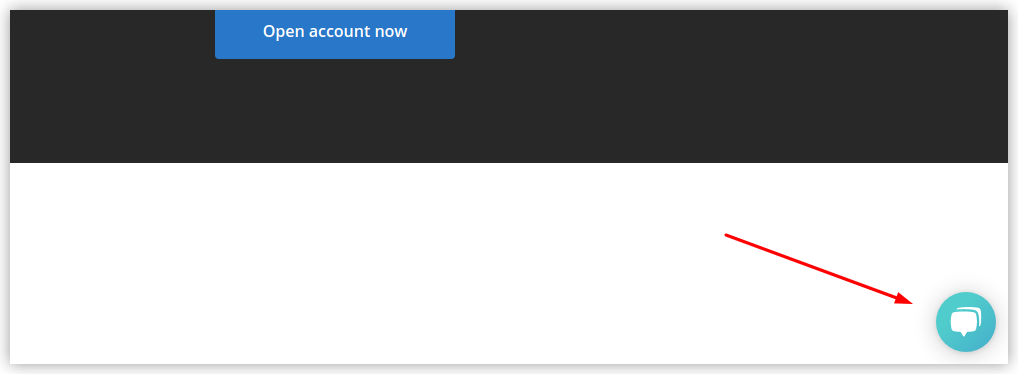
HubSpot chat widget added