- Store and retrieve structured data dynamically
- Use API-driven workflows in your Softr apps
- Securely manage and scale your backend
1. Connect Xano to Softr
To use Xano in Softr, you need to connect your Xano instance as a data source. Note that one connected, all workspaces inside an instance will be available inside your Softr apps.Open the database connector in Xano
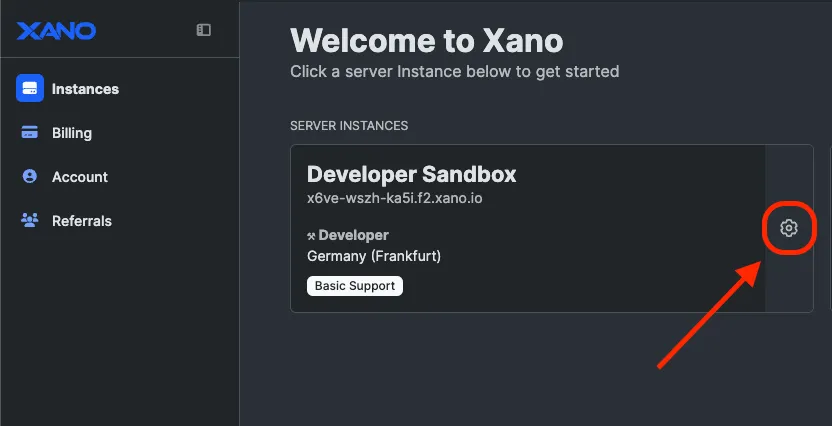
- Log in to Xano and go to the server instance you want to connect.
-
Click the gear icon next to the server instance.
-
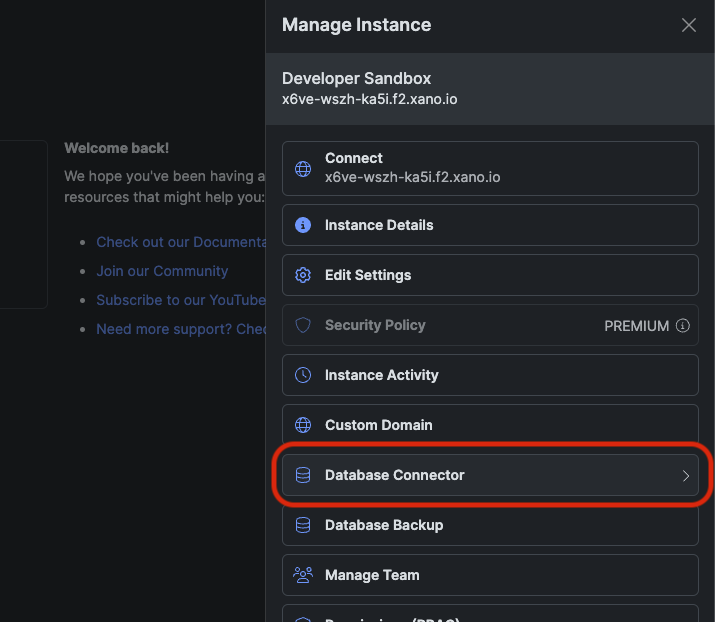
In the menu on the right, select Database Connector.
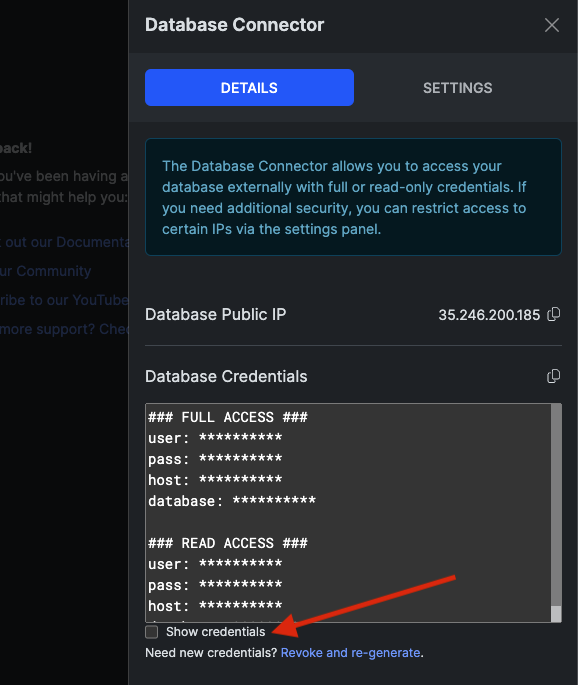
Generate your instance’s public IP and credentials
In order for Softr to be able to access your instance, you’ll need to create a publicly accessible IP address and get some credentials so that only those with the credentials can access it.
-
Click the GET buttons to generate:
- A public IP address (required for Softr to access Xano)
- Access credentials (used to authenticate Softr)
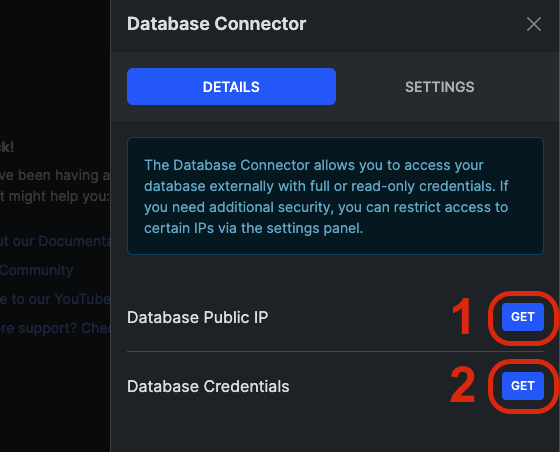
-
Copy and securely store your credentials. By default, they are hidden for security reasons. Click Show credentials, then copy and save them in a secure location.
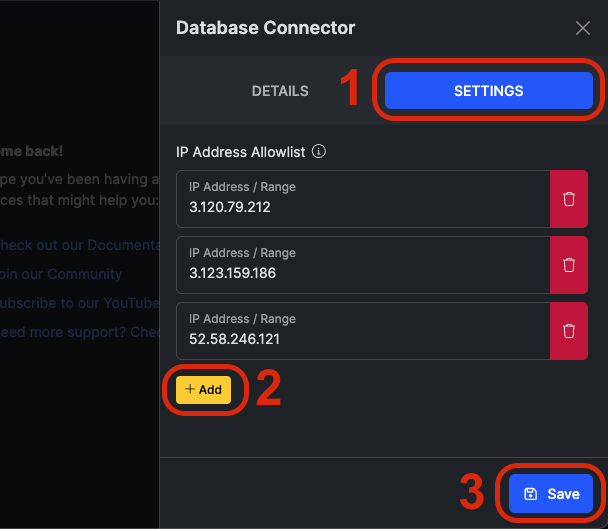
Allow Softr’s IP addresses in Xano
- Go to the Settings tab in the Database Connector.
-
Click + Add and enter the following Softr IP addresses:
3.120.79.2123.123.159.18652.58.246.121
-
Click Save.
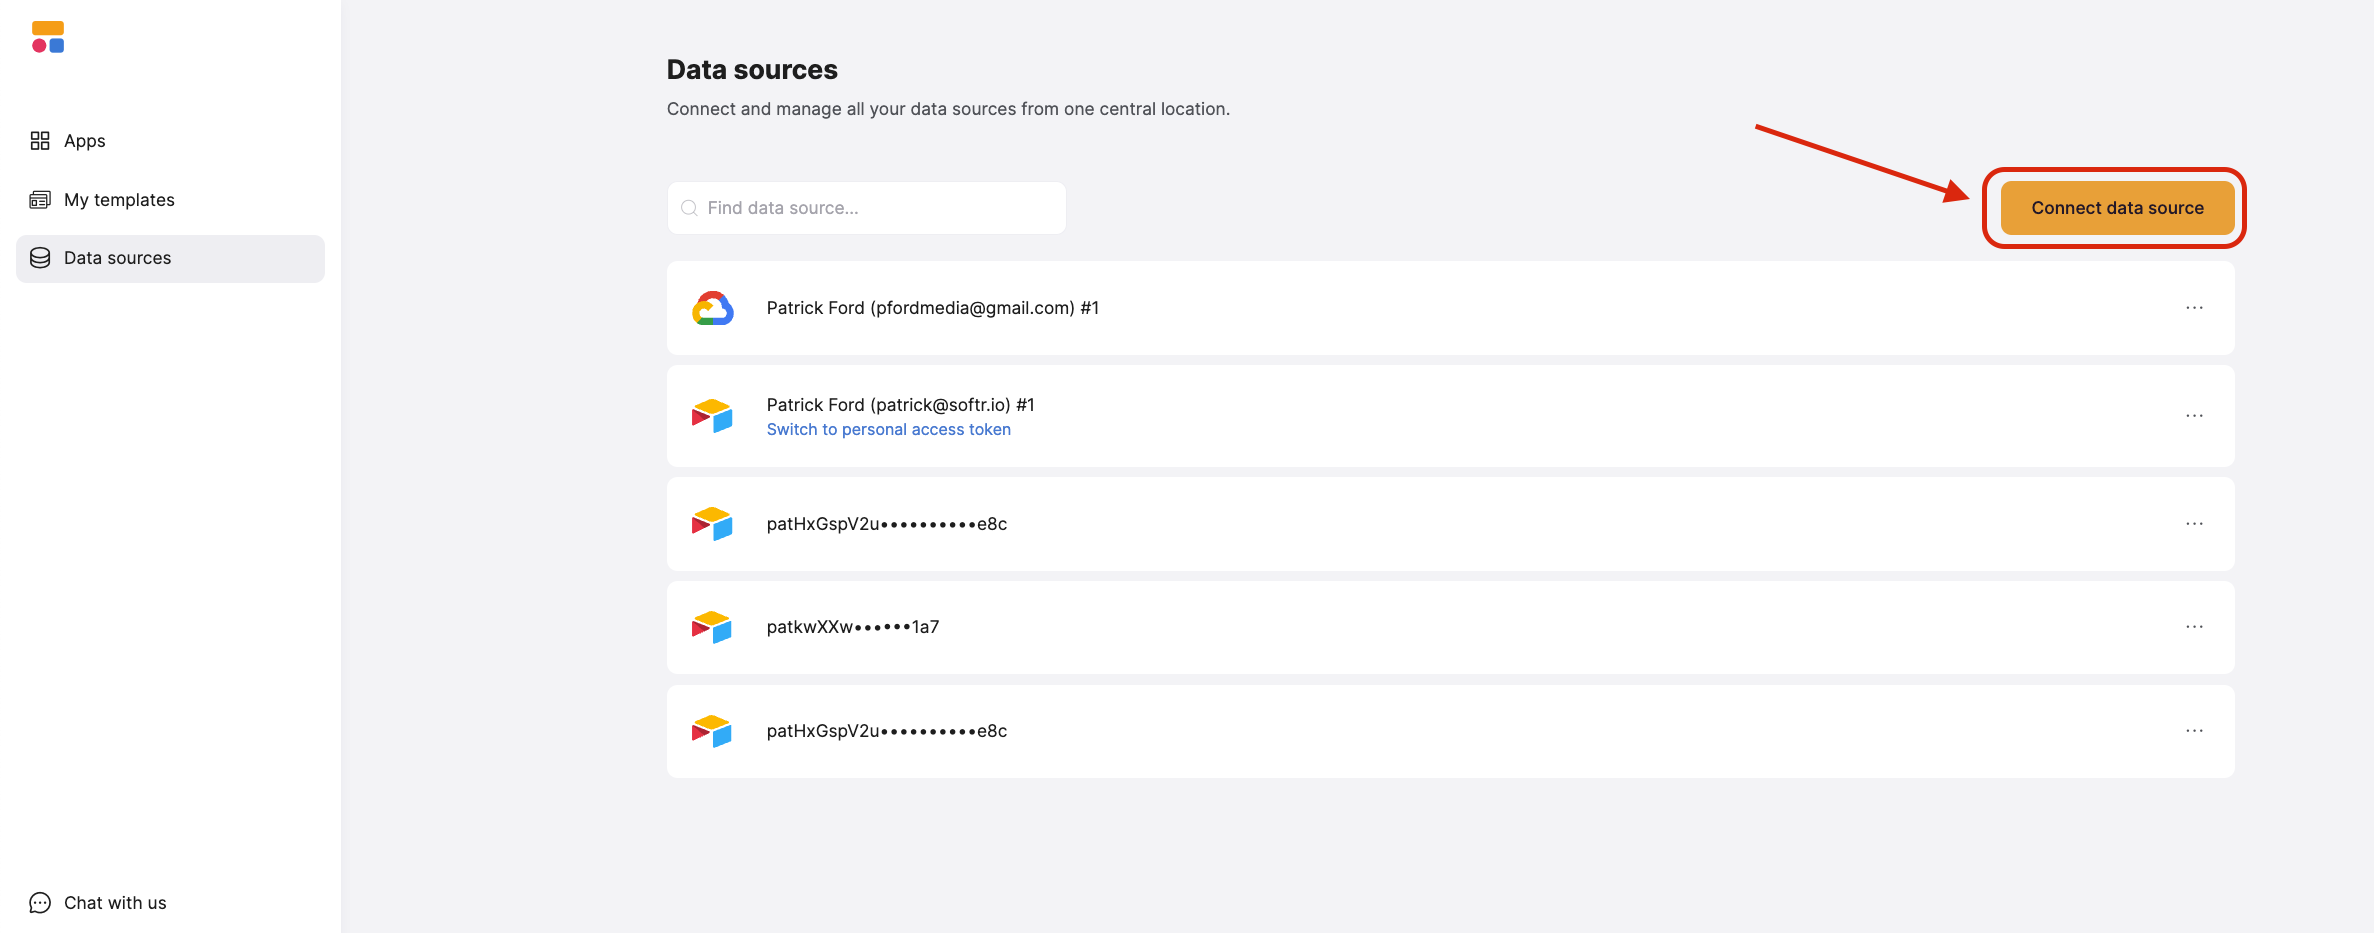
Connect Xano in Softr
- Log in to Softr and go to Data Sources in the left-hand menu.
- Click Connect Data Source in the upper-right corner.
-
Select Xano from the list of data sources.
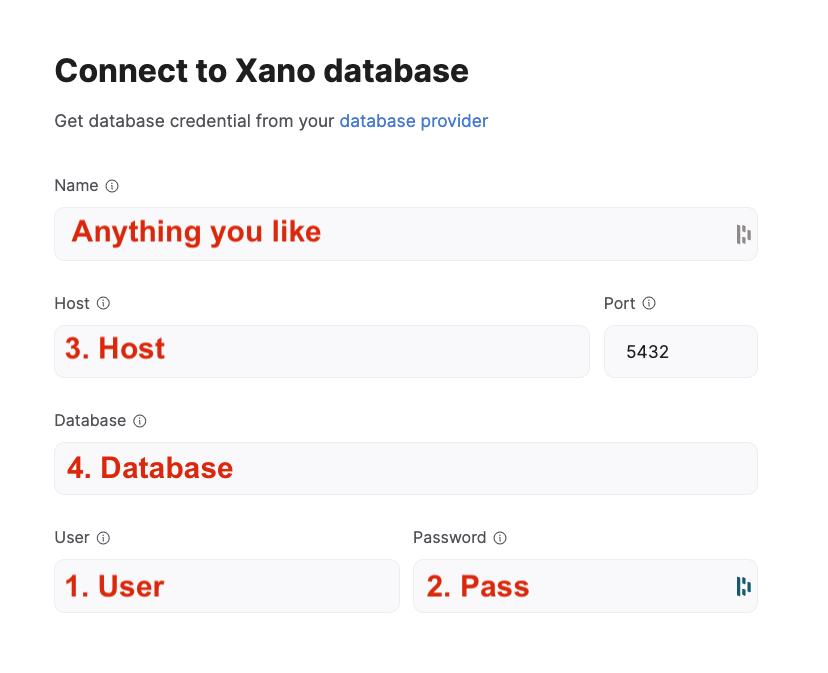
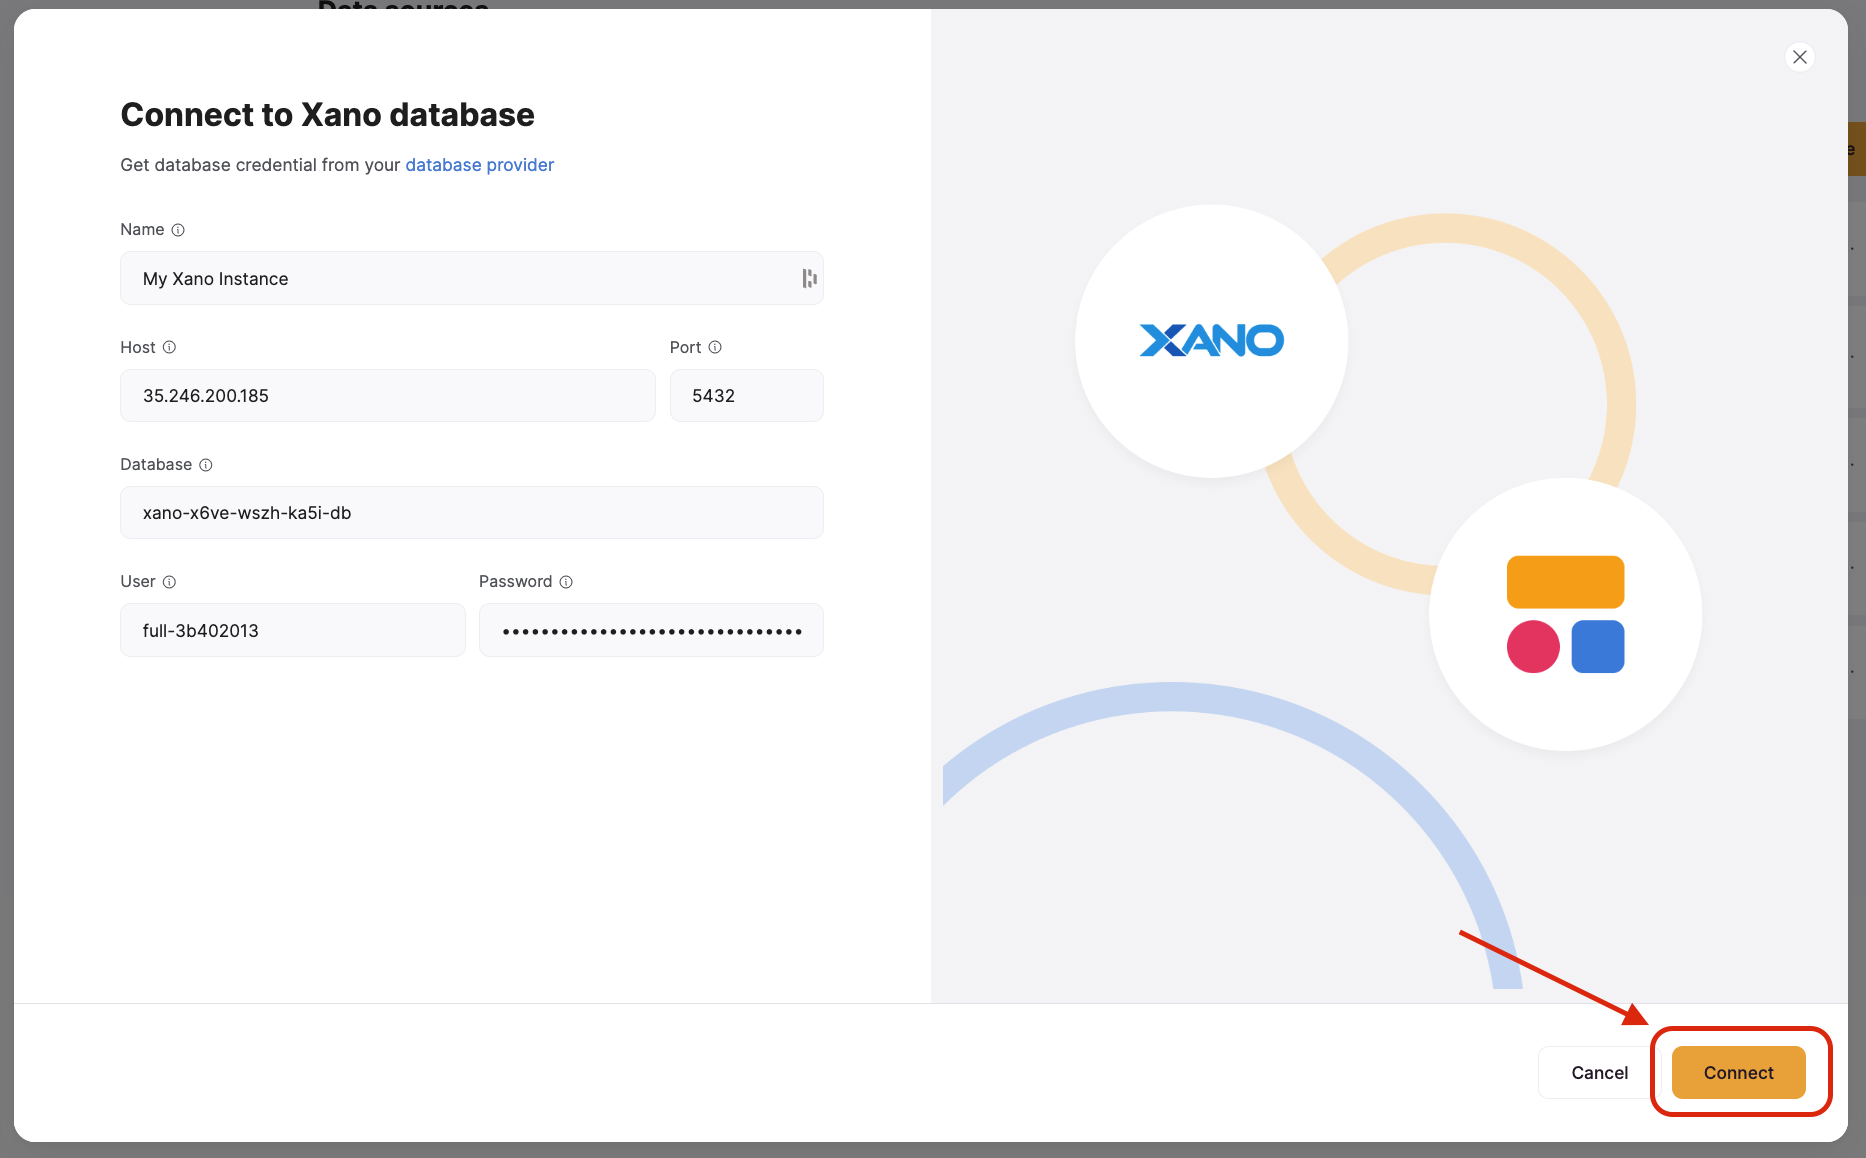
Enter your Xano credentials in Softr
Note that you have Full Access credentials as well as Read-Only credentials, so make sure to use the correct ones for your use case. We always recommend using the Full Access credentials so you don’t have to re-authenticate later if you expand your Softr apps’ capabilities.
-
Copy and paste your Xano credentials into the appropriate fields in Softr:
- User
- Pass
- Host
- Database
-
Set the Port to
5432(default for Xano). -
Enter a custom name for your connection (optional).
2. Connect your Xano data to your Softr app
Once your Xano account is connected, you can use it in any Softr application.Connect your data to a dynamic block
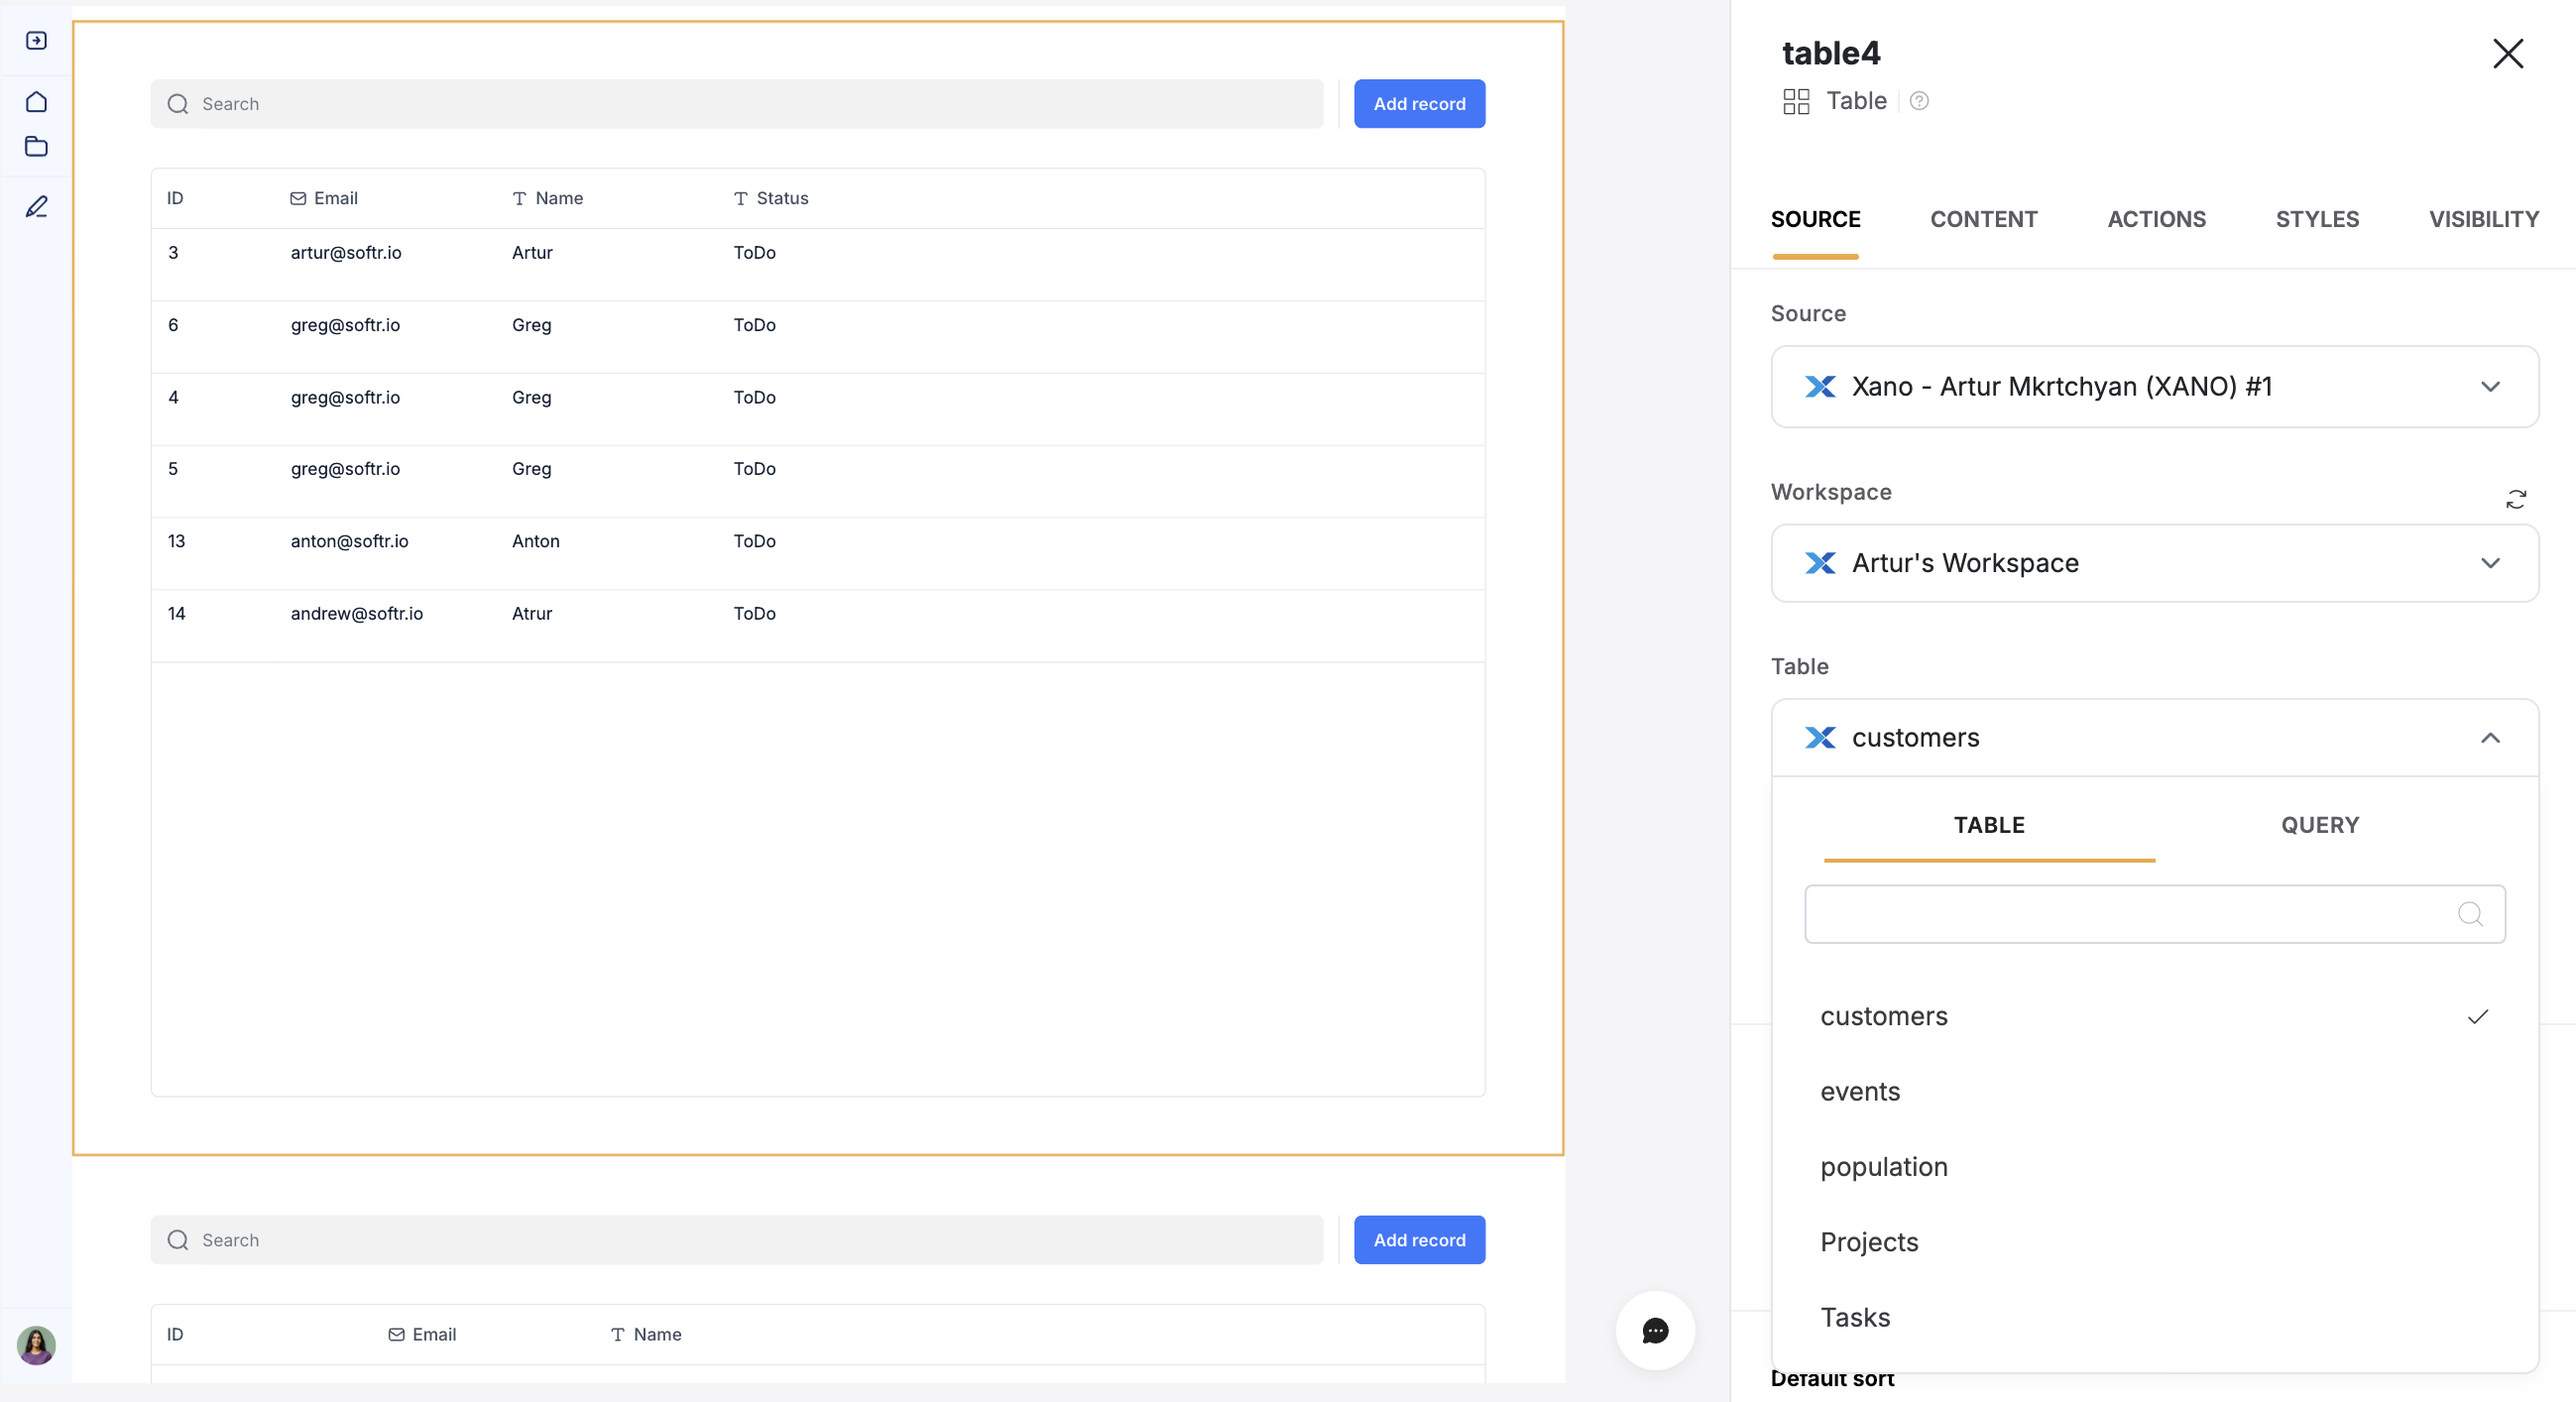
To display your data in the app, connect a dynamic block (e.g. List, Grid, Table) to your Xano table:
- Go to the Block source tab and select your Xano integration.
- Select the workspace you want to connect.
- Pick the table you want to use or add a new query
-
Optionally, select the primary field.