Use case examples
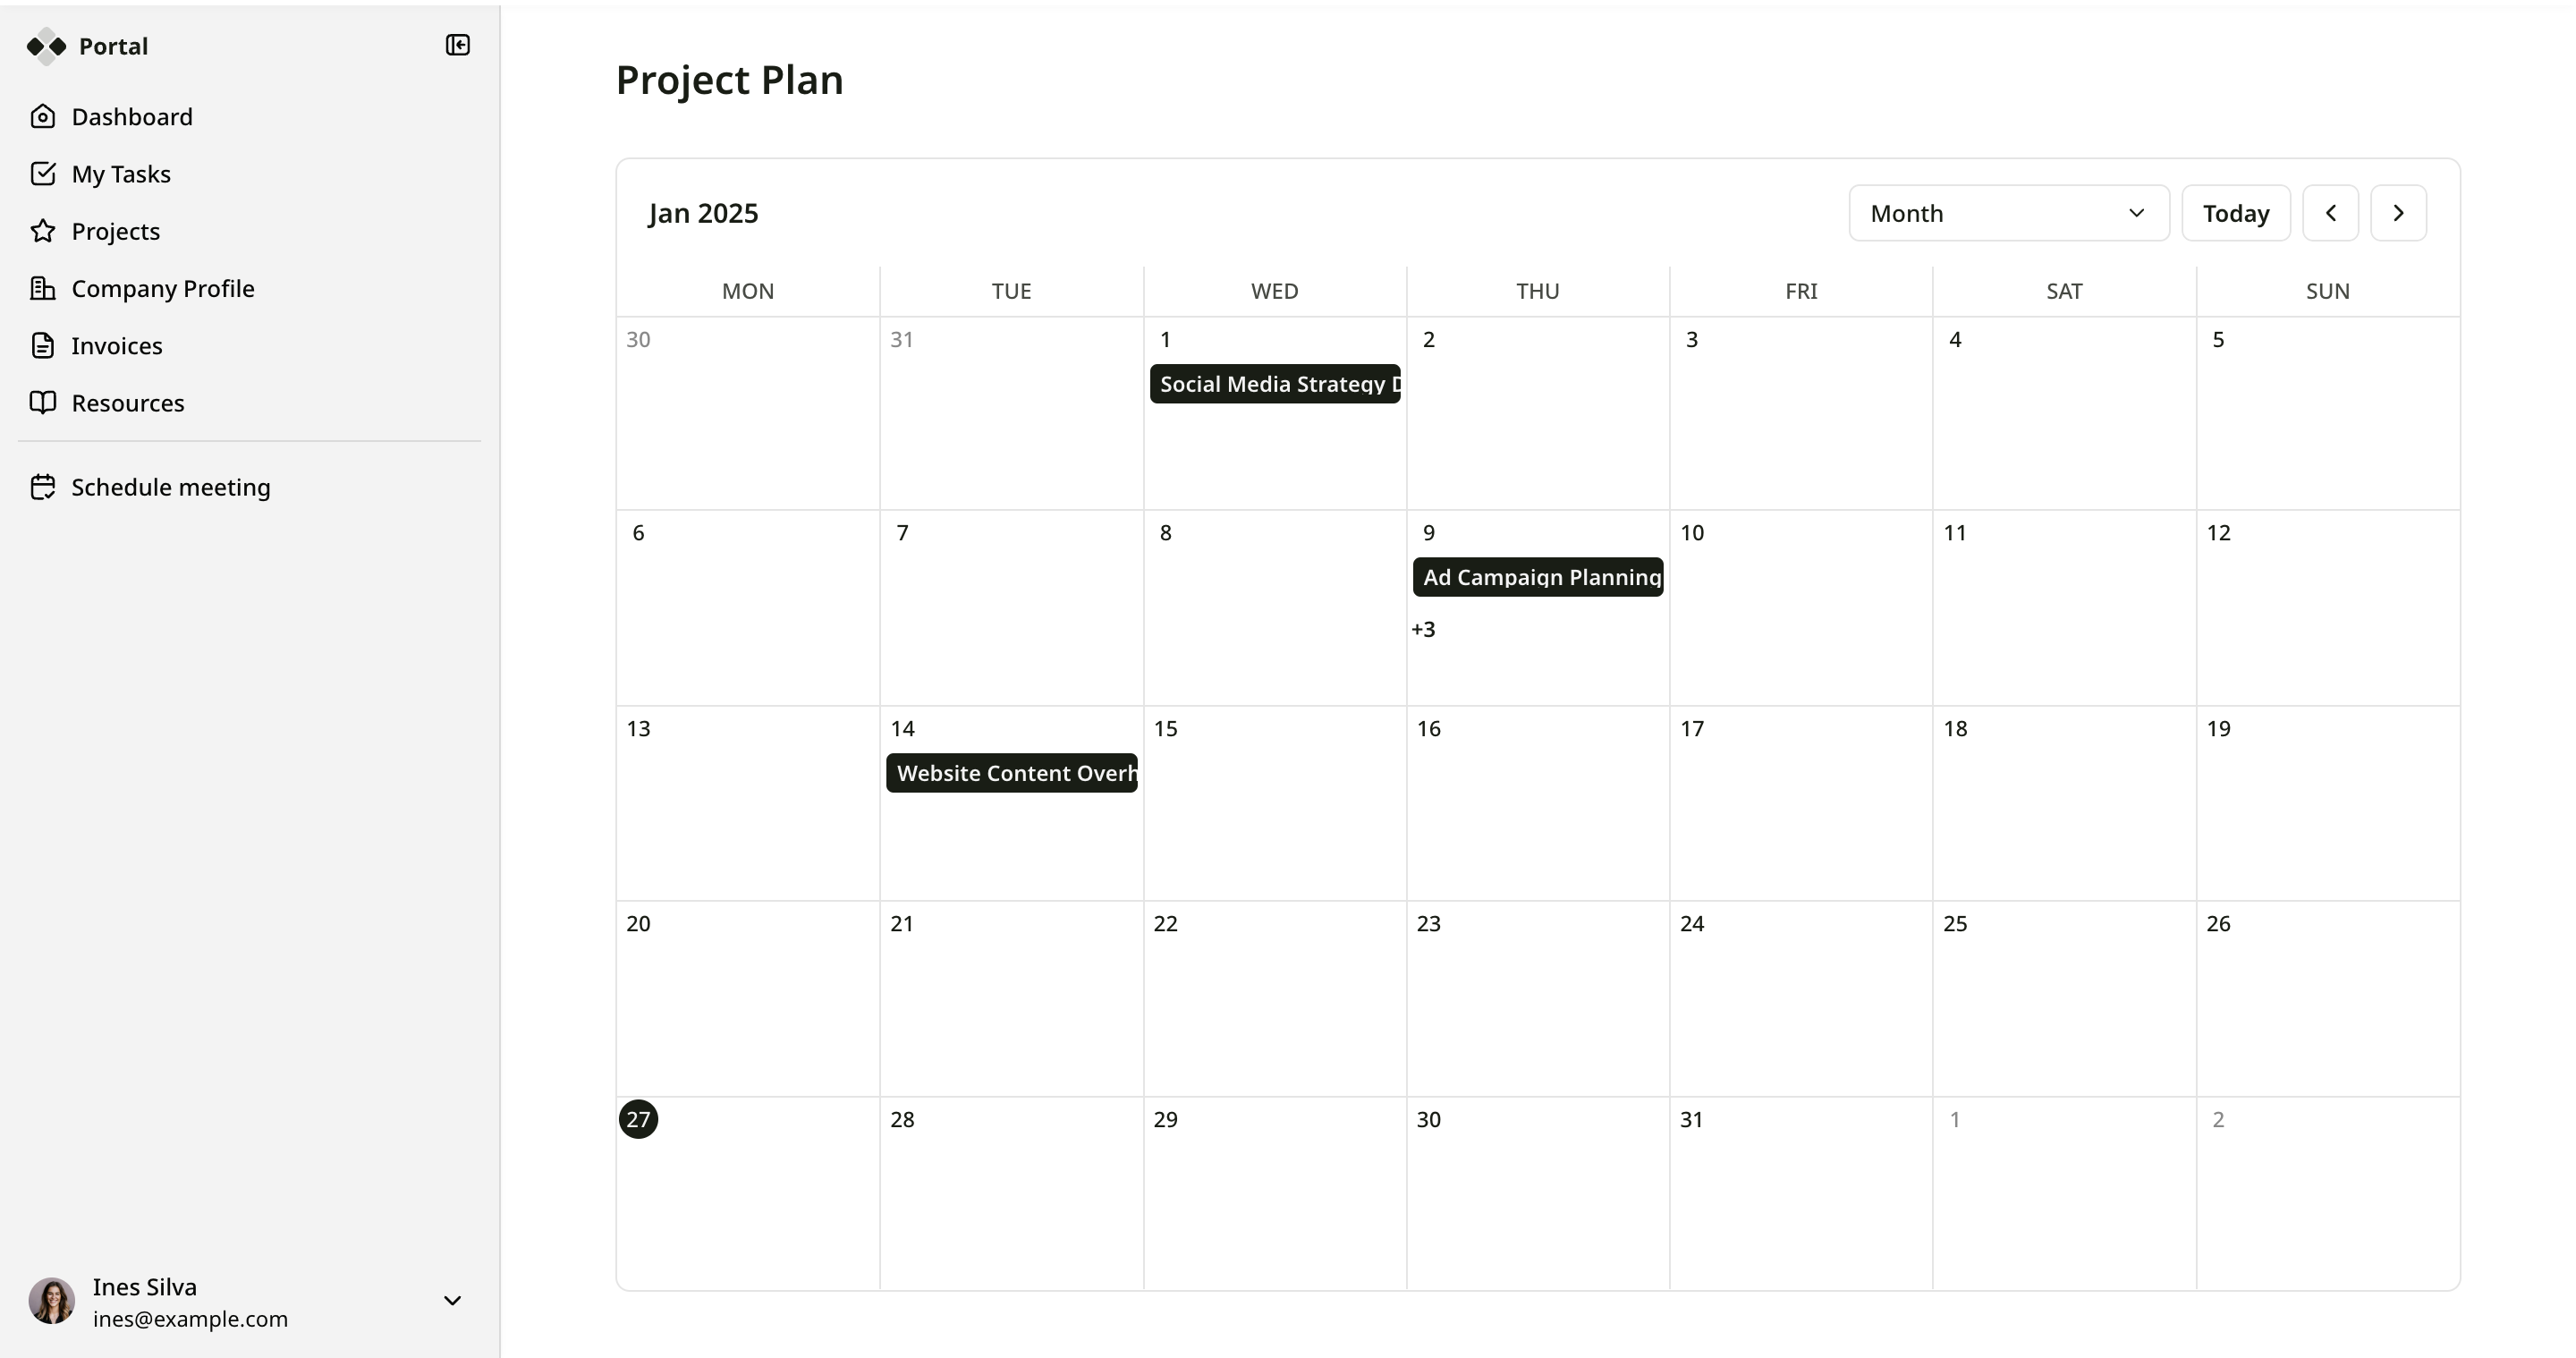
- Project Timelines: Map out project milestones, deadlines, and task timelines.
- Company Calendar: Coordinate team schedules by visualizing meeting times, vacation days, and work shifts in a single shared calendar. Use color coding to distinguish between team members or event types.
- Training Sessions: Schedule employee training events and allow easy access to session times, locations, and participant lists.
Calendar block is available for Professional, Business, and Enterprise plans.
Configure a Calendar block
Source
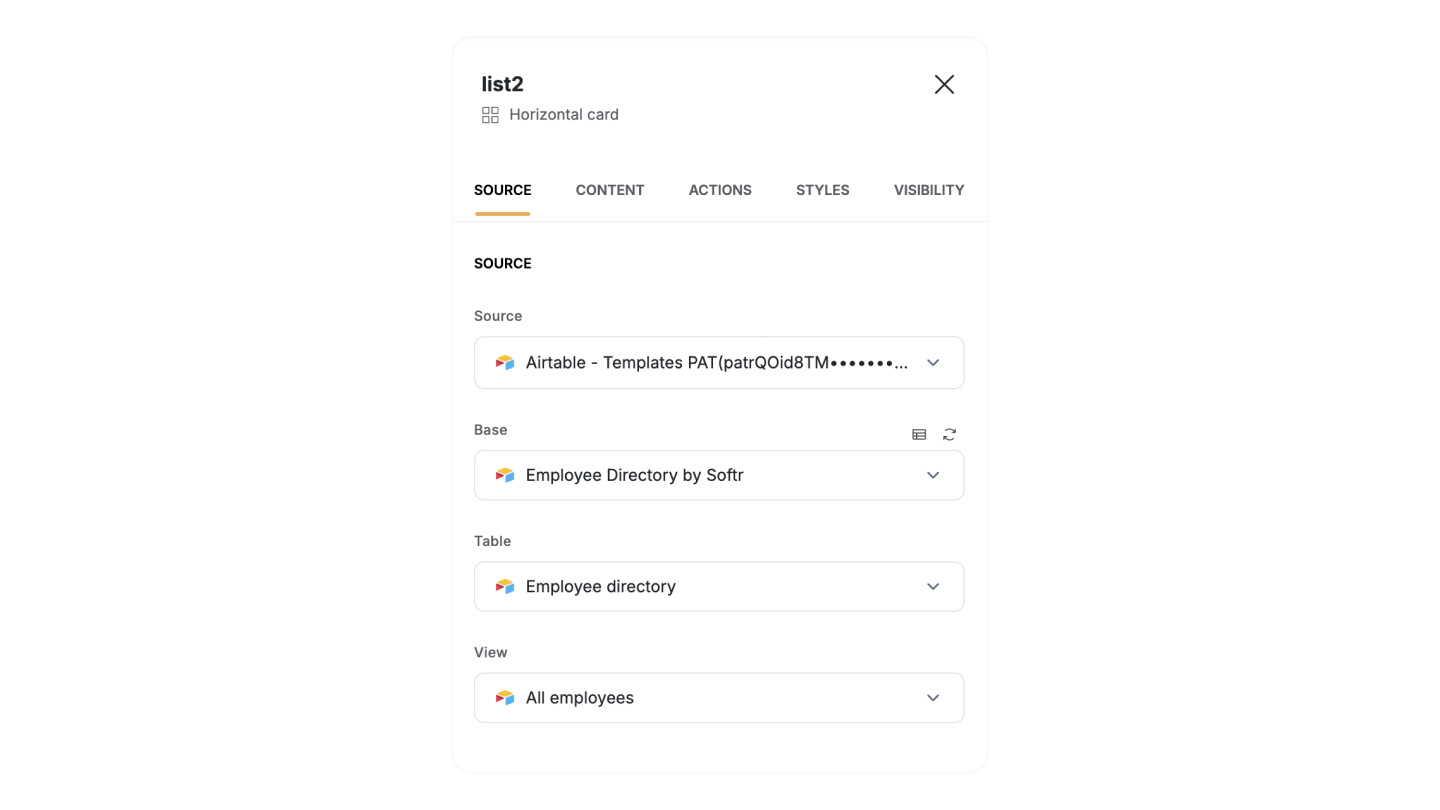
The Source panel connects the list block to your data source. Here, you can:- Connect the list block to yourdata source.
- Set upconditional filters to display only the data that meets specific criteria.
- Define sorting rules and set the number of items to display per page.
- Customize the empty state message that appears when no data matches the requirements.
Some configuration options depend on the data source. For more details, check the documentation for your specific data source.
Content
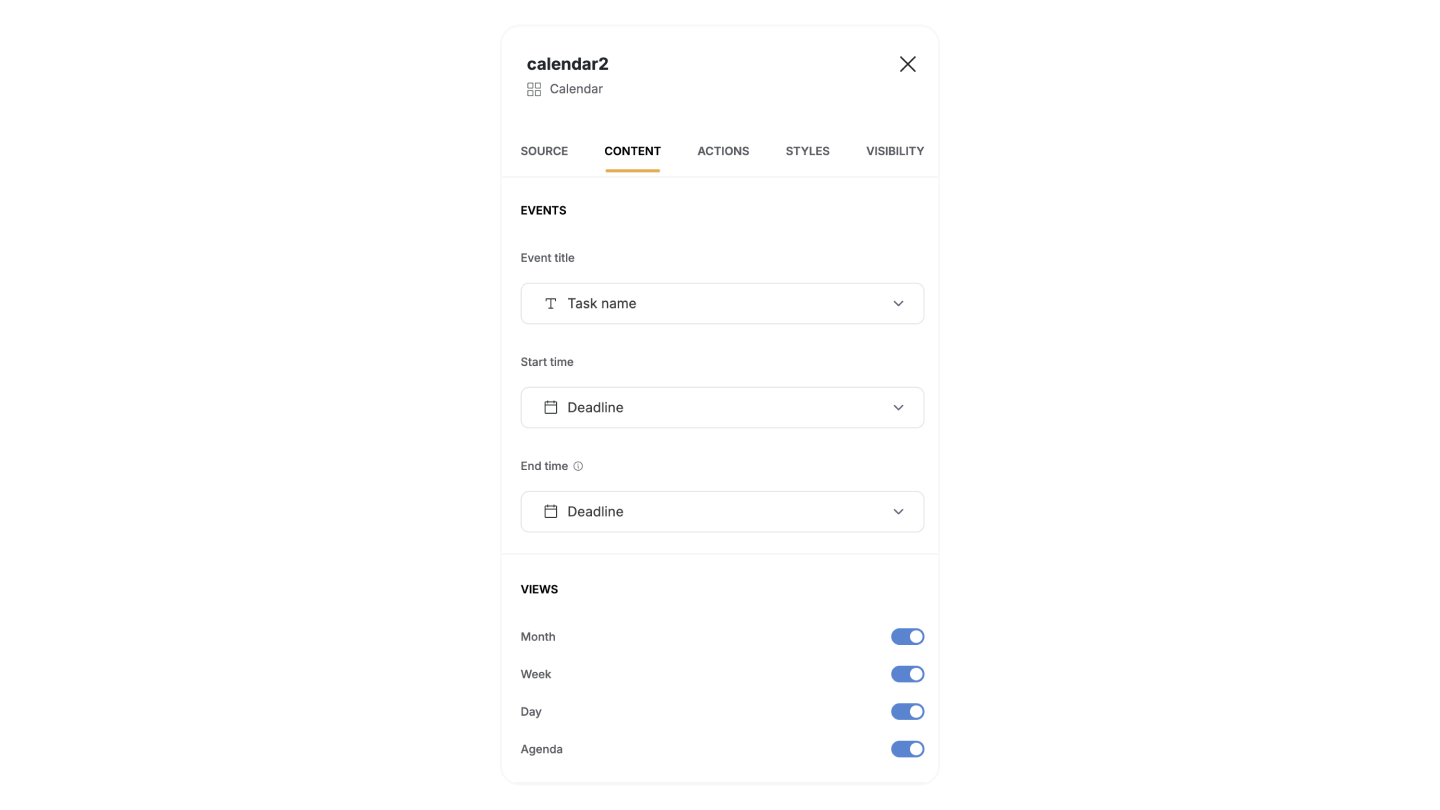
In the Content tab, customize the Calendar layout data fields, adjust their display, and add features like search and filters to help users find information quickly.Event fields
The Calendar block uses default event fields to display your events. Make sure to map the following required fields:- Event Title: Displays the name of the event on the calendar.
- Start Time: Specifies when the event begins, shown on the calendar.
-
End Time: Specifies when the event ends, shown on the calendar.
If you’re using GSheet as your data source you can specify if the date field includes time and define the time format you would like it to be displayed.
Calendar Views
Customize how users interact with the calendar by enabling multiple view options. Available views include:- Month View: Ideal for an overview of all events within a month.
- Week View: Focuses on events for a single week, with detailed time slots.
- Day View: Displays events for a single day, perfect for detailed scheduling.
- Agenda View: Lists events in chronological order for a streamlined overview.

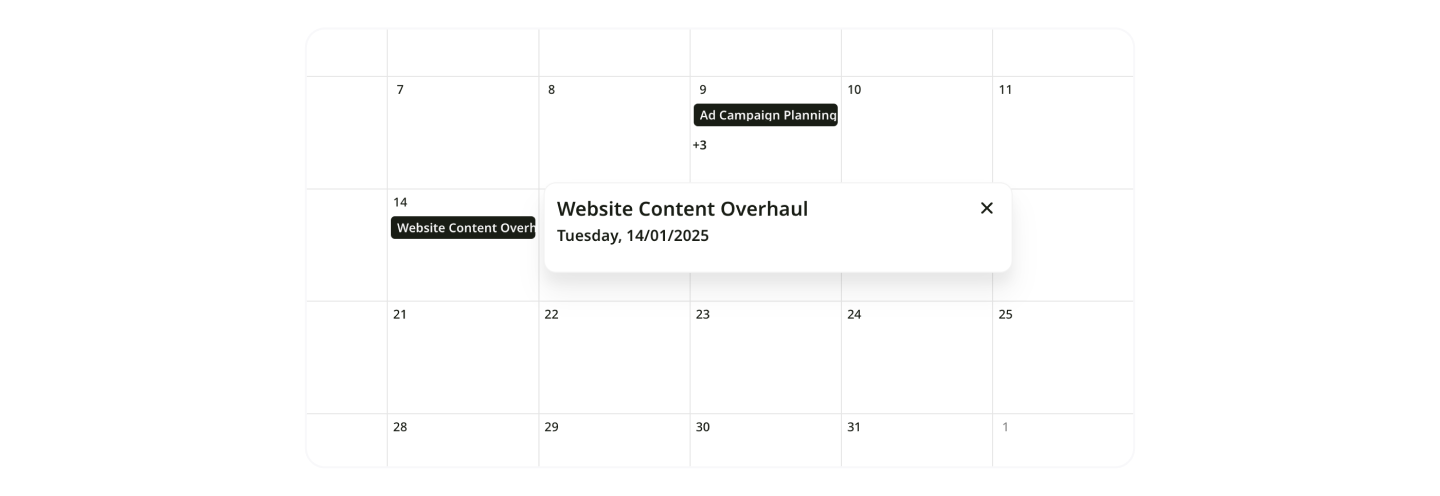
Event Popover
The Event Popover appears when a user clicks on an event. By default, it includes:- Event Title
- Event start and end date
Item fields
Item Fields lets you connect fields from your data source to each list item, making it easy to display the information you need. You can control what information appears by adding, removing, or rearranging fields such as task names, assignees, or descriptions. For each field in the Item Fields section of the secondary section, you can customize the following options:- Type: Defines the display field type that controls how content appears in the block (e.g., text, checkbox, or image).
- Content: Chooses the specific data field from connected data sources to display.
-
Label (Optional): Adds context to the field. If left blank, the label will not be visible to users.
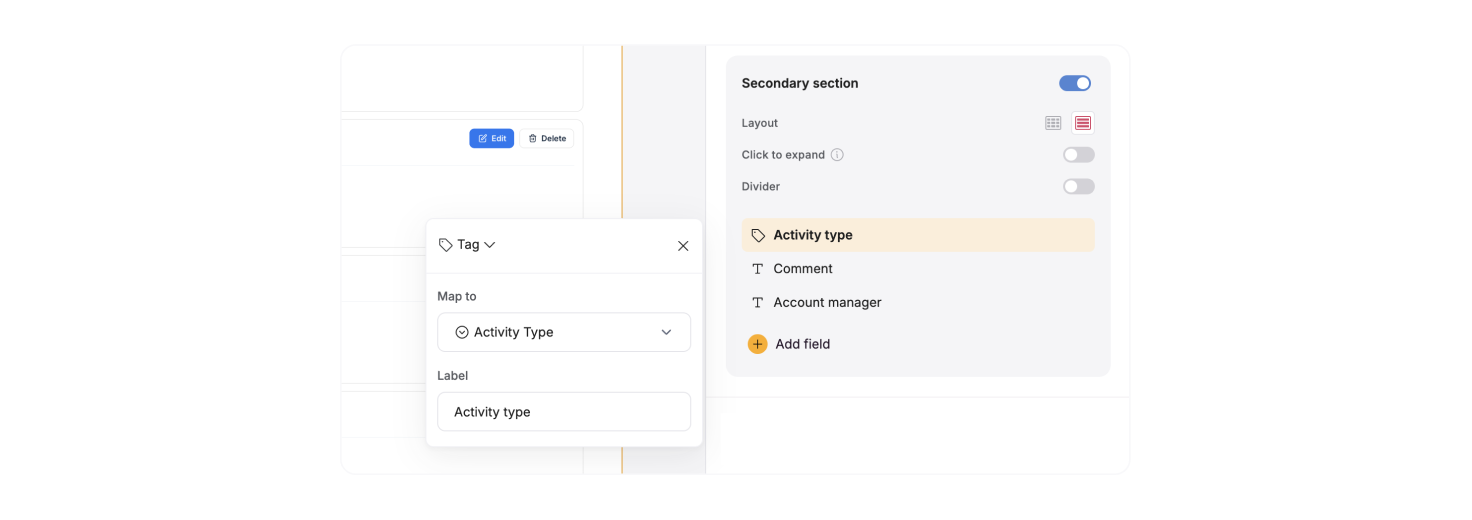
Note: Some display field types are compatible only with specific data formats. For example, if a field is set to display images, you cannot map it to text data. Ensure the field type matches your data source field format to avoid display issues.
Search bar
The Search Bar allows users to search through items in your block, making it easier to find specific entries quickly. You can configure which parameters you want the search to be performed by adding fields to Search by input. For instance, if you’re displaying a list of employees, you might select “Name,” “Department,” and “Job title” as searchable fields.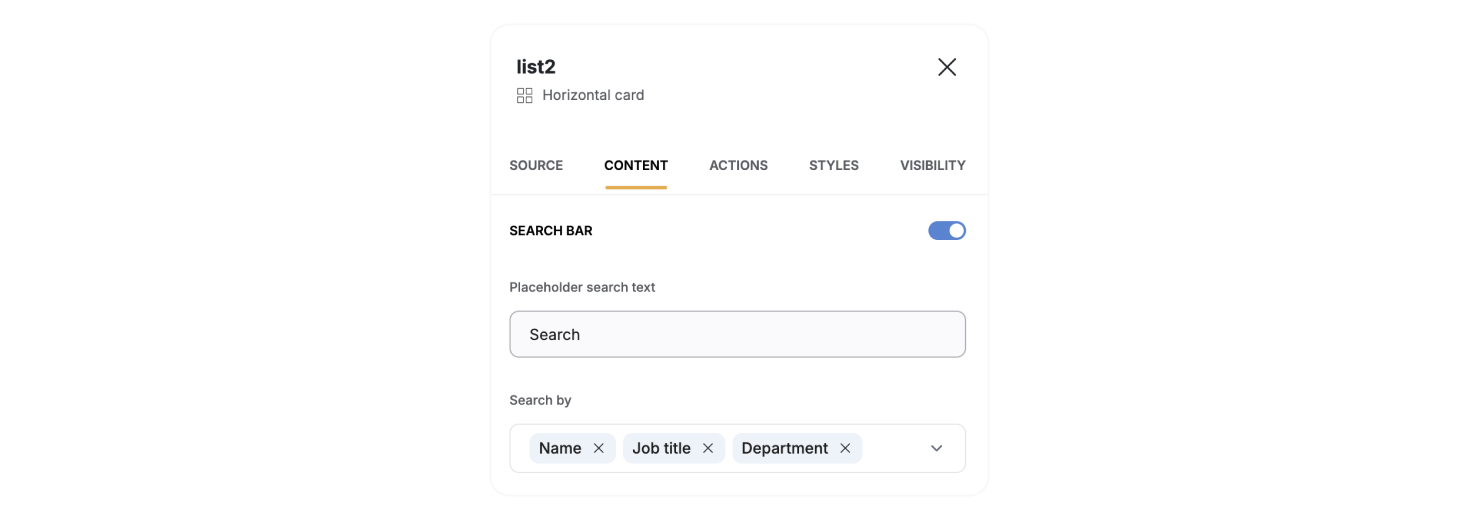
If no fields are selected, the search bar will display all items regardless of the search term. To ensure meaningful search results, always select at least one field.
Actions
Actions let you define what happens when users interact with a block, such as navigating to a new page, editing records, or triggering workflows. This ensures your app not only displays data but also offers dynamic user engagement.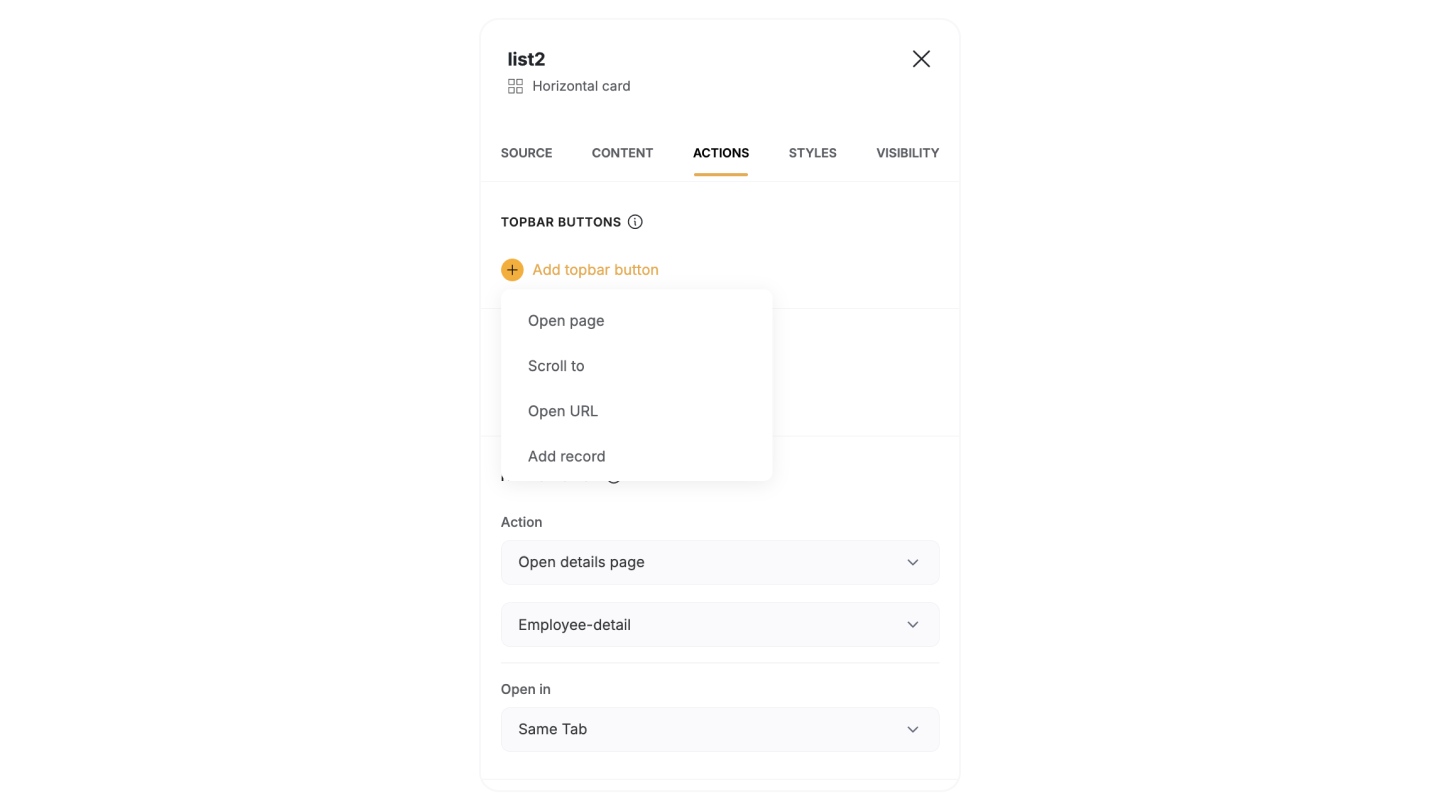
- Add record: Create new entries in your data.
- Open page: Navigate to another page within your app.
- Open URL: Redirect users to an external link.
- Scroll to: Move the view to a specific section within the block.
- Do nothing: Nothing happens when the user clicks on the item.
- Open popover: Opens the default popover
- Open URL: Redirect users to an external link.
- Scroll to: Move the view to a specific section within the block.
- Open details page:: Open the details page of the selected record.
- Edit record: Modify the details of a specific record.
- One-Click Update: Apply predefined updates to a record with a single click.
- Open details page: Open the details page of the selected record.
- Delete Record: Remove a record from your data.
- Open URL: Redirect users to an external link.
- Scroll to: Move the view to a specific section within the block.
- Download file: Provide users with a direct option to download associated files.
- Call API: This action triggers a custom API call for advanced integrations (available for Professional, Business, and Enterprise plans).
Visibility
Control who can see a block by setting up visibility rules. This helps tailor the user experience by showing relevant content to the right audience, improving personalization and security.
Style
Customize the look and feel of your blocks with styling options. Adjust fonts, colors, spacing, and more to align with your app’s branding and create a polished, professional design.