Configuration
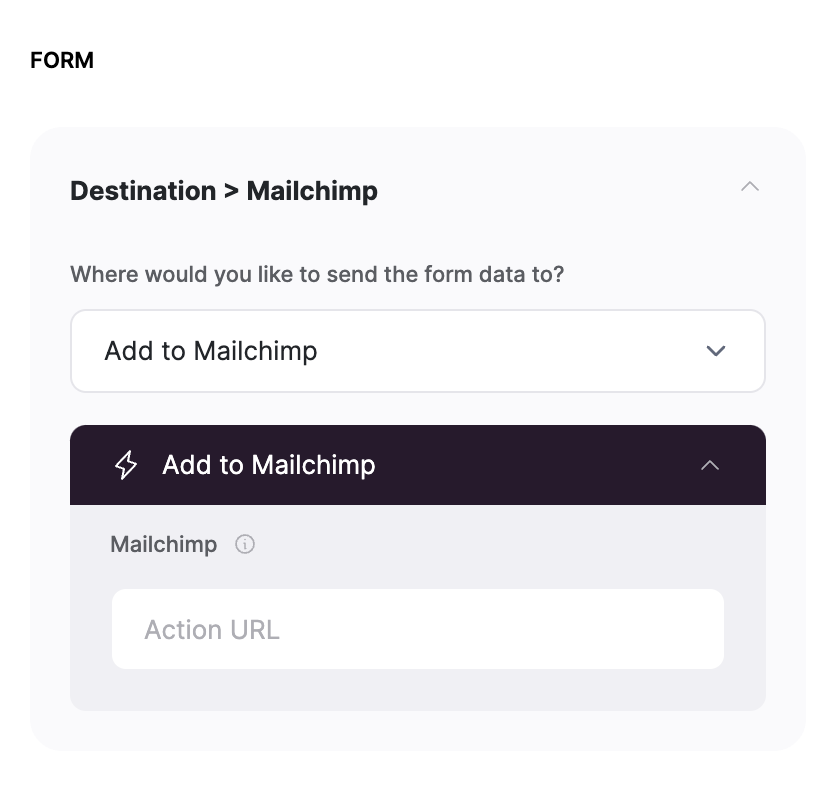
When you use a building block with email capture form (e.g. Hero section with email capture), you will see the following options in the sidebar to choose from.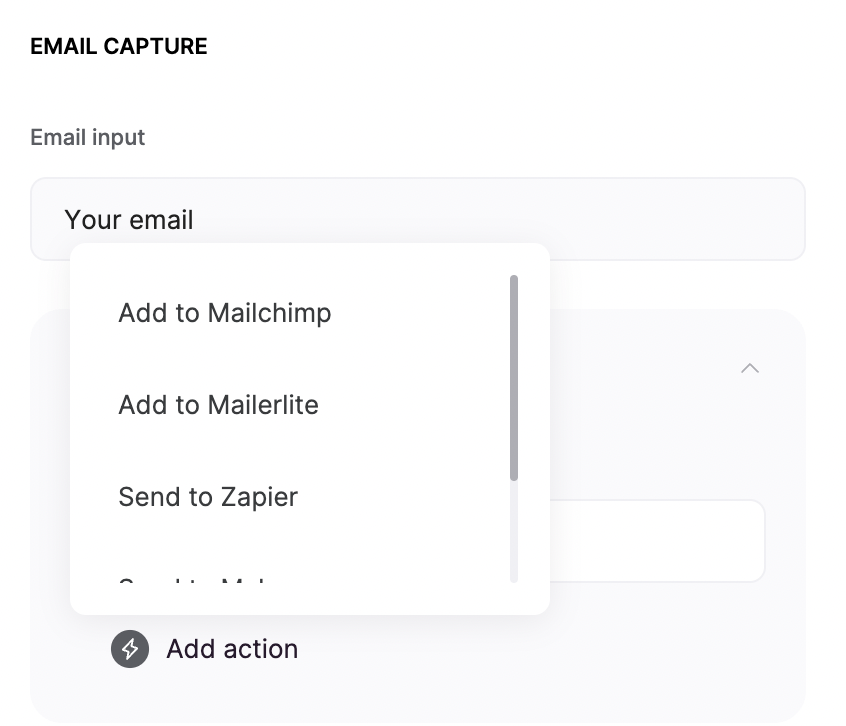
List of action options
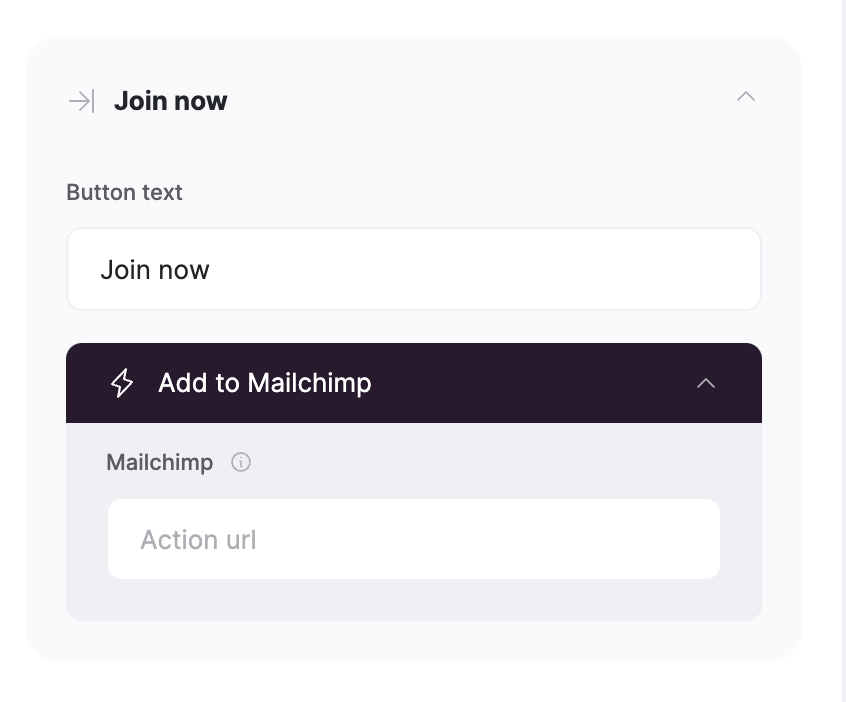
Mailchimp action URL
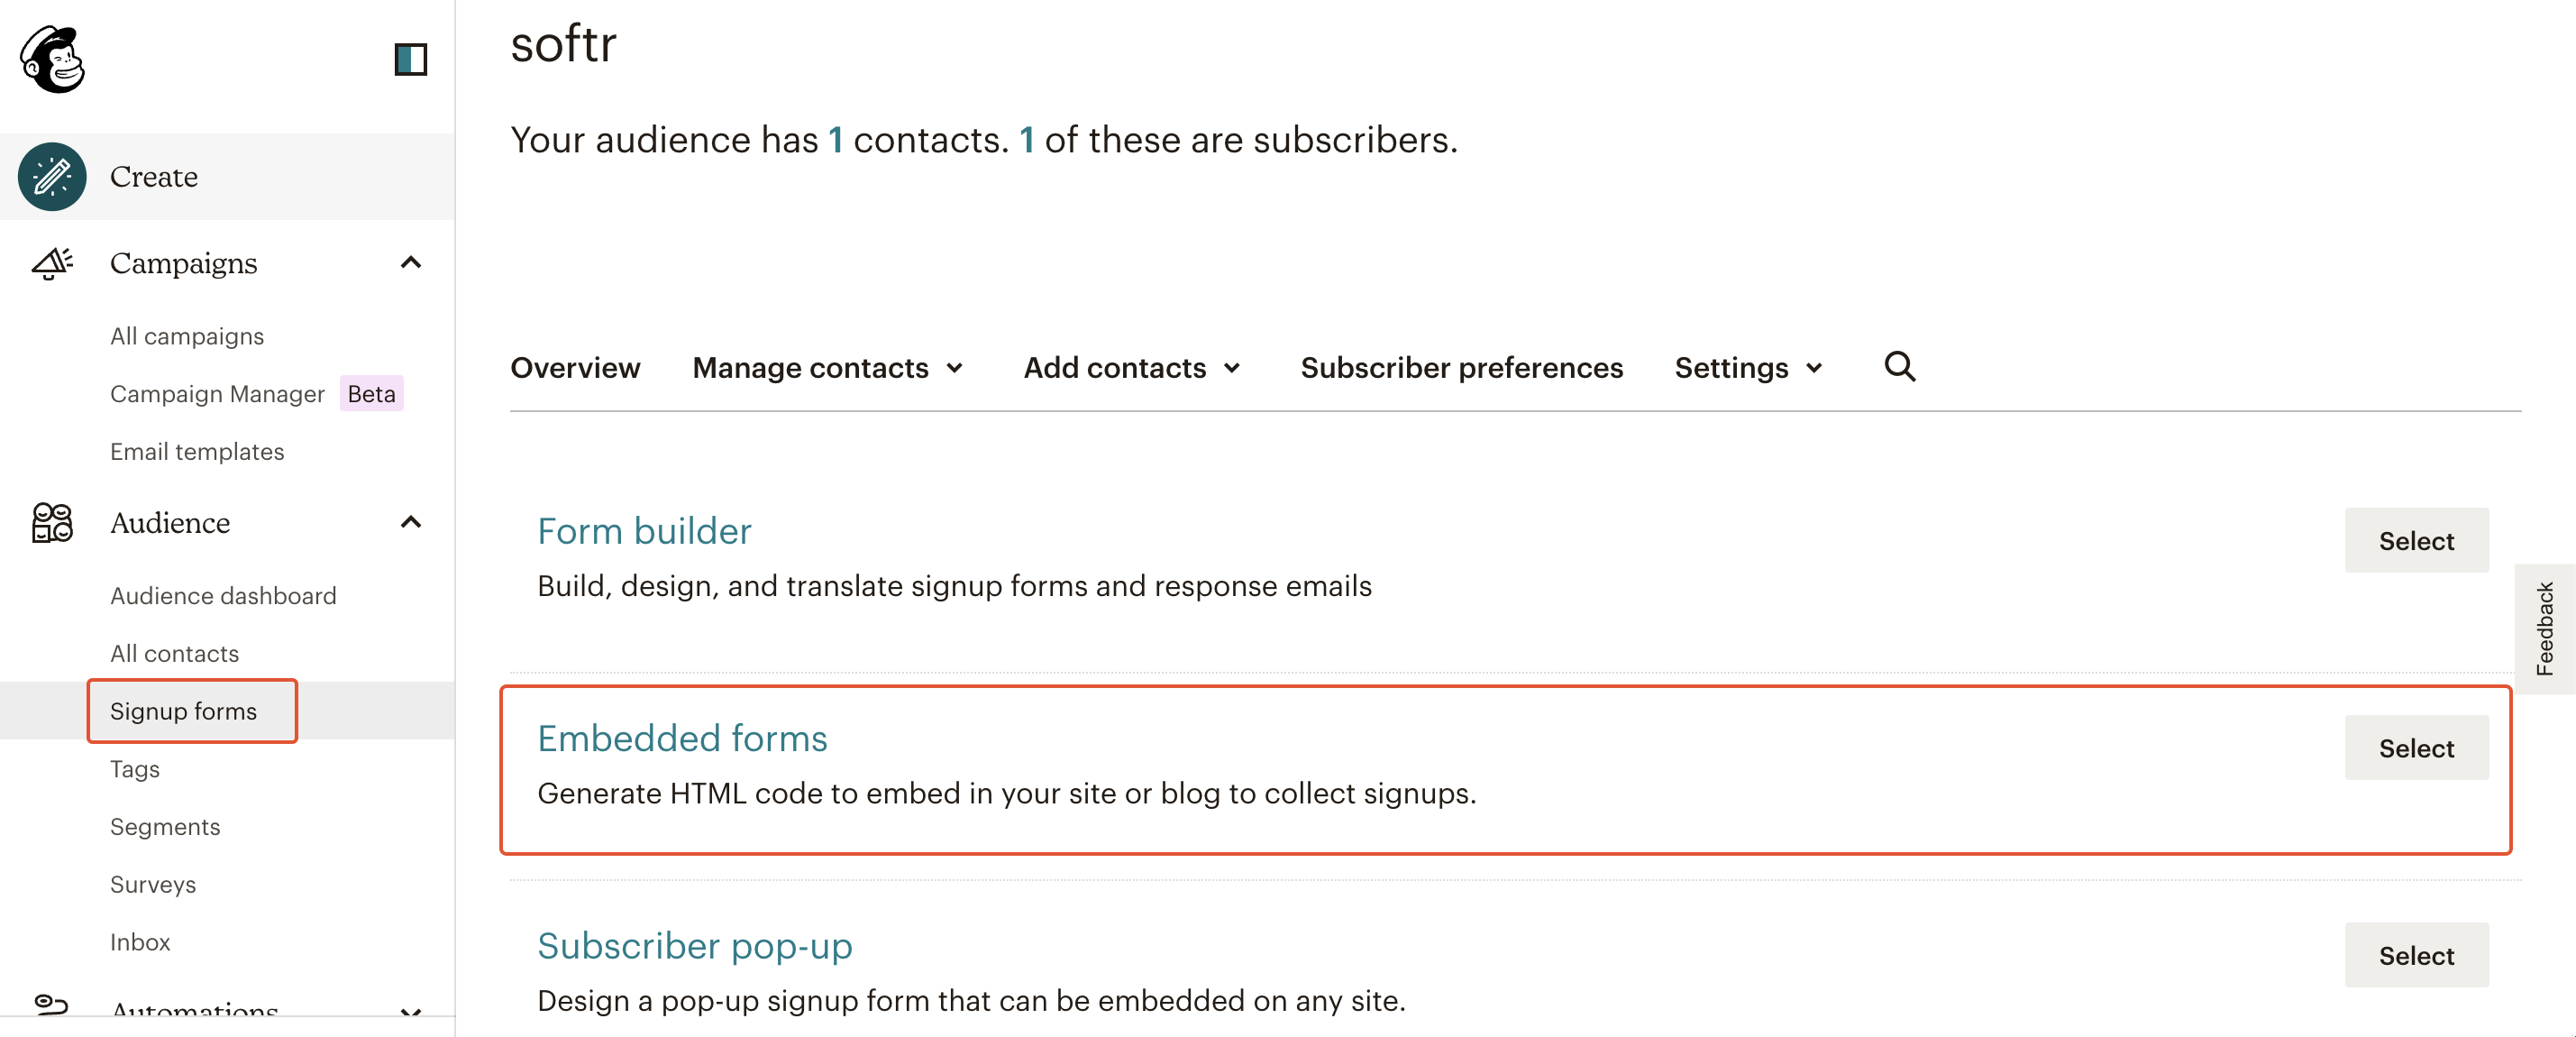
How to locate Mailchimp Form Action Url
In order to get an Action URL and start collecting subscriptions, you need to log into your Mailchimp account and navigate to Signup Forms ⇒ Embedded Forms.
Embedded forms
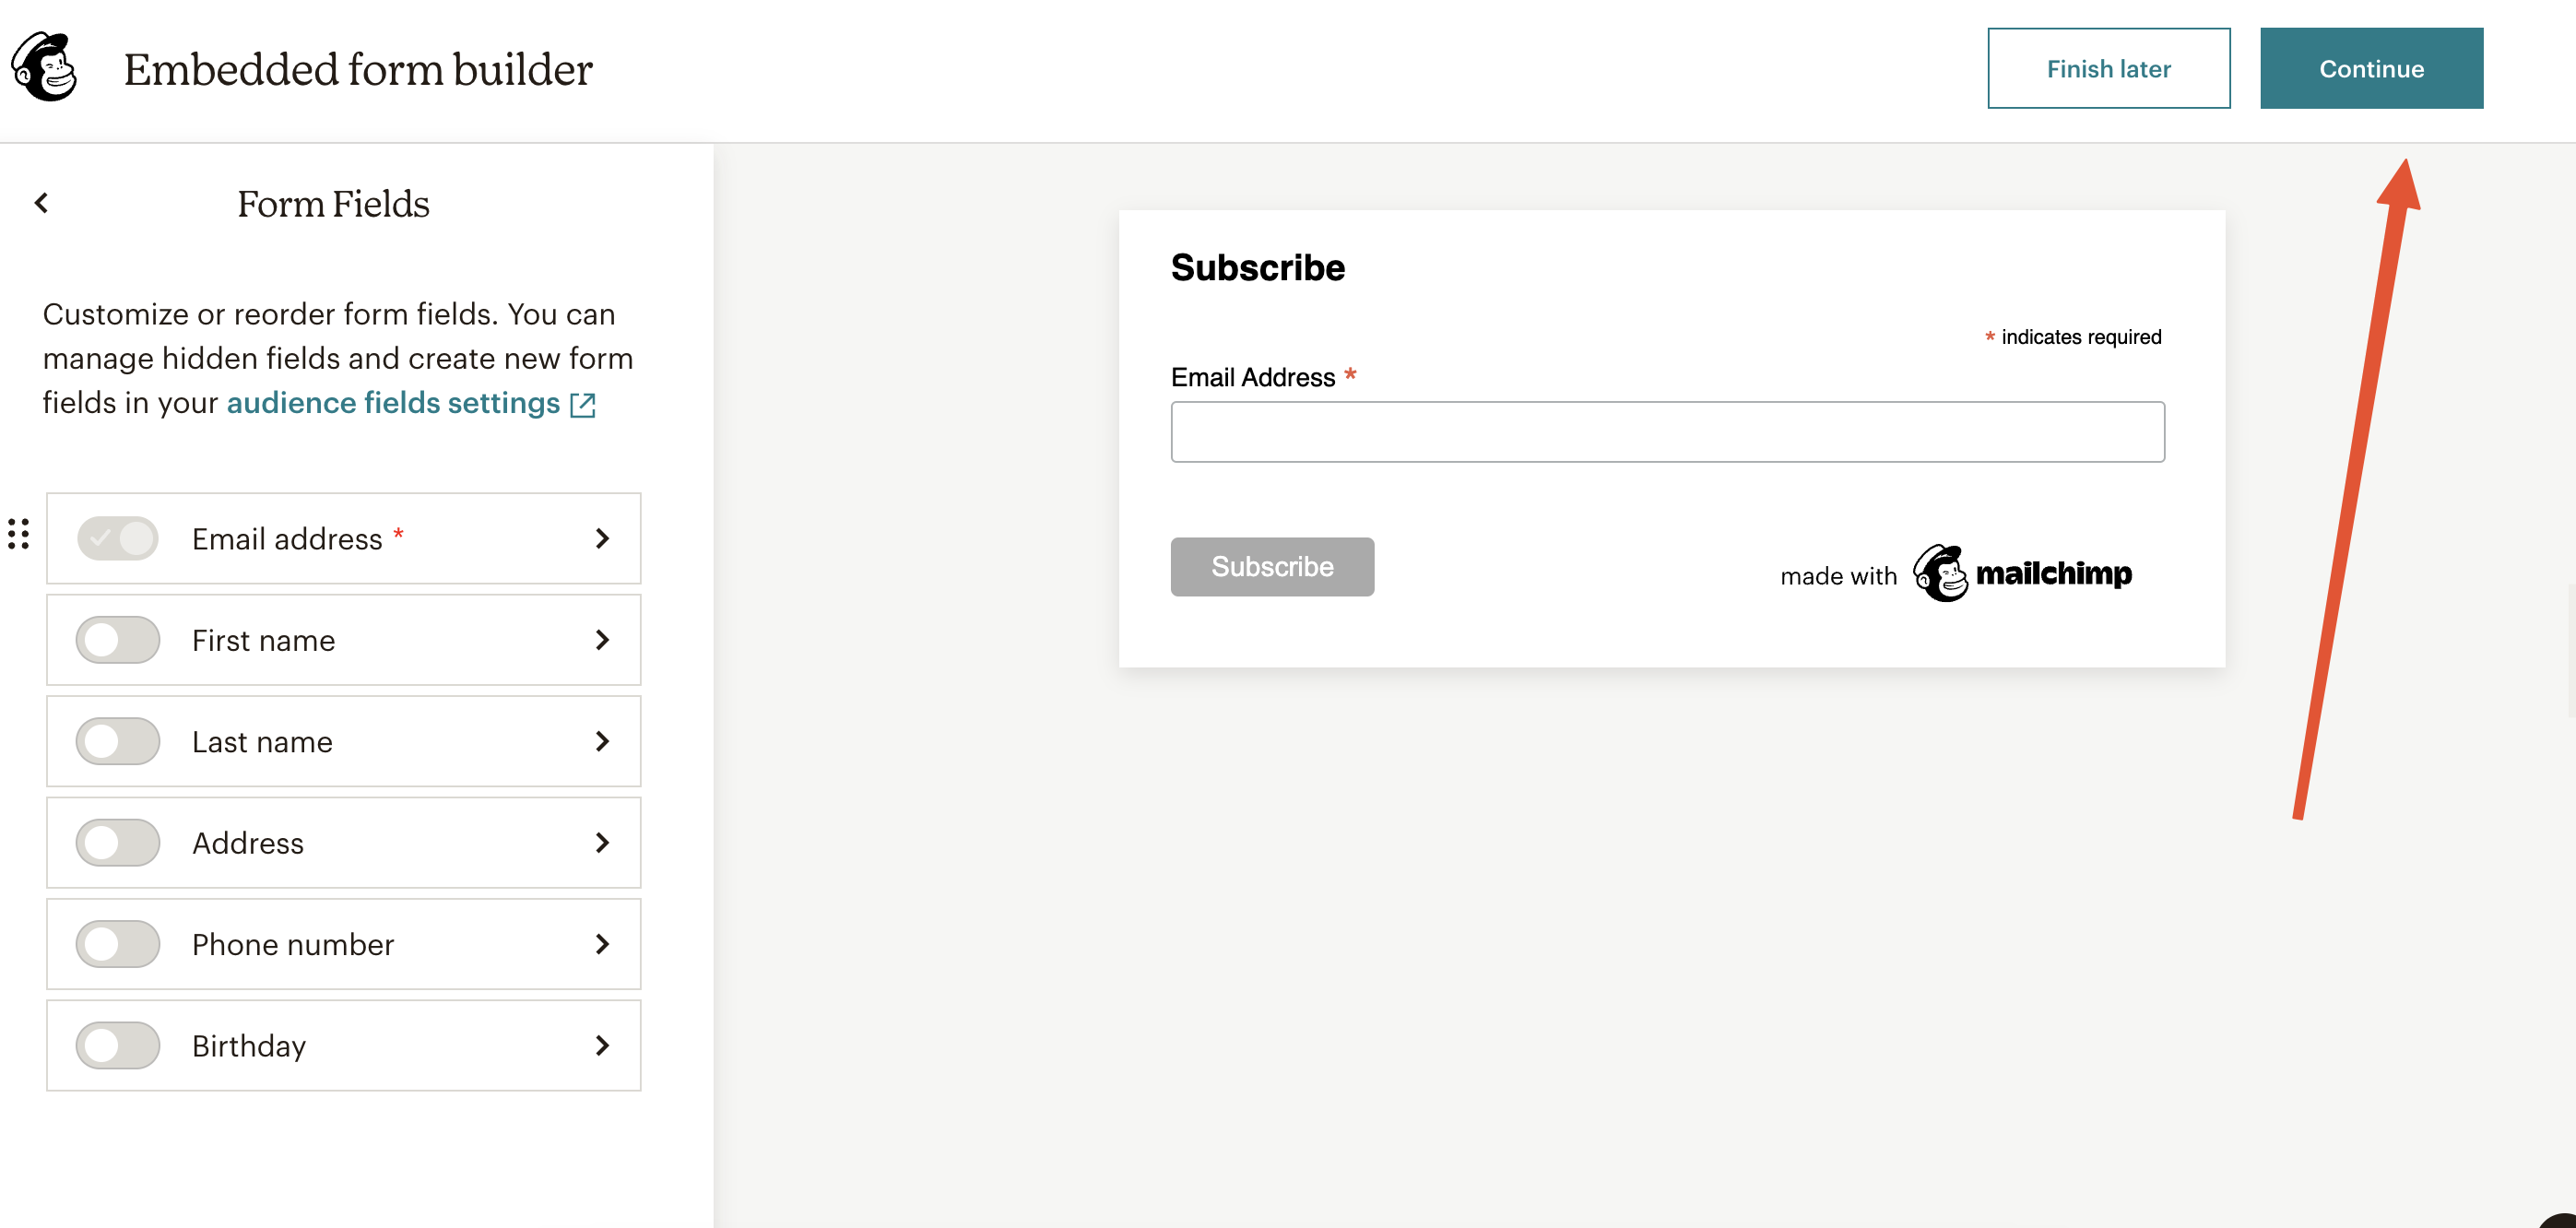
Continue

Getting the action URL
Connecting custom forms to Mailchimp
Let’s create a Customizable Form on Softr with multiple fields and see how we can connect it to Mailchimp to collect all the submissions there.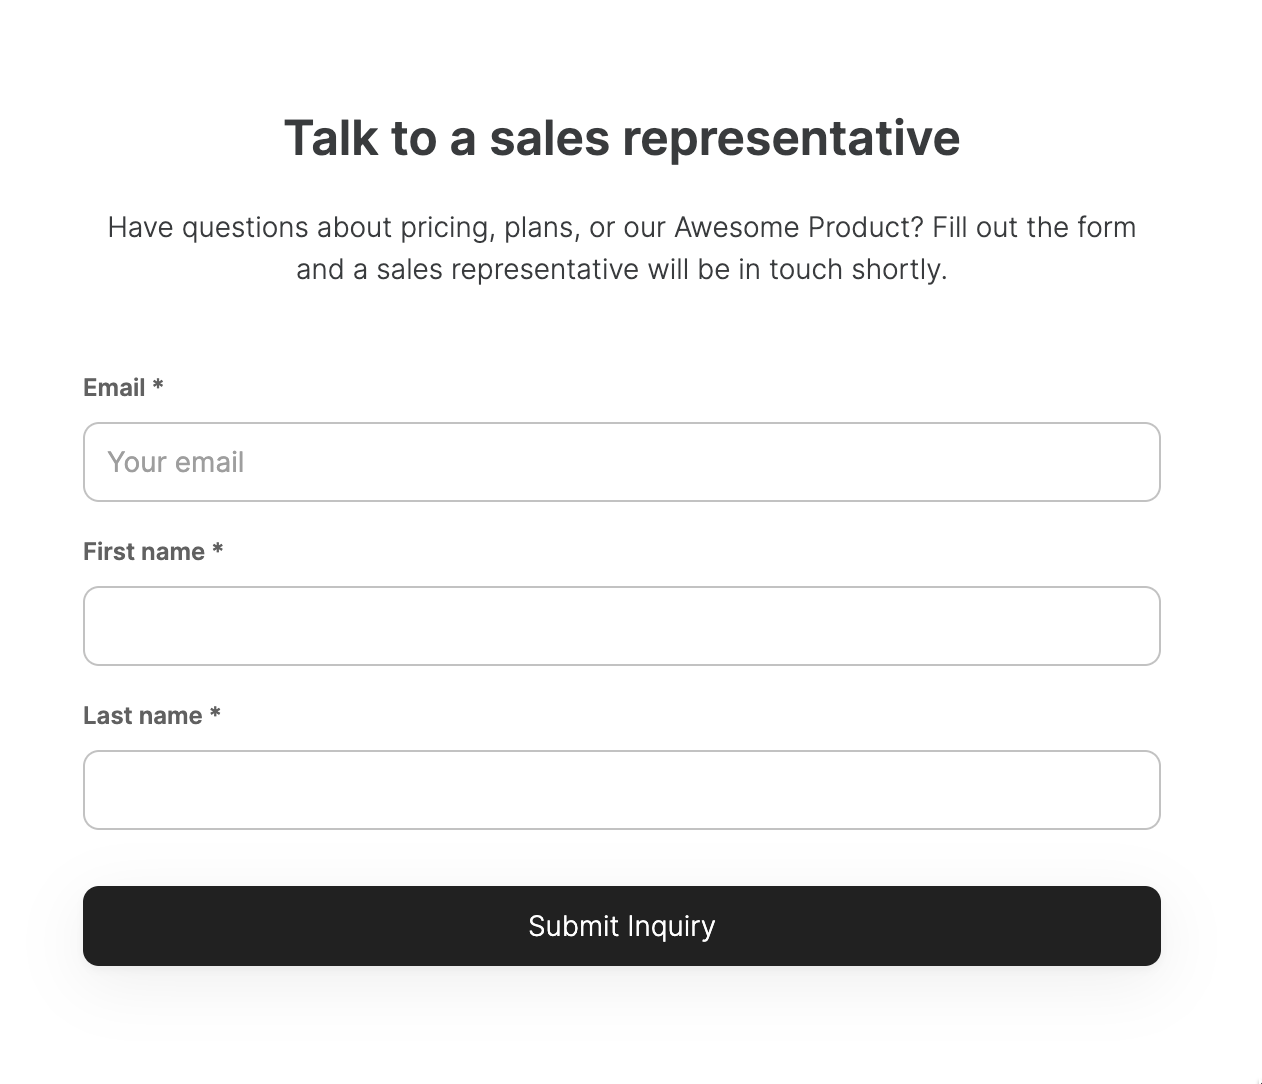
Customizable form on Softr
Setting form destination
Embedded forms
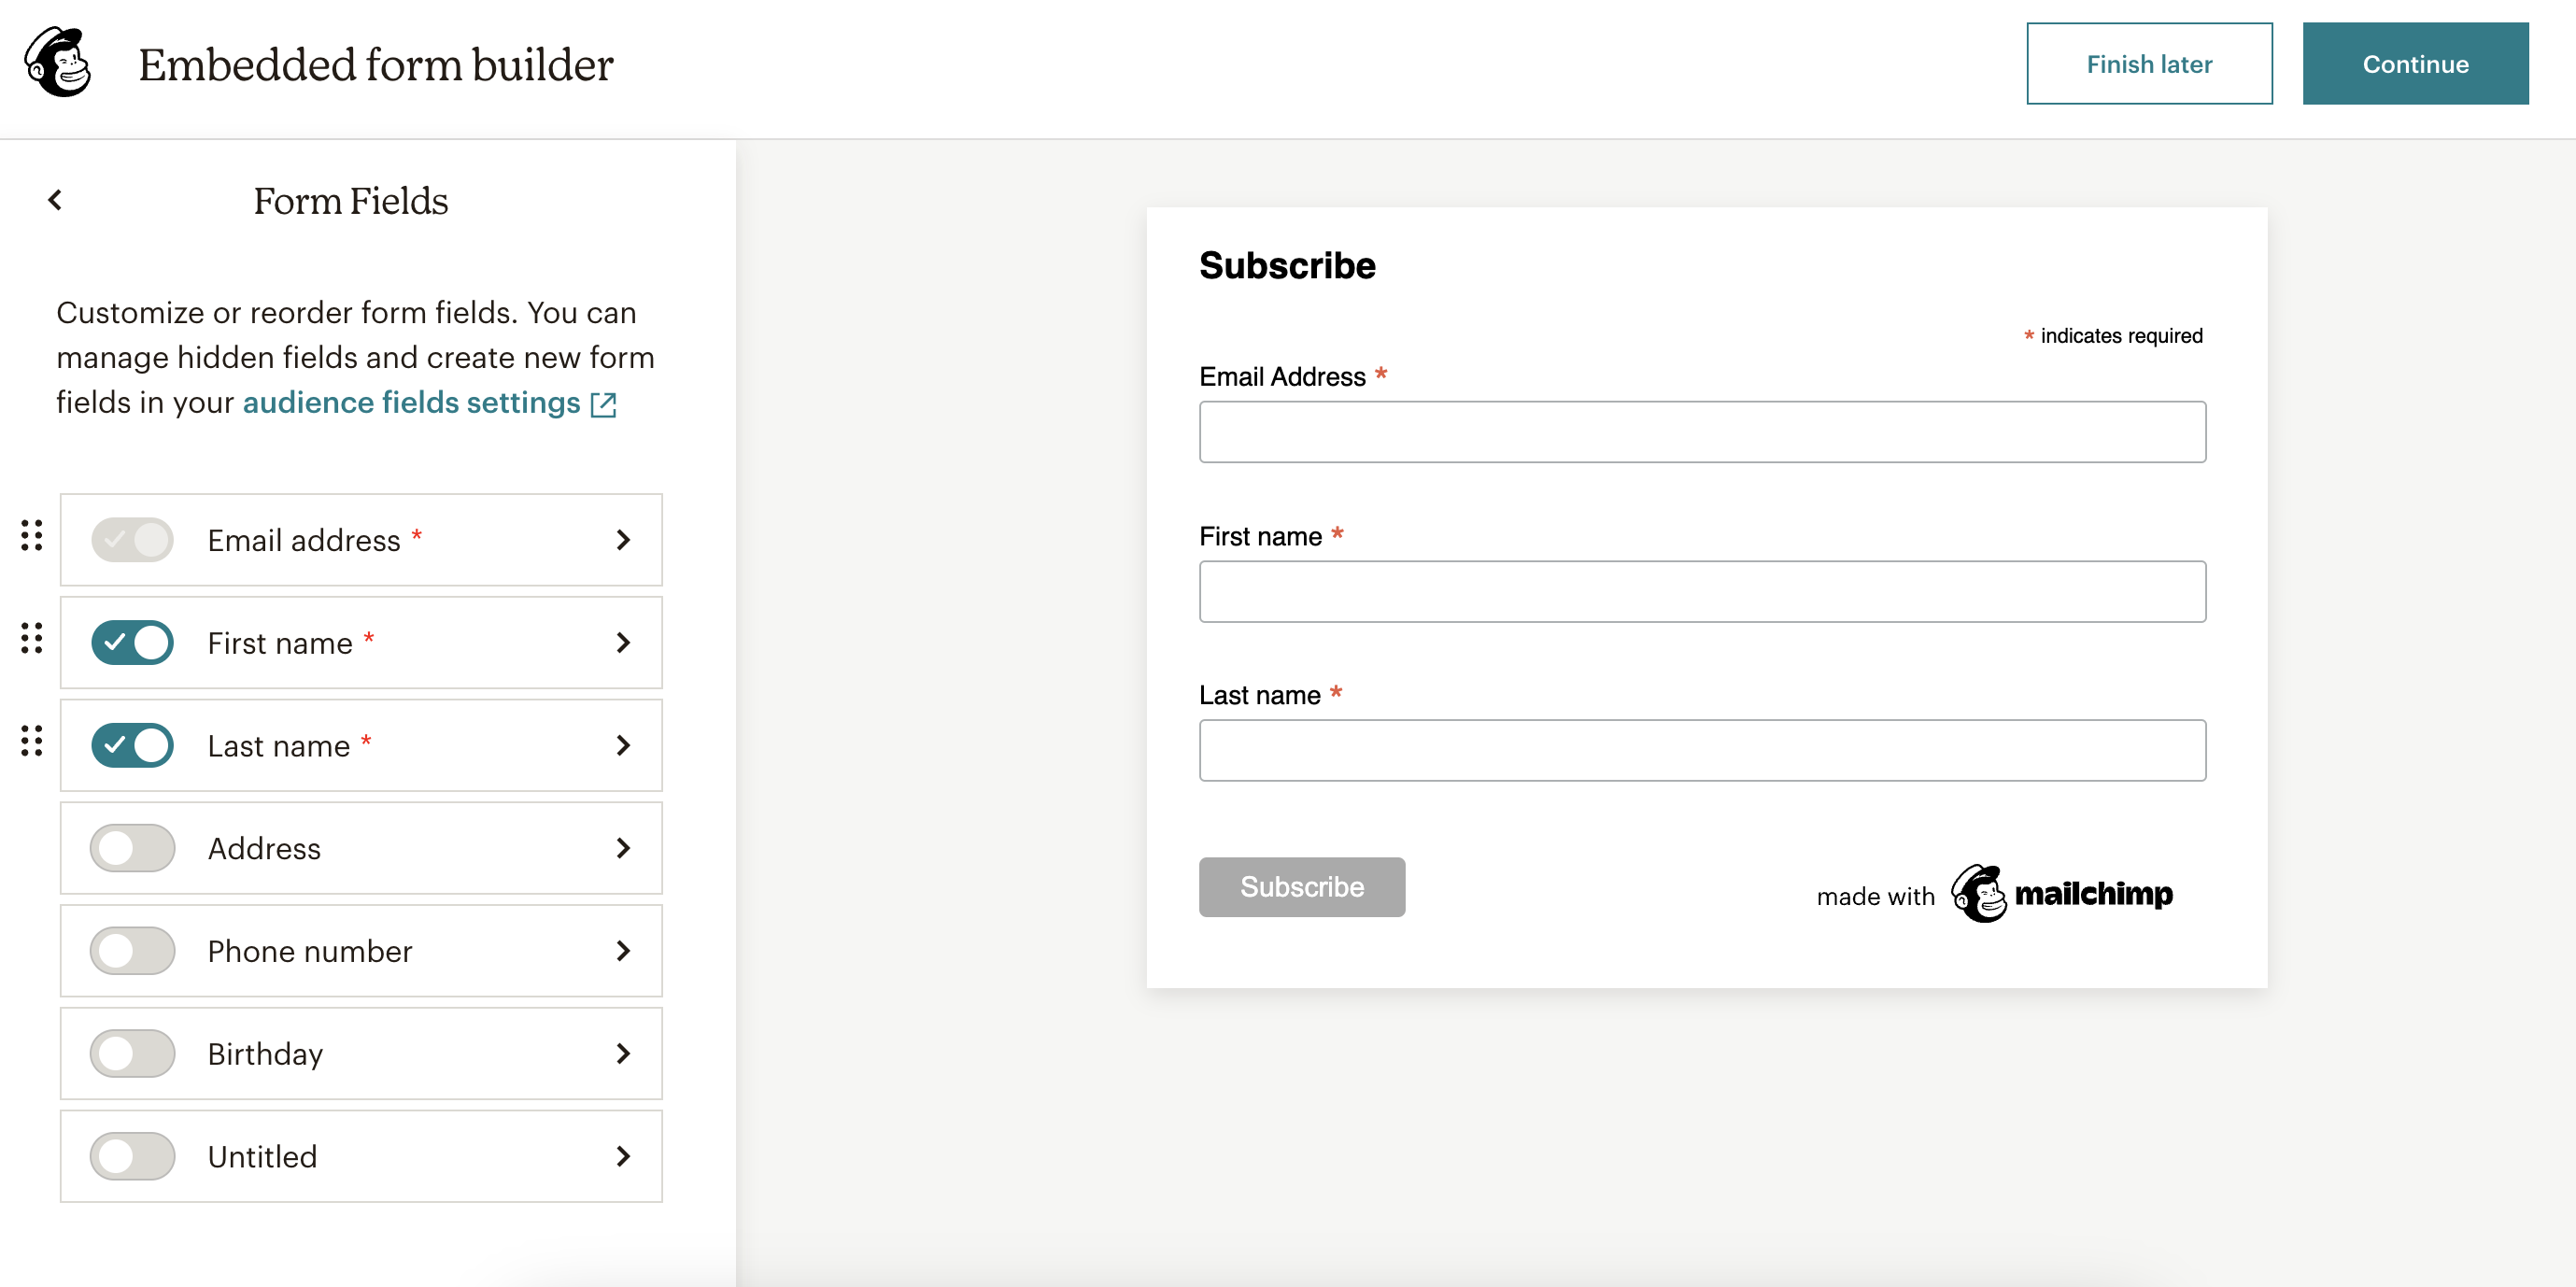
Creating a form with additional fields
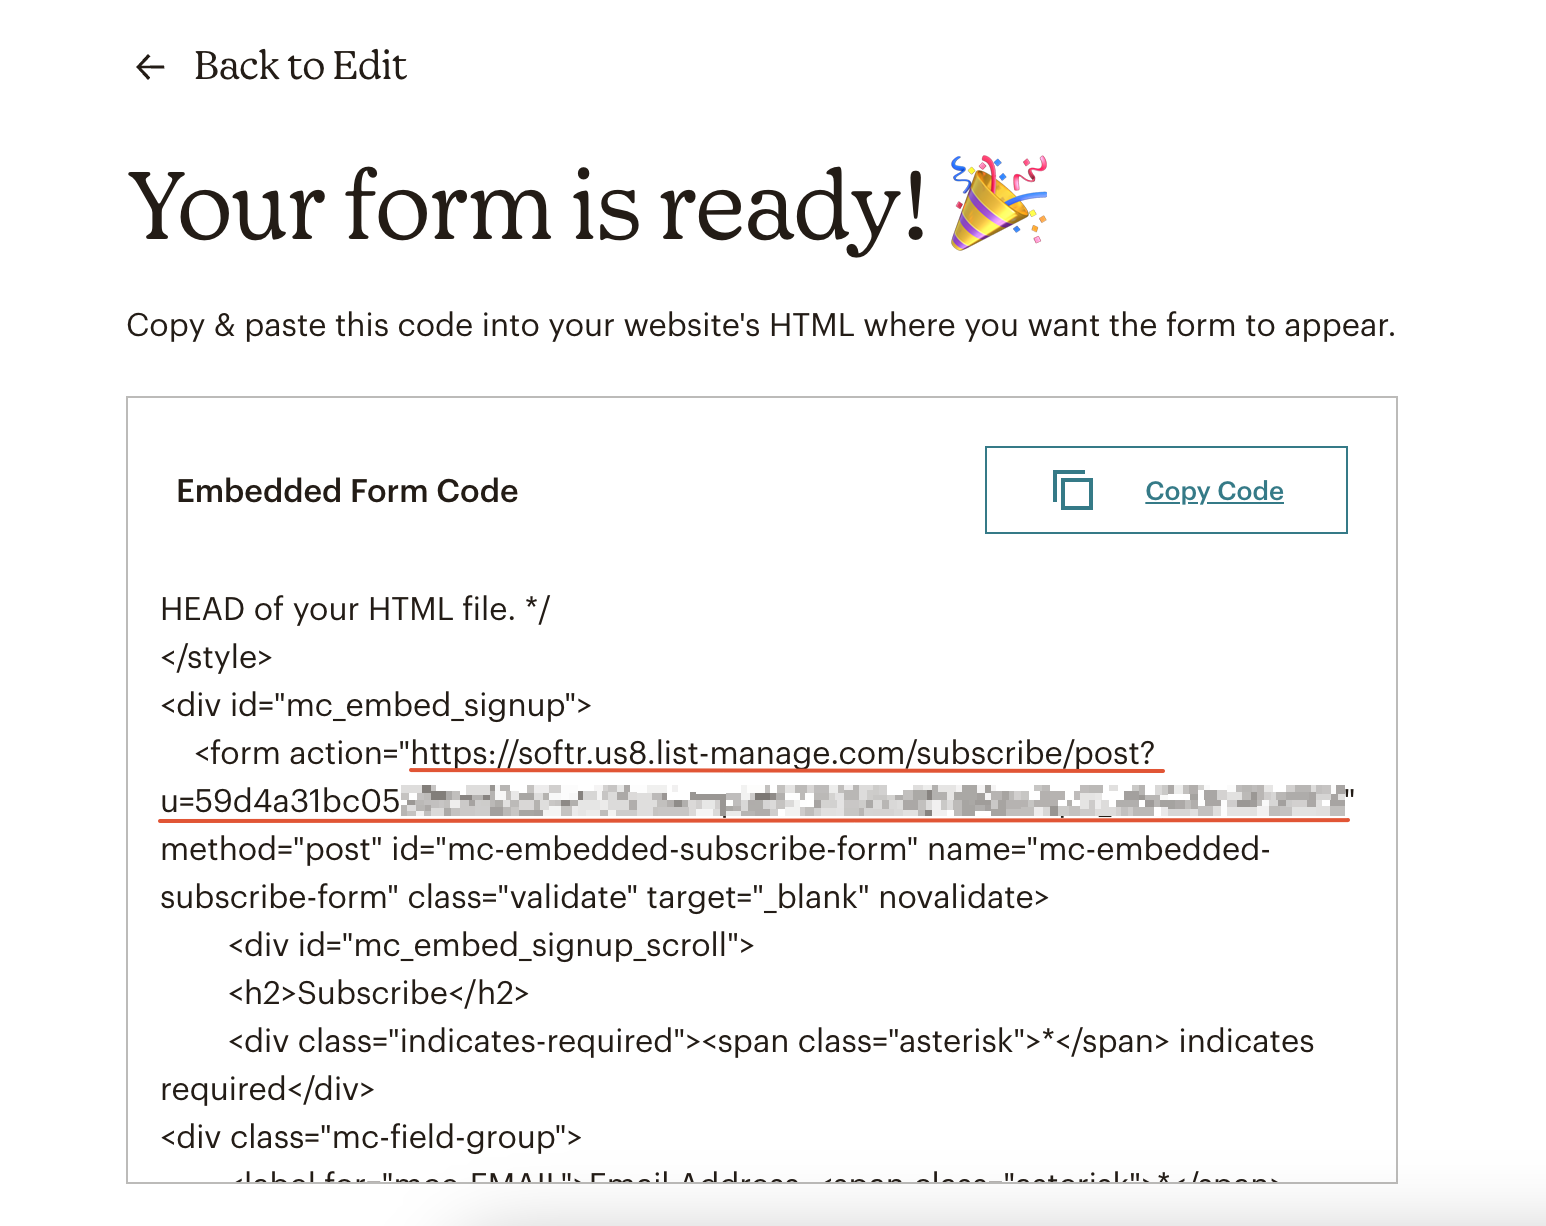
Getting the action URL
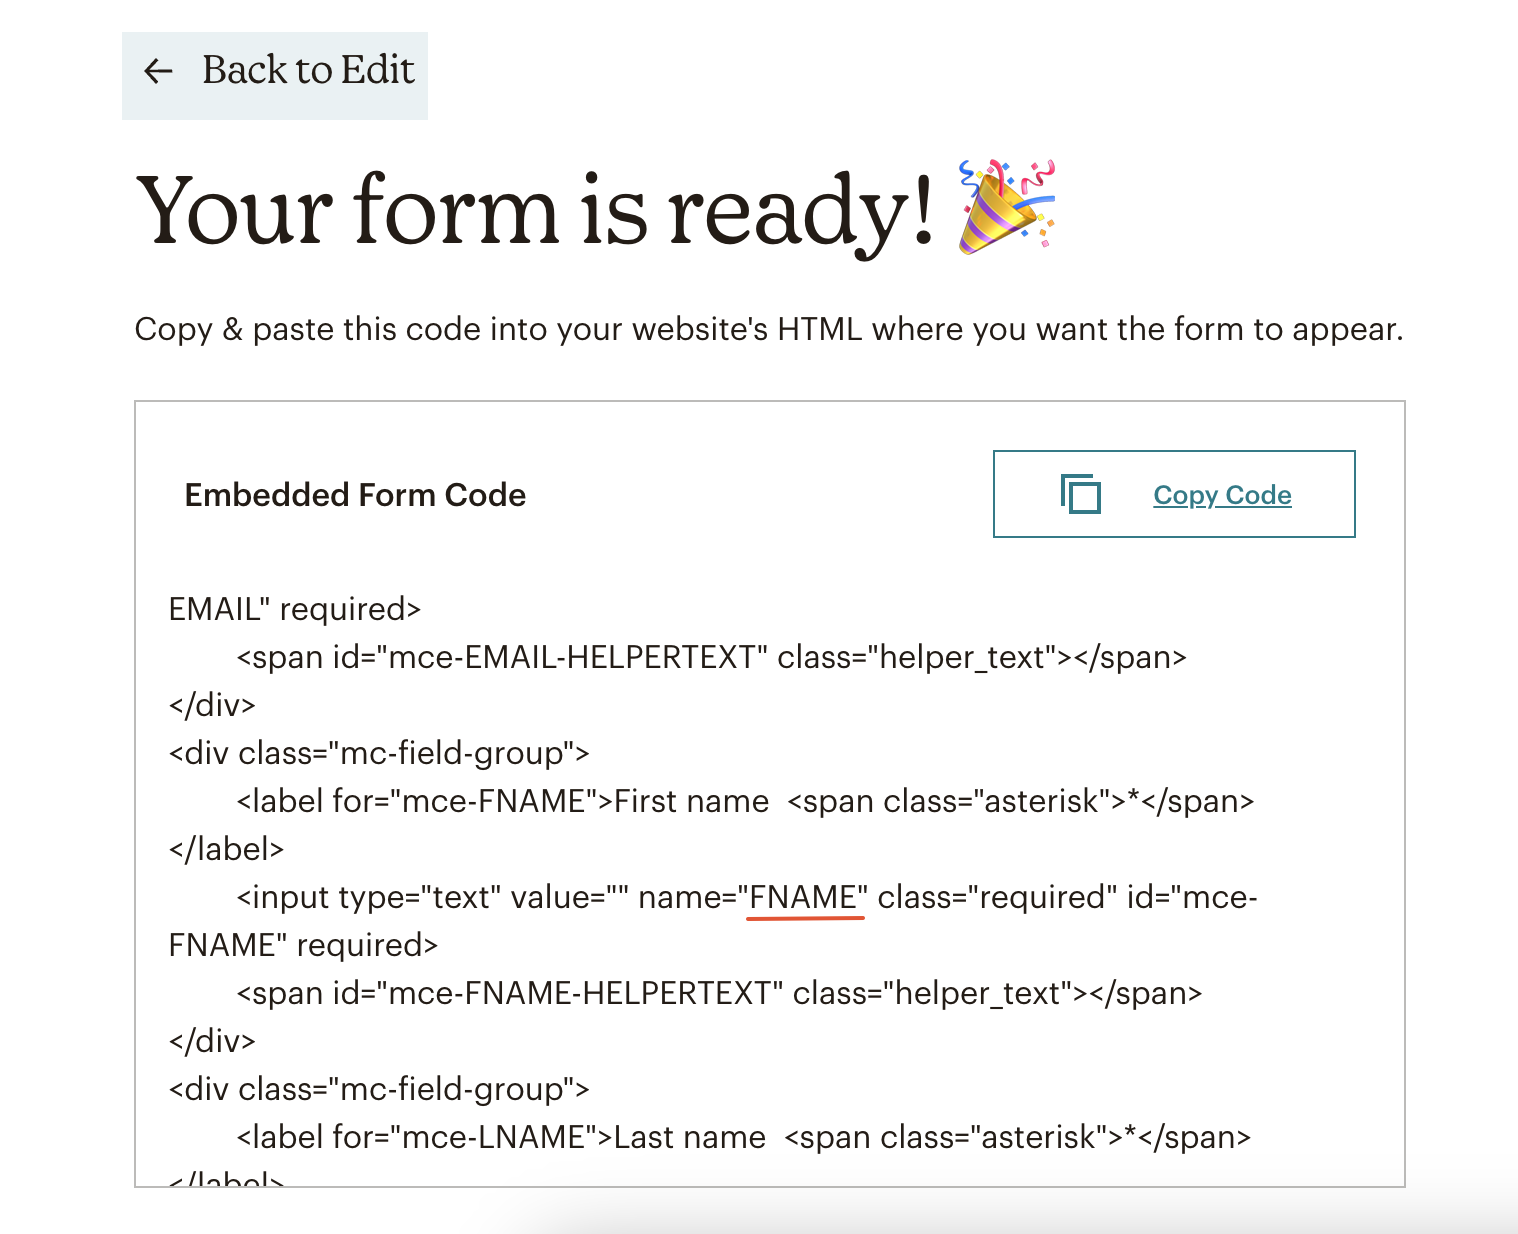
Name of the field
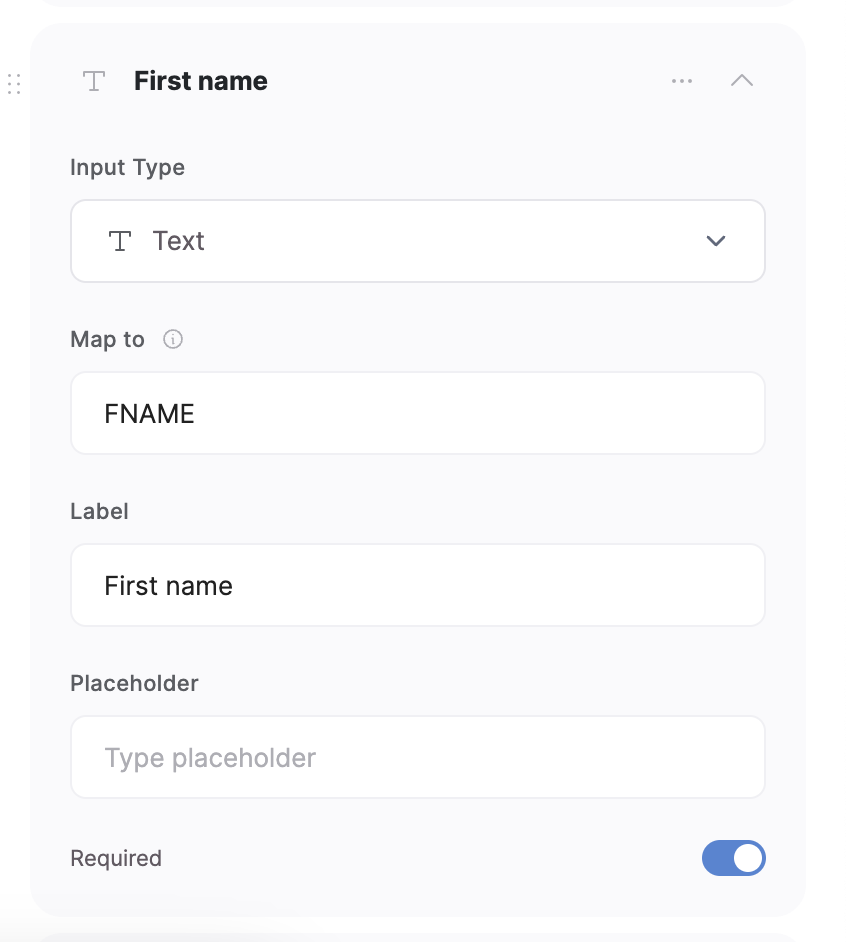
Filling in the “Map to” value
Doing a test submission