> ## Documentation Index
> Fetch the complete documentation index at: https://docs.softr.io/llms.txt
> Use this file to discover all available pages before exploring further.
# Simple Checkout Form
> A Stripe checkout form to allow your users make purchases.
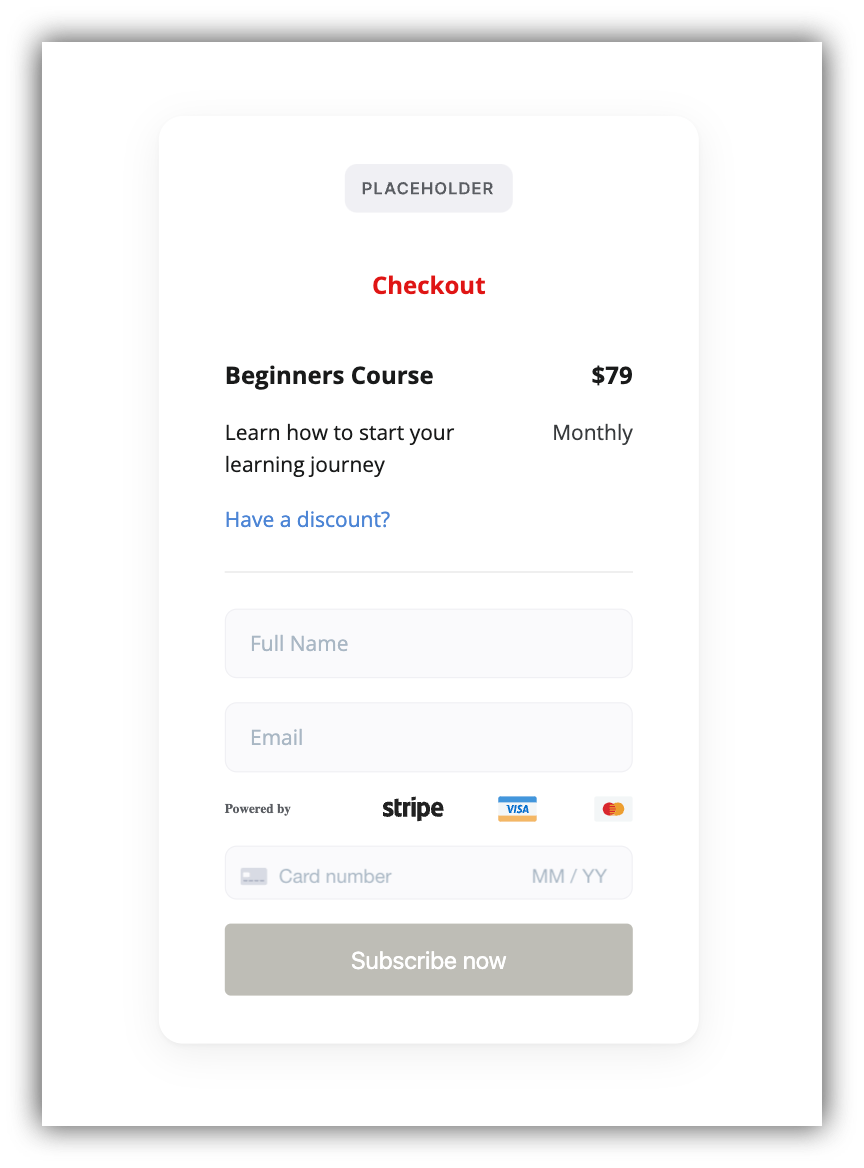 Using this block, you can set up paid membership and charge your users for accessing certain sections (pages or blocks) of your Softr app. Prior to setting up this block, you need to [connect Stripe](/integrations/etS18kJqm1fuD58KCsjC3z/stripe-checkout/iBomMEucRZtM2y6HuutYVC) to be able to offer Stripe products (one-time products or subscriptions) to your users. So, let's go ahead and examine the block settings.
## Title and images
Using this block, you can set up paid membership and charge your users for accessing certain sections (pages or blocks) of your Softr app. Prior to setting up this block, you need to [connect Stripe](/integrations/etS18kJqm1fuD58KCsjC3z/stripe-checkout/iBomMEucRZtM2y6HuutYVC) to be able to offer Stripe products (one-time products or subscriptions) to your users. So, let's go ahead and examine the block settings.
## Title and images
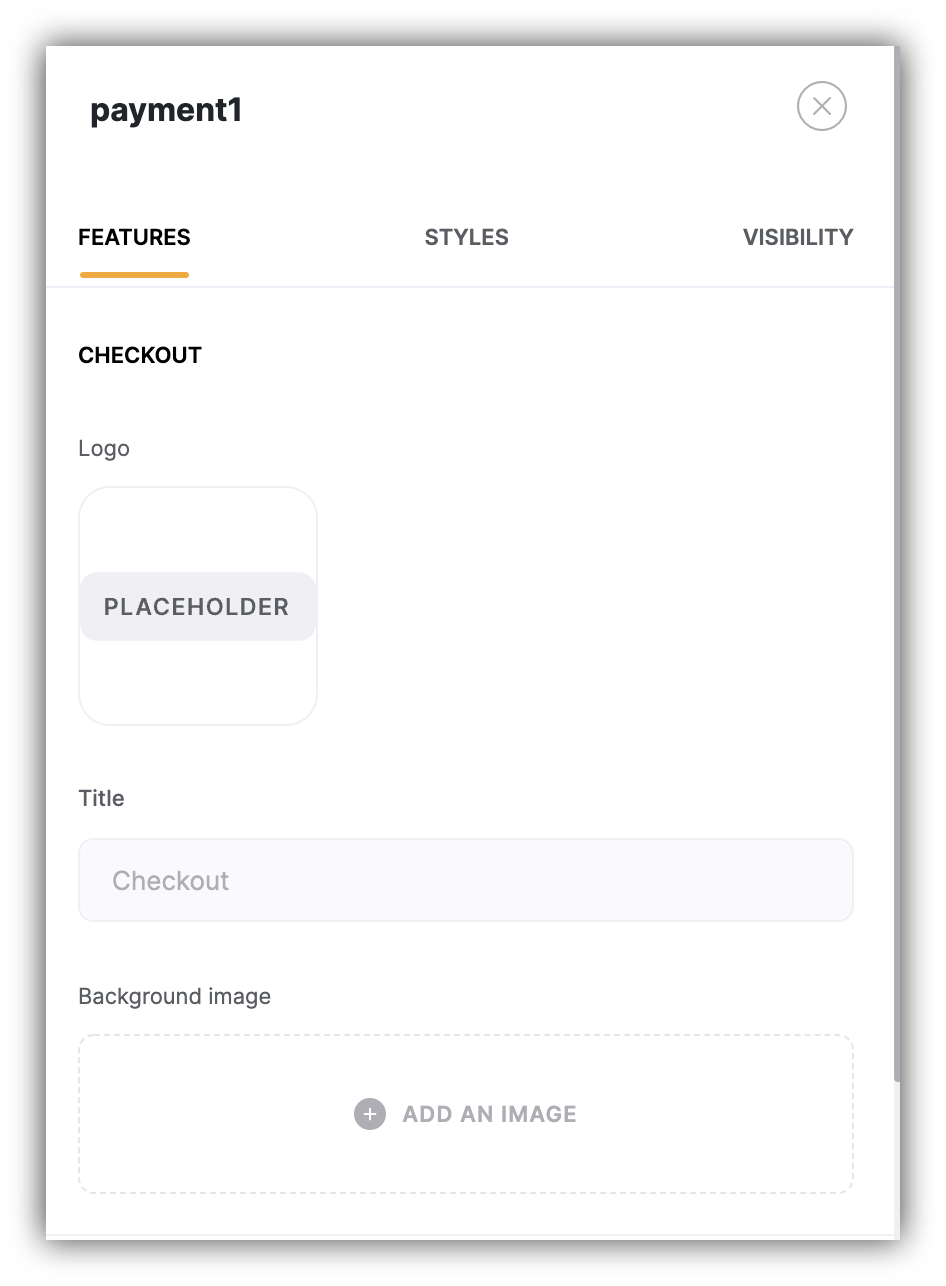 To start with, you can add a custom title, logo, and a background image in the **Feature** tab of block settings.
## Product Setup
Next, you need to set up the product that you want to offer to your users.
To start with, you can add a custom title, logo, and a background image in the **Feature** tab of block settings.
## Product Setup
Next, you need to set up the product that you want to offer to your users.
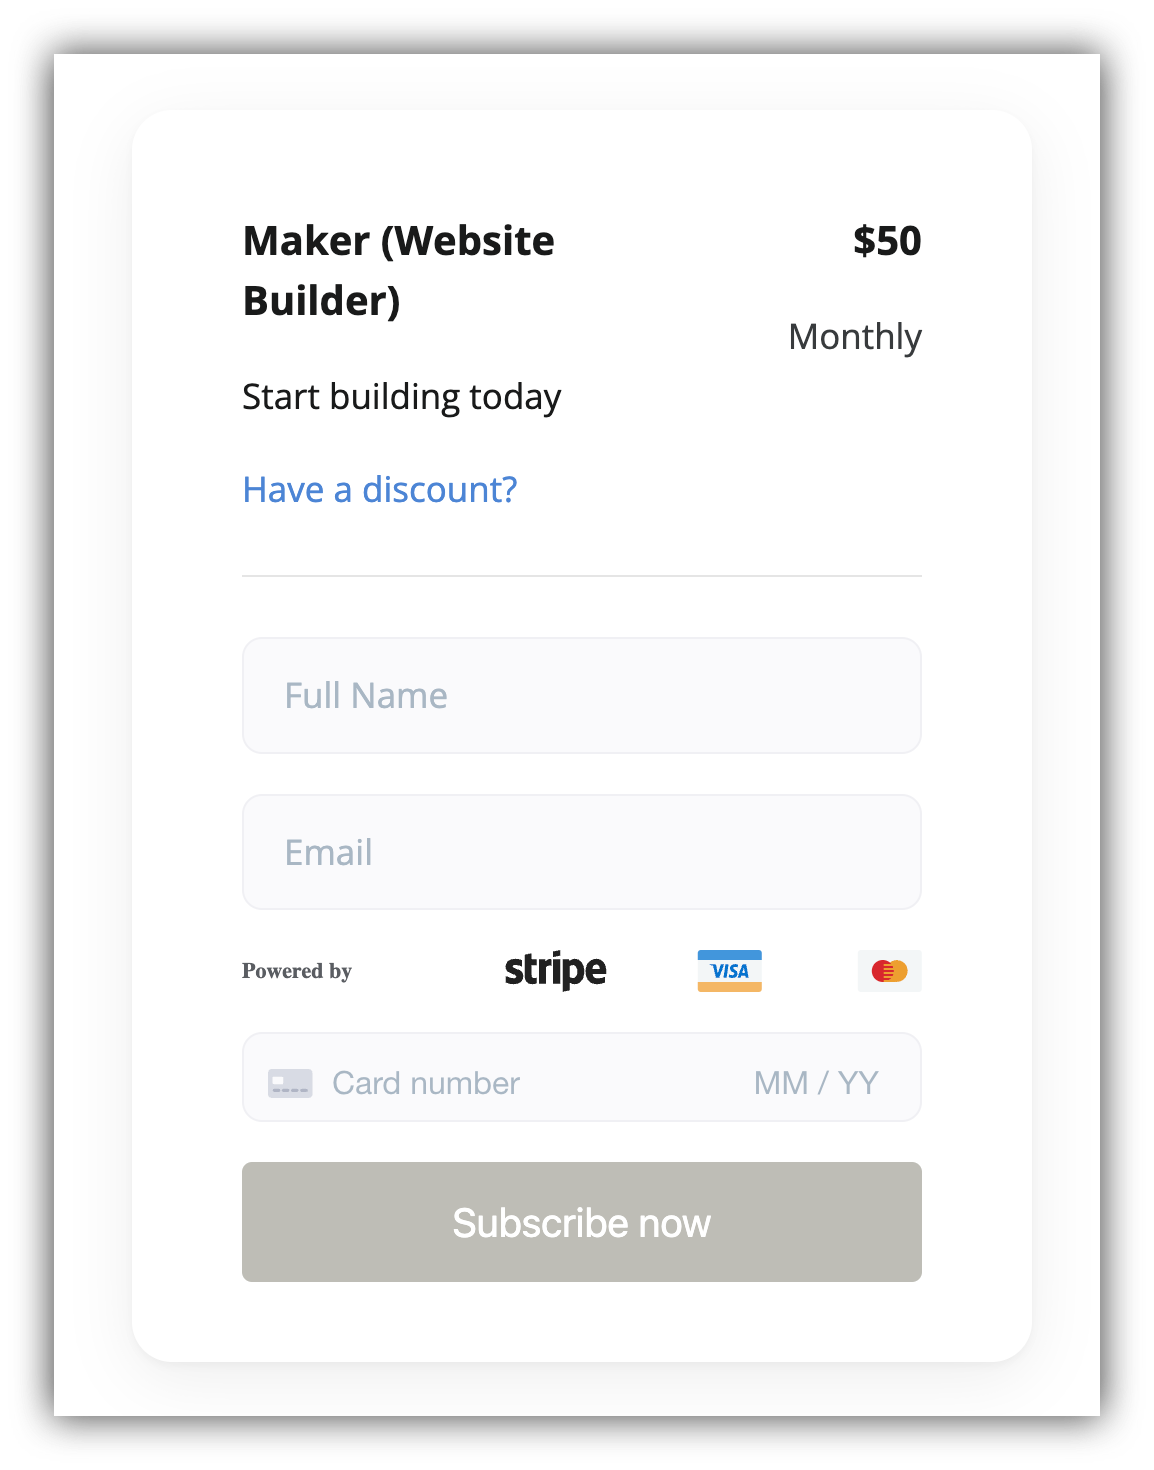
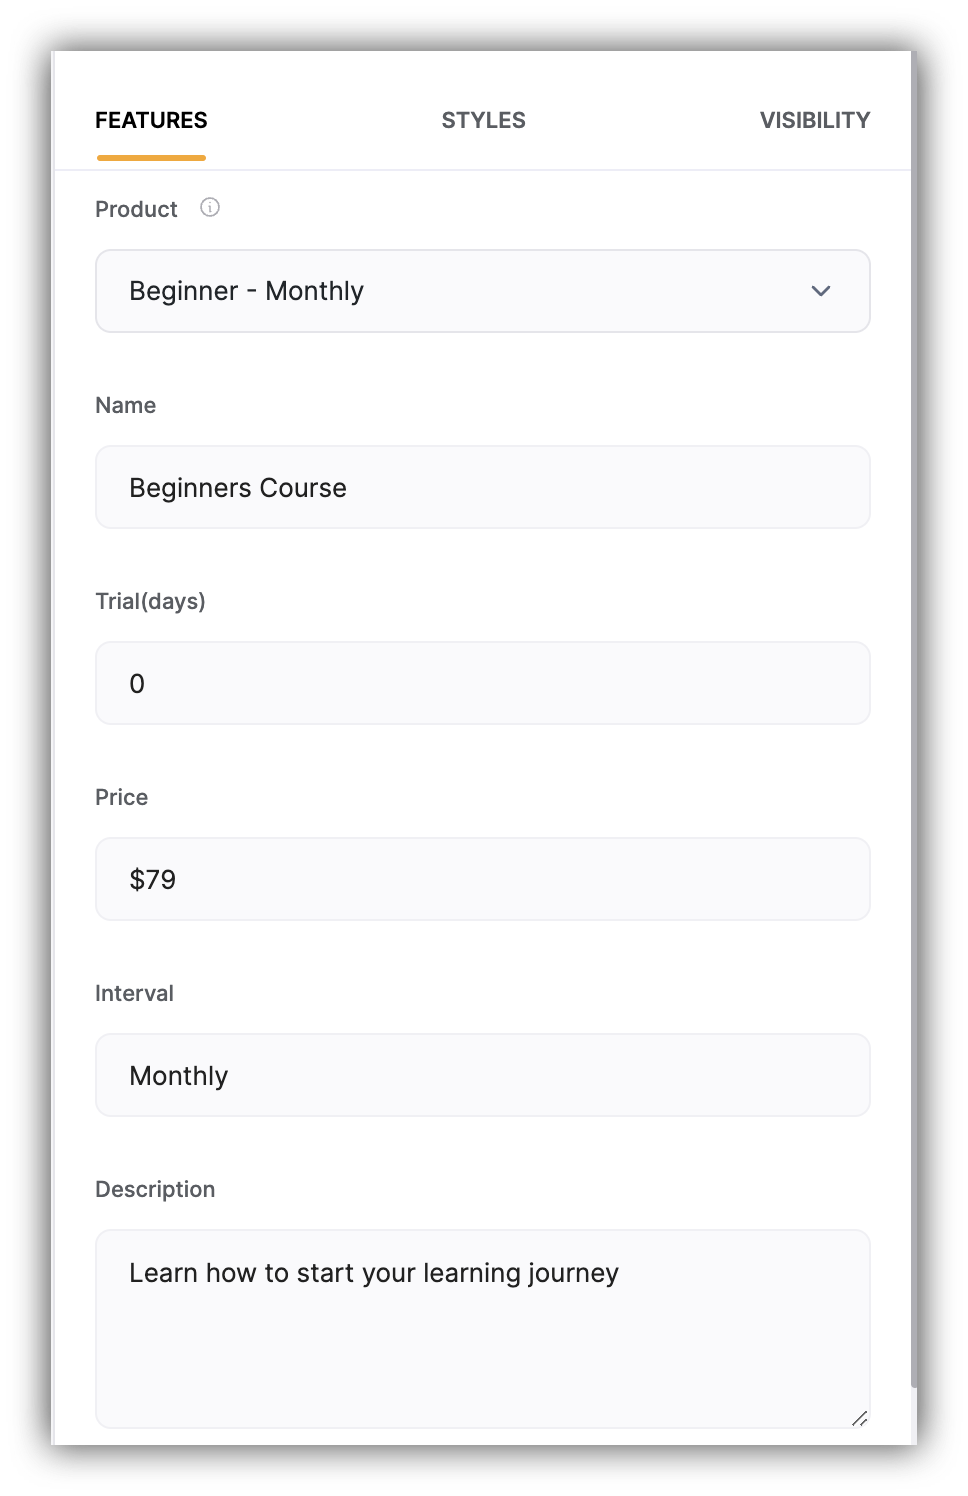 The **Product** dropdown is a list with all your Stripe products. First you need to select a certain product, then fill out the rest of the product fields (**Name, Trial, Price, Interval, Description**) as you wish them to be shown on your checkout page. In the example shown below, we've chosen the **Maker (Website Builder)** product, and set the other fields to their corresponding values.
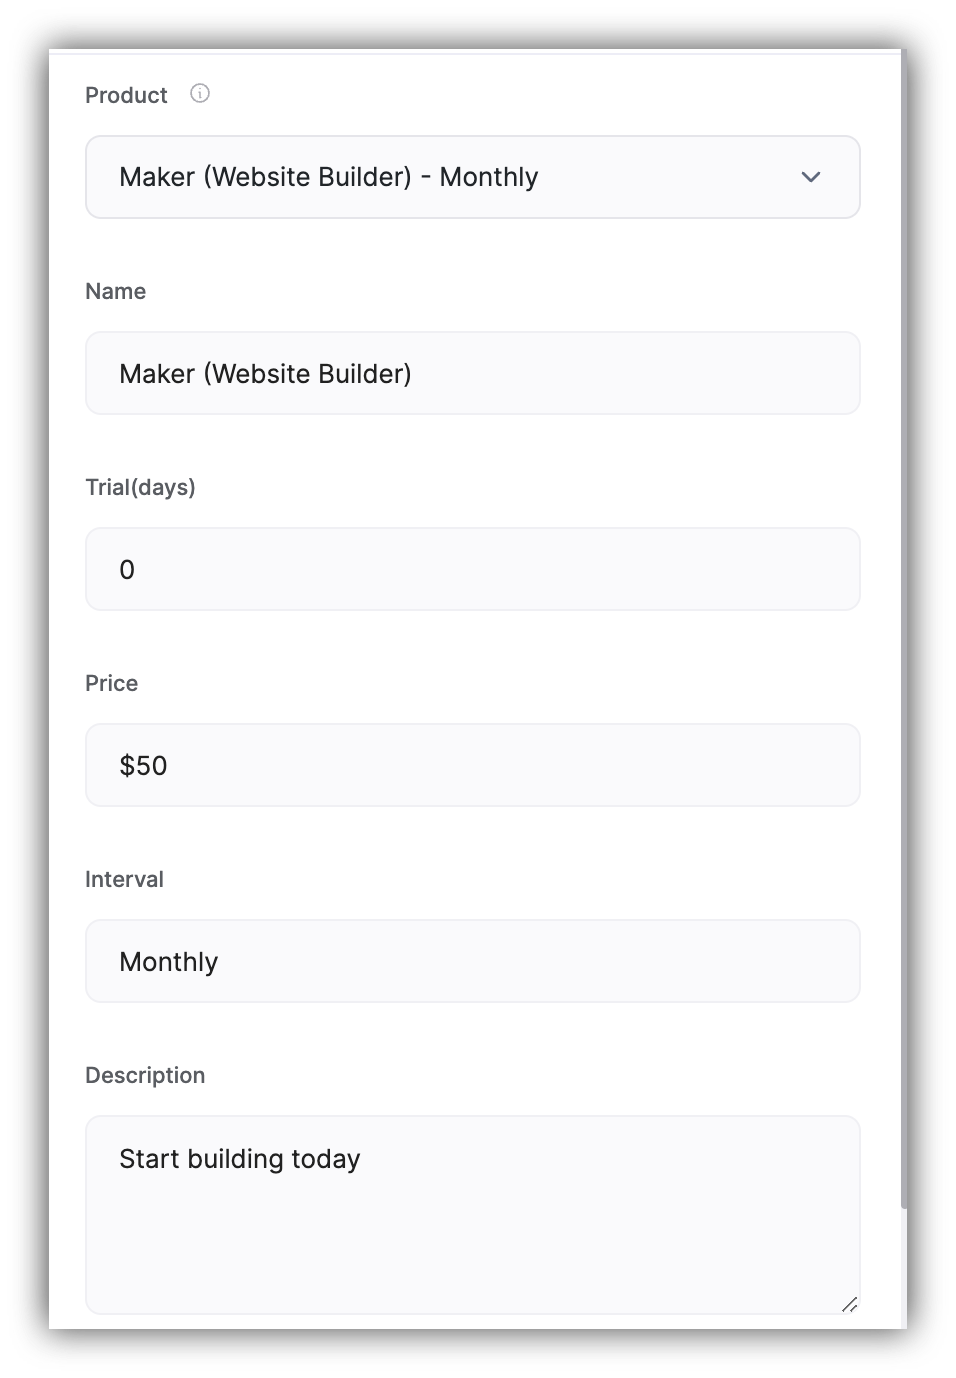 Below, you can see how it looks on the actual checkout form.
 ### Payment details
Here, you can customize the placeholder text for the name and email fields.
### Discount code
### Payment details
Here, you can customize the placeholder text for the name and email fields.
### Discount code
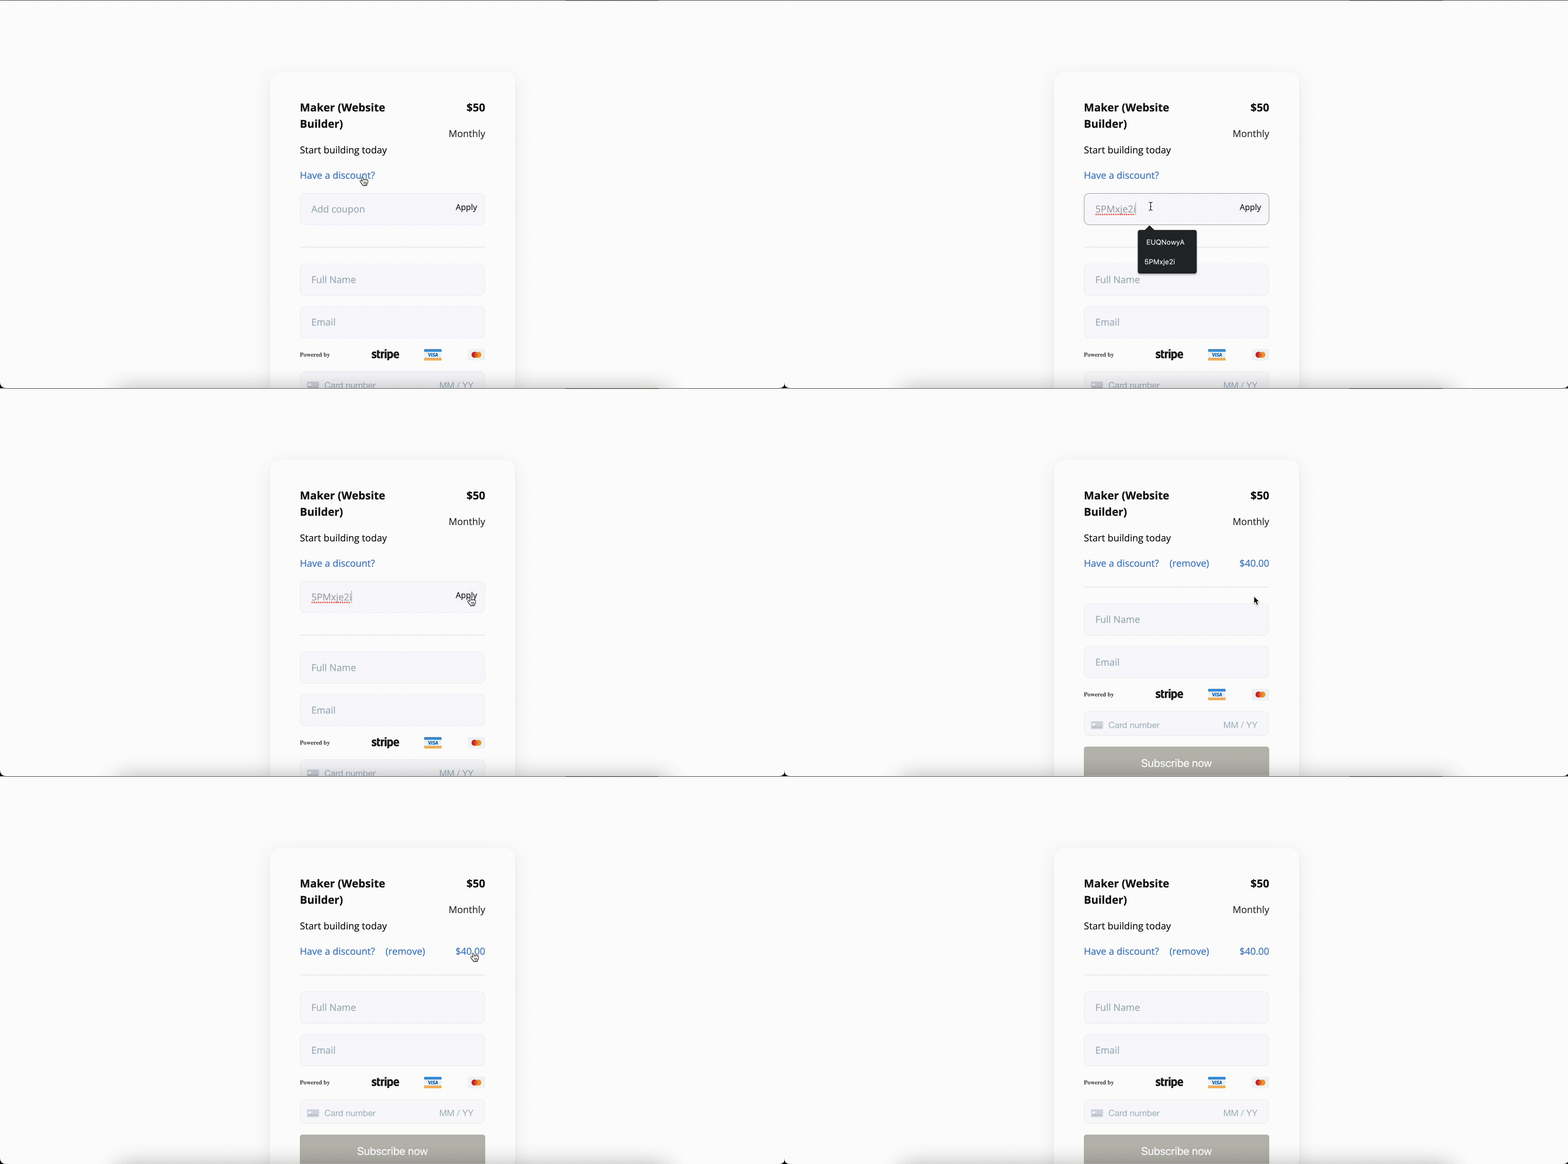
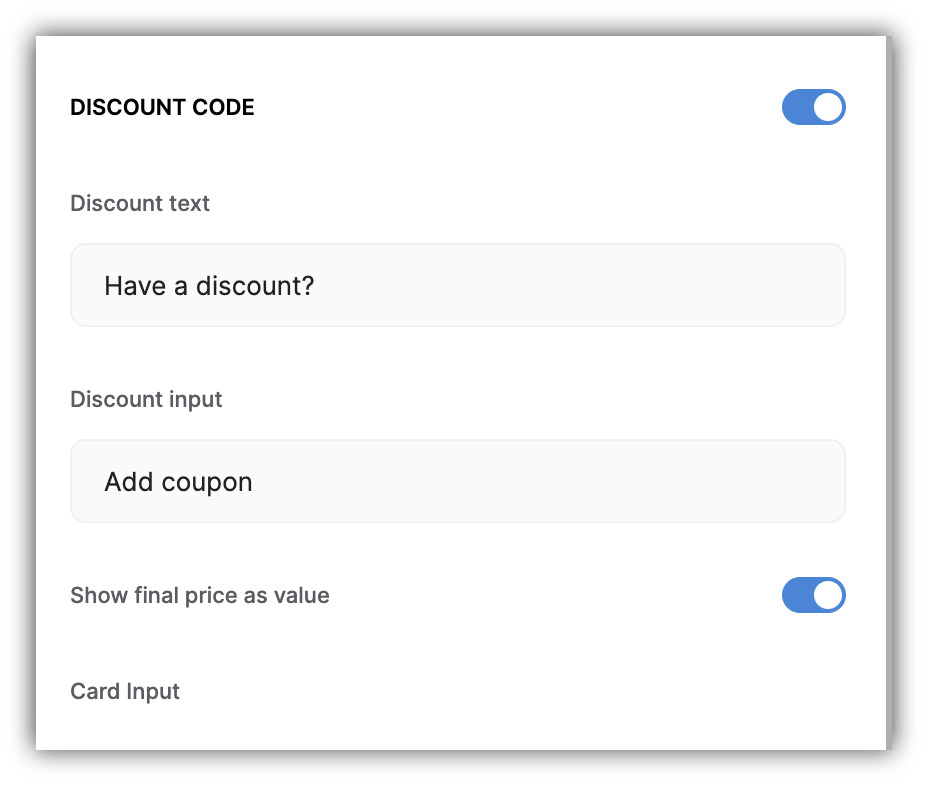 Here you can choose to show a discount code field. If it's enabled, you can modify the text for the discount button and coupon input field. **The form will accept** **[coupons](https://stripe.com/docs/billing/subscriptions/coupons)** **defined for the selected Stripe product.**
 ### Button
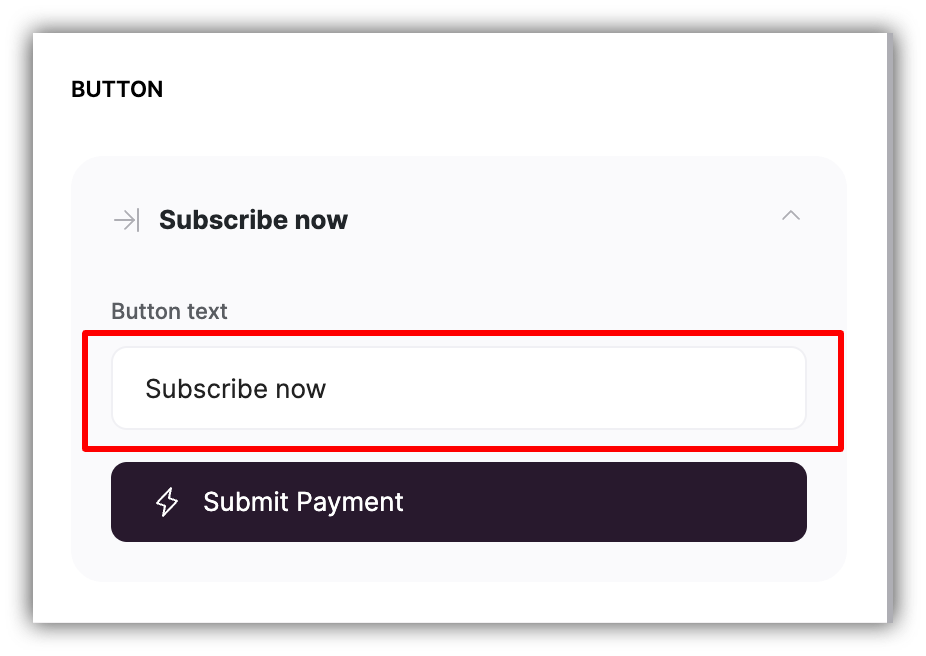 Here, you can modify the **Text** of the payment submissions button. The **Action** of the button is predefined.
### On checkout
Here, you can modify the **Text** of the payment submissions button. The **Action** of the button is predefined.
### On checkout
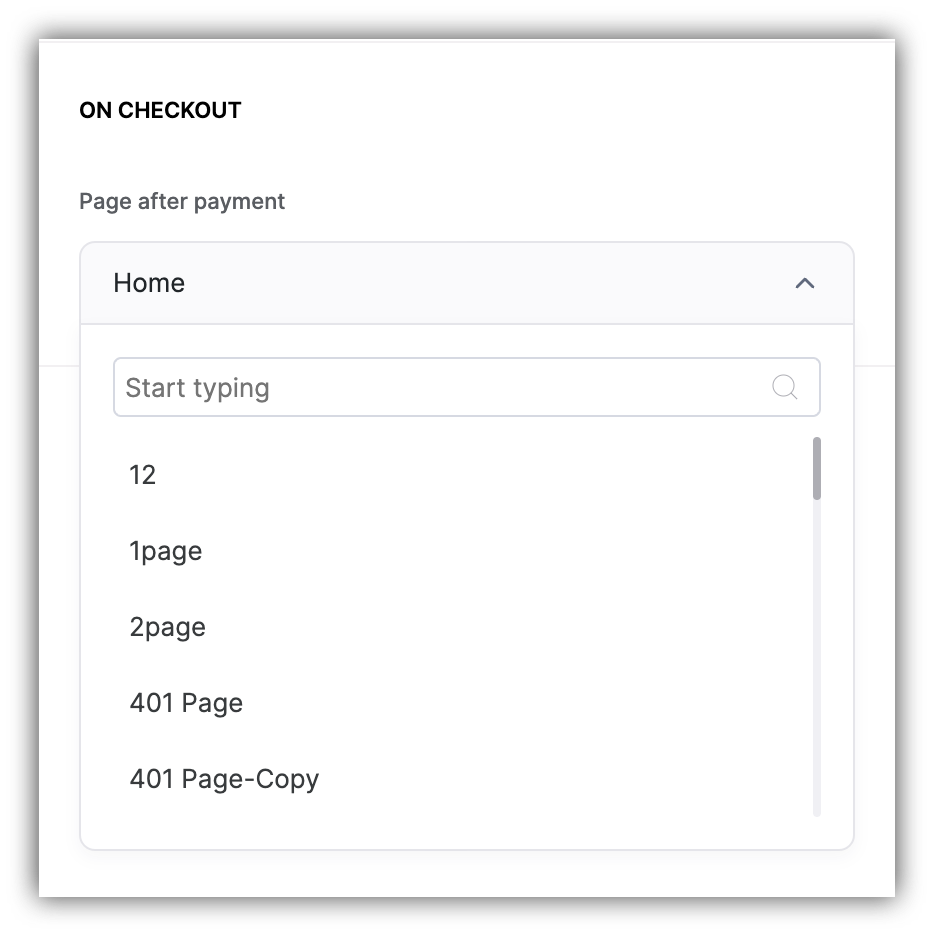 Lastly, you can choose to which page the user is taken after making the payment.
That's it. As soon as you have provided a checkout for a specific product, you can go ahead and define access conditions (for a [block](/user-groups-and-permissions/3oA6AaFzUiePs2sW2TpYrF/block-visibility/3spA2dfQNrcGcPNmnDXHB3) or a [page](/user-groups-and-permissions/3oA6AaFzUiePs2sW2TpYrF/page-visibility/nWJaN689VKA1TUeaEfzK9u)) for users who have paid for the product.
Lastly, you can choose to which page the user is taken after making the payment.
That's it. As soon as you have provided a checkout for a specific product, you can go ahead and define access conditions (for a [block](/user-groups-and-permissions/3oA6AaFzUiePs2sW2TpYrF/block-visibility/3spA2dfQNrcGcPNmnDXHB3) or a [page](/user-groups-and-permissions/3oA6AaFzUiePs2sW2TpYrF/page-visibility/nWJaN689VKA1TUeaEfzK9u)) for users who have paid for the product.