> ## Documentation Index
> Fetch the complete documentation index at: https://docs.softr.io/llms.txt
> Use this file to discover all available pages before exploring further.
# PayPal
> Integrating PayPal with Softr to receive payments.
You can easily integrate PayPal on your Softr app to start receiving payments. You can either add a single button or, if you're importing a list of products from a [data source](/4230abecf813402aa2926466c313290a), you can add a PayPal link for each product in your database, so that customers can visit your store and make purchases. Let's discuss each case separately.
## Adding a Single Button
Your starting point is [https://www.paypal.com/buttons/](https://www.paypal.com/buttons/) where you can choose the type of button you want to have on your site. After generating the button, the code can be added inside a [Custom Code](/custom-code/3idxDhKqz1qPdqBuWbs61G/custom-code-block-overview/6XNrxFopUEiwbWipq81Eq1) block in your Softr app.
As an example, let’s use the **Buy Now** button:
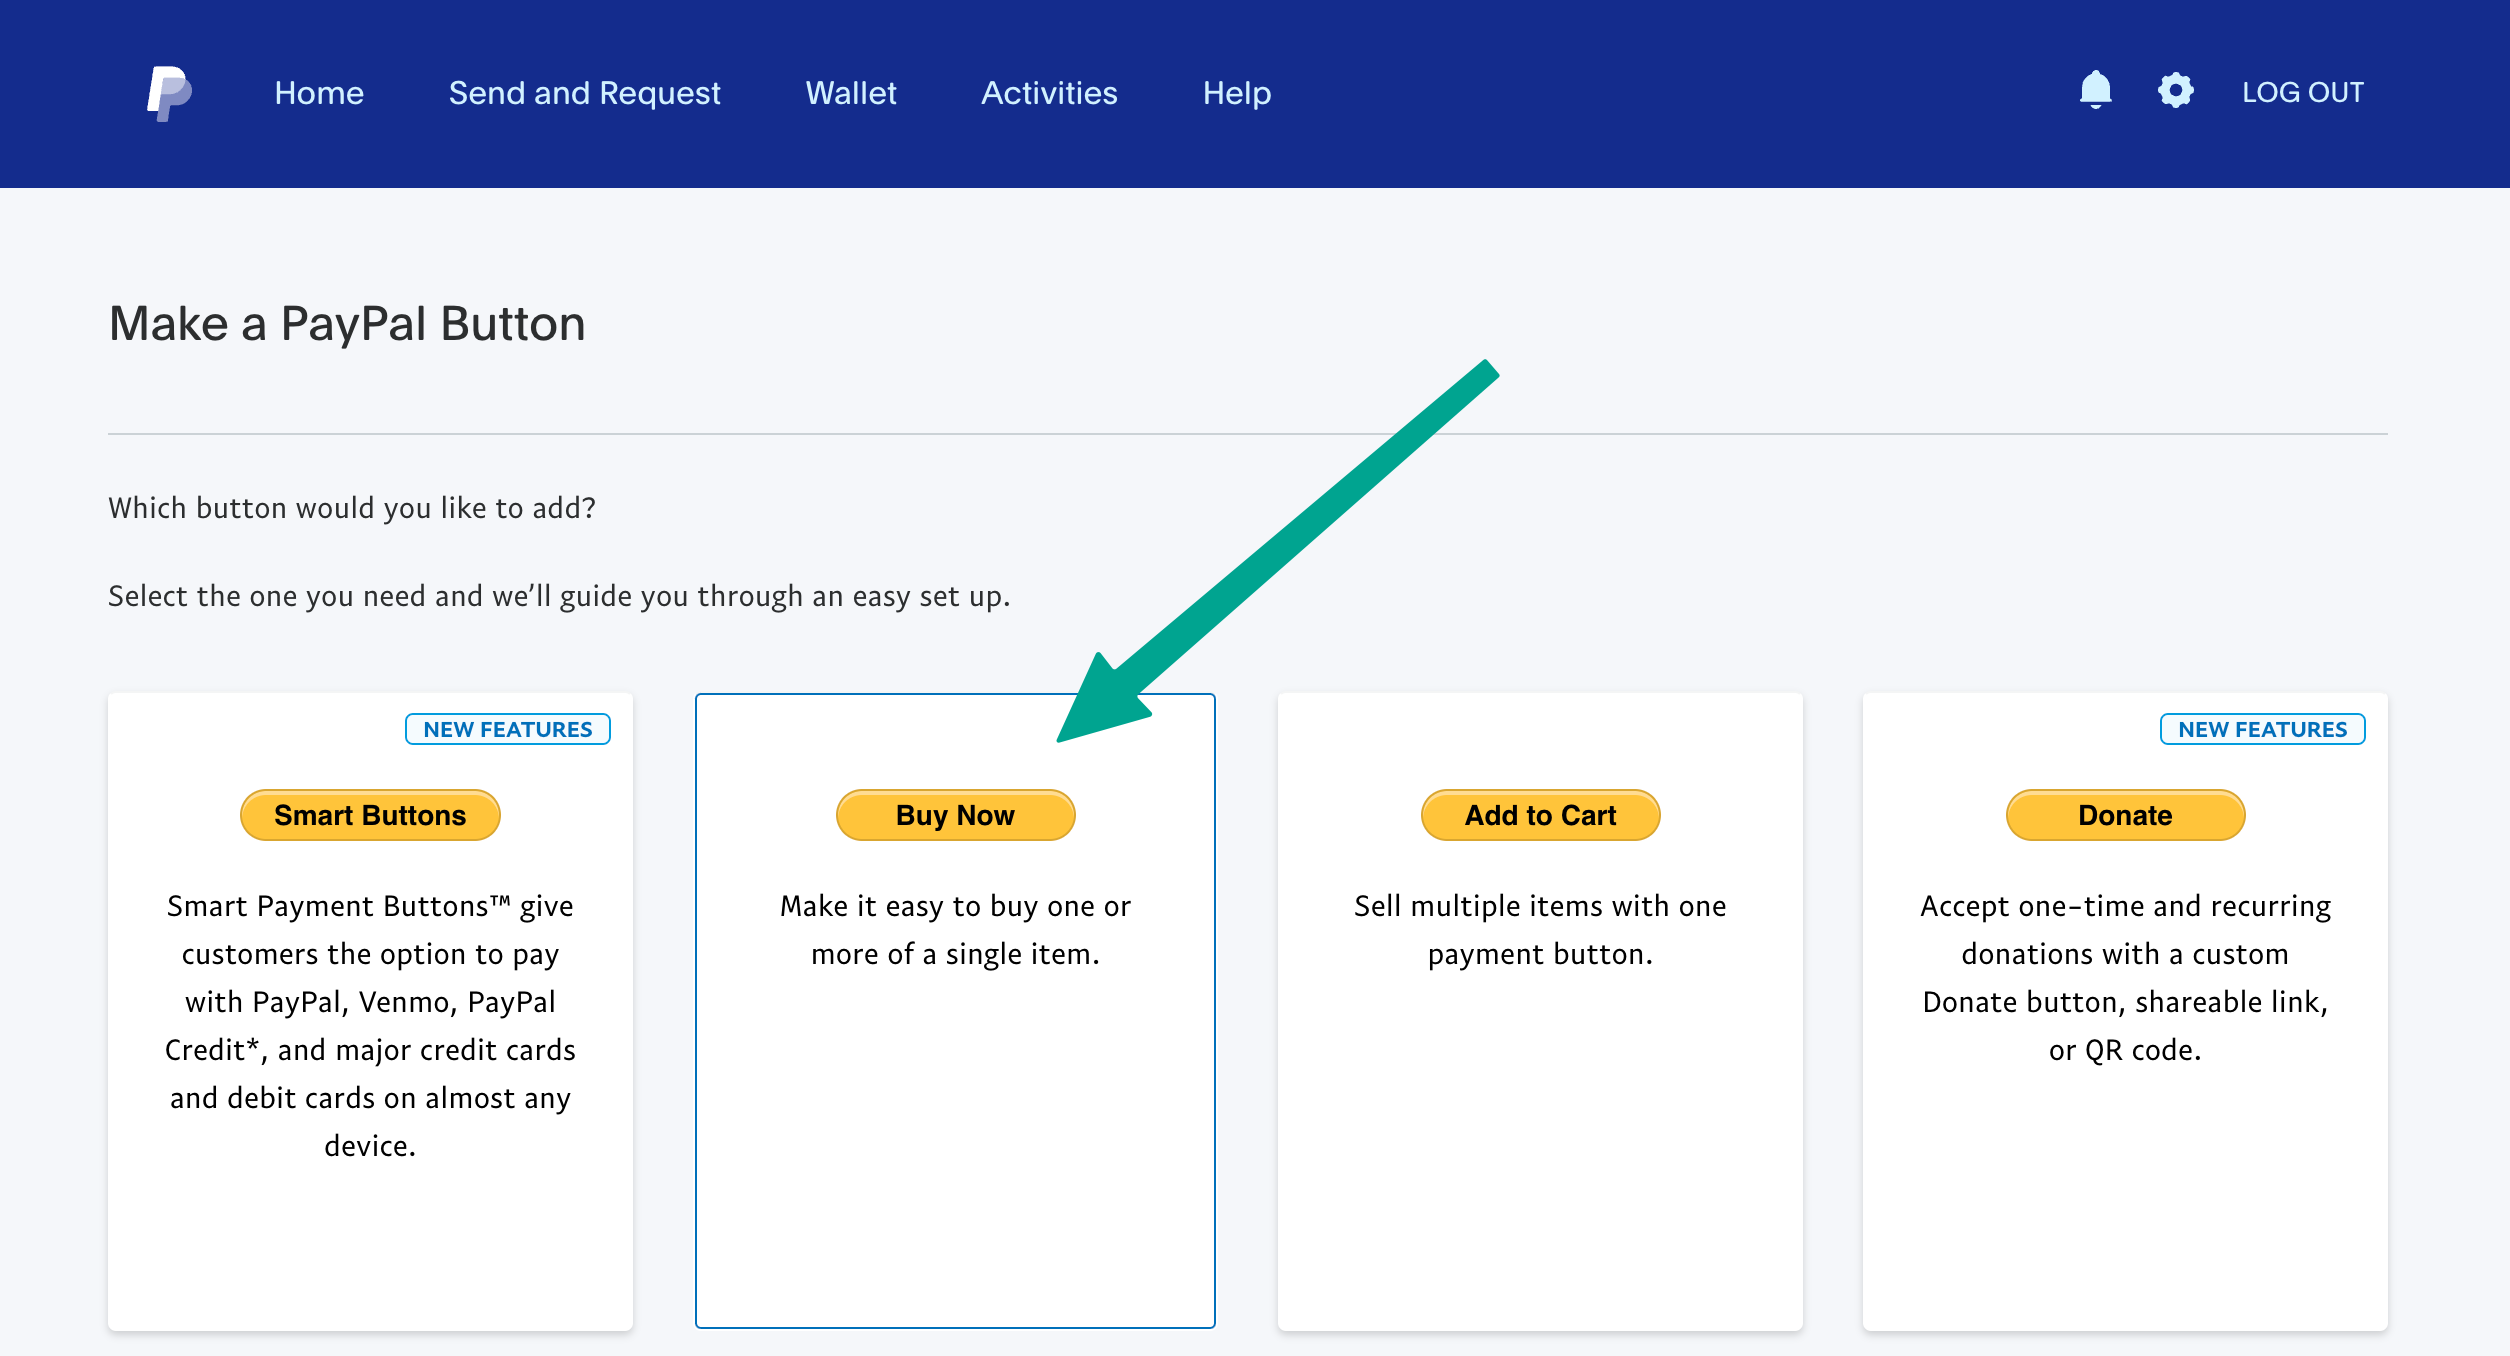 Make sure you are signed in to PayPal to see the Buy Now option.
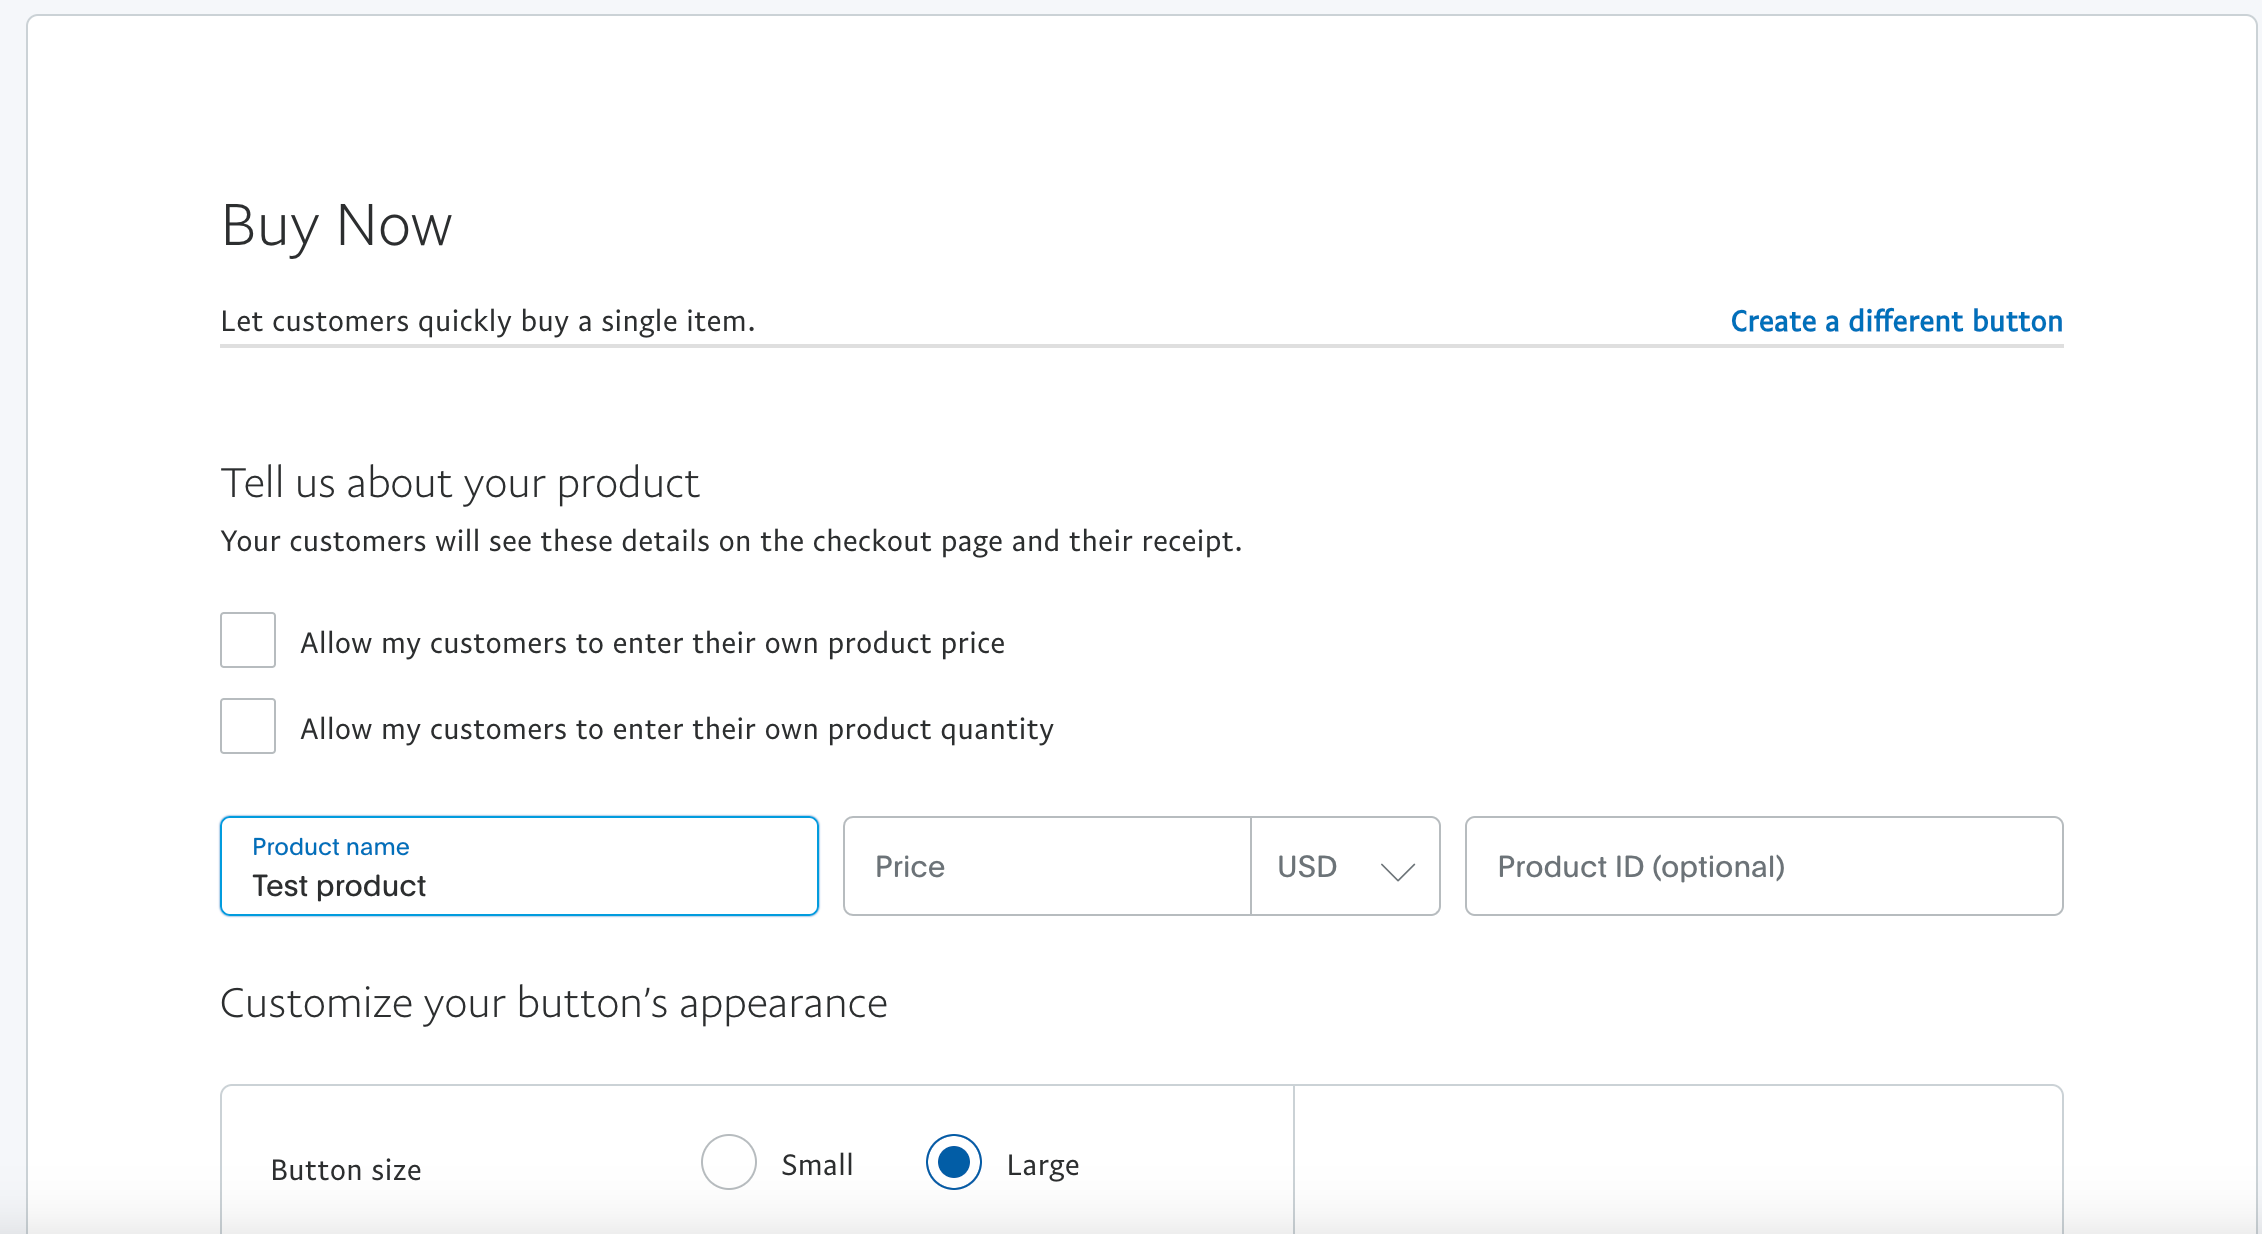
Follow PayPal’s configuration steps like providing a Product name and Price:
Make sure you are signed in to PayPal to see the Buy Now option.
Follow PayPal’s configuration steps like providing a Product name and Price:
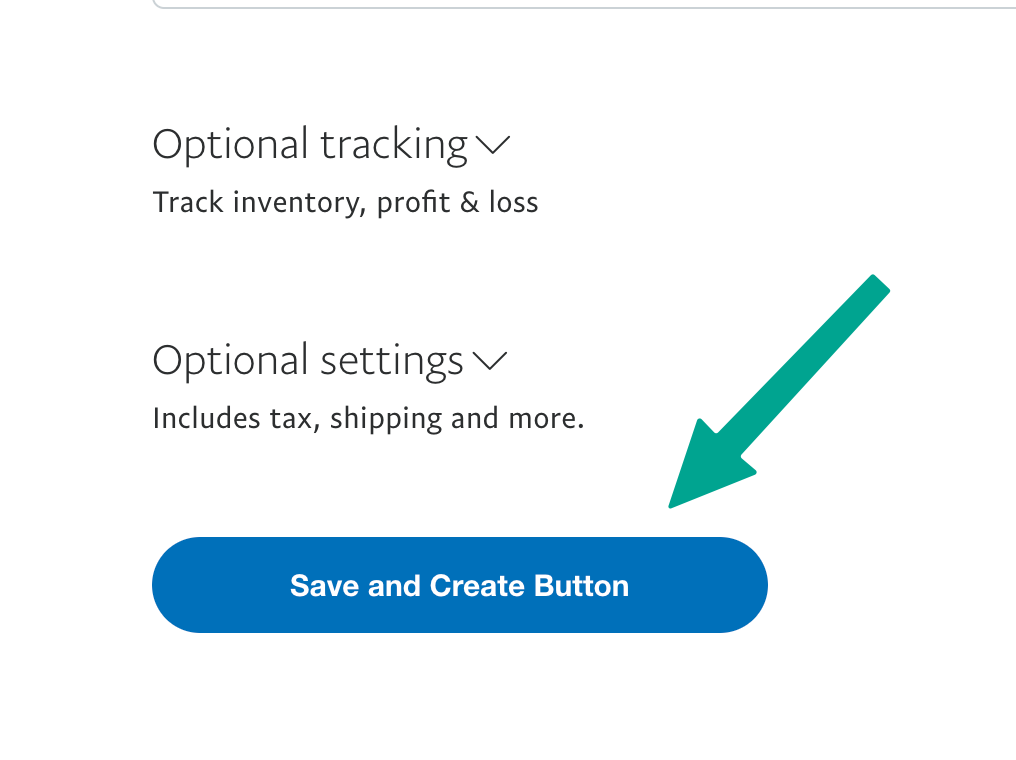
 Once done, click “Save and Create Button”:
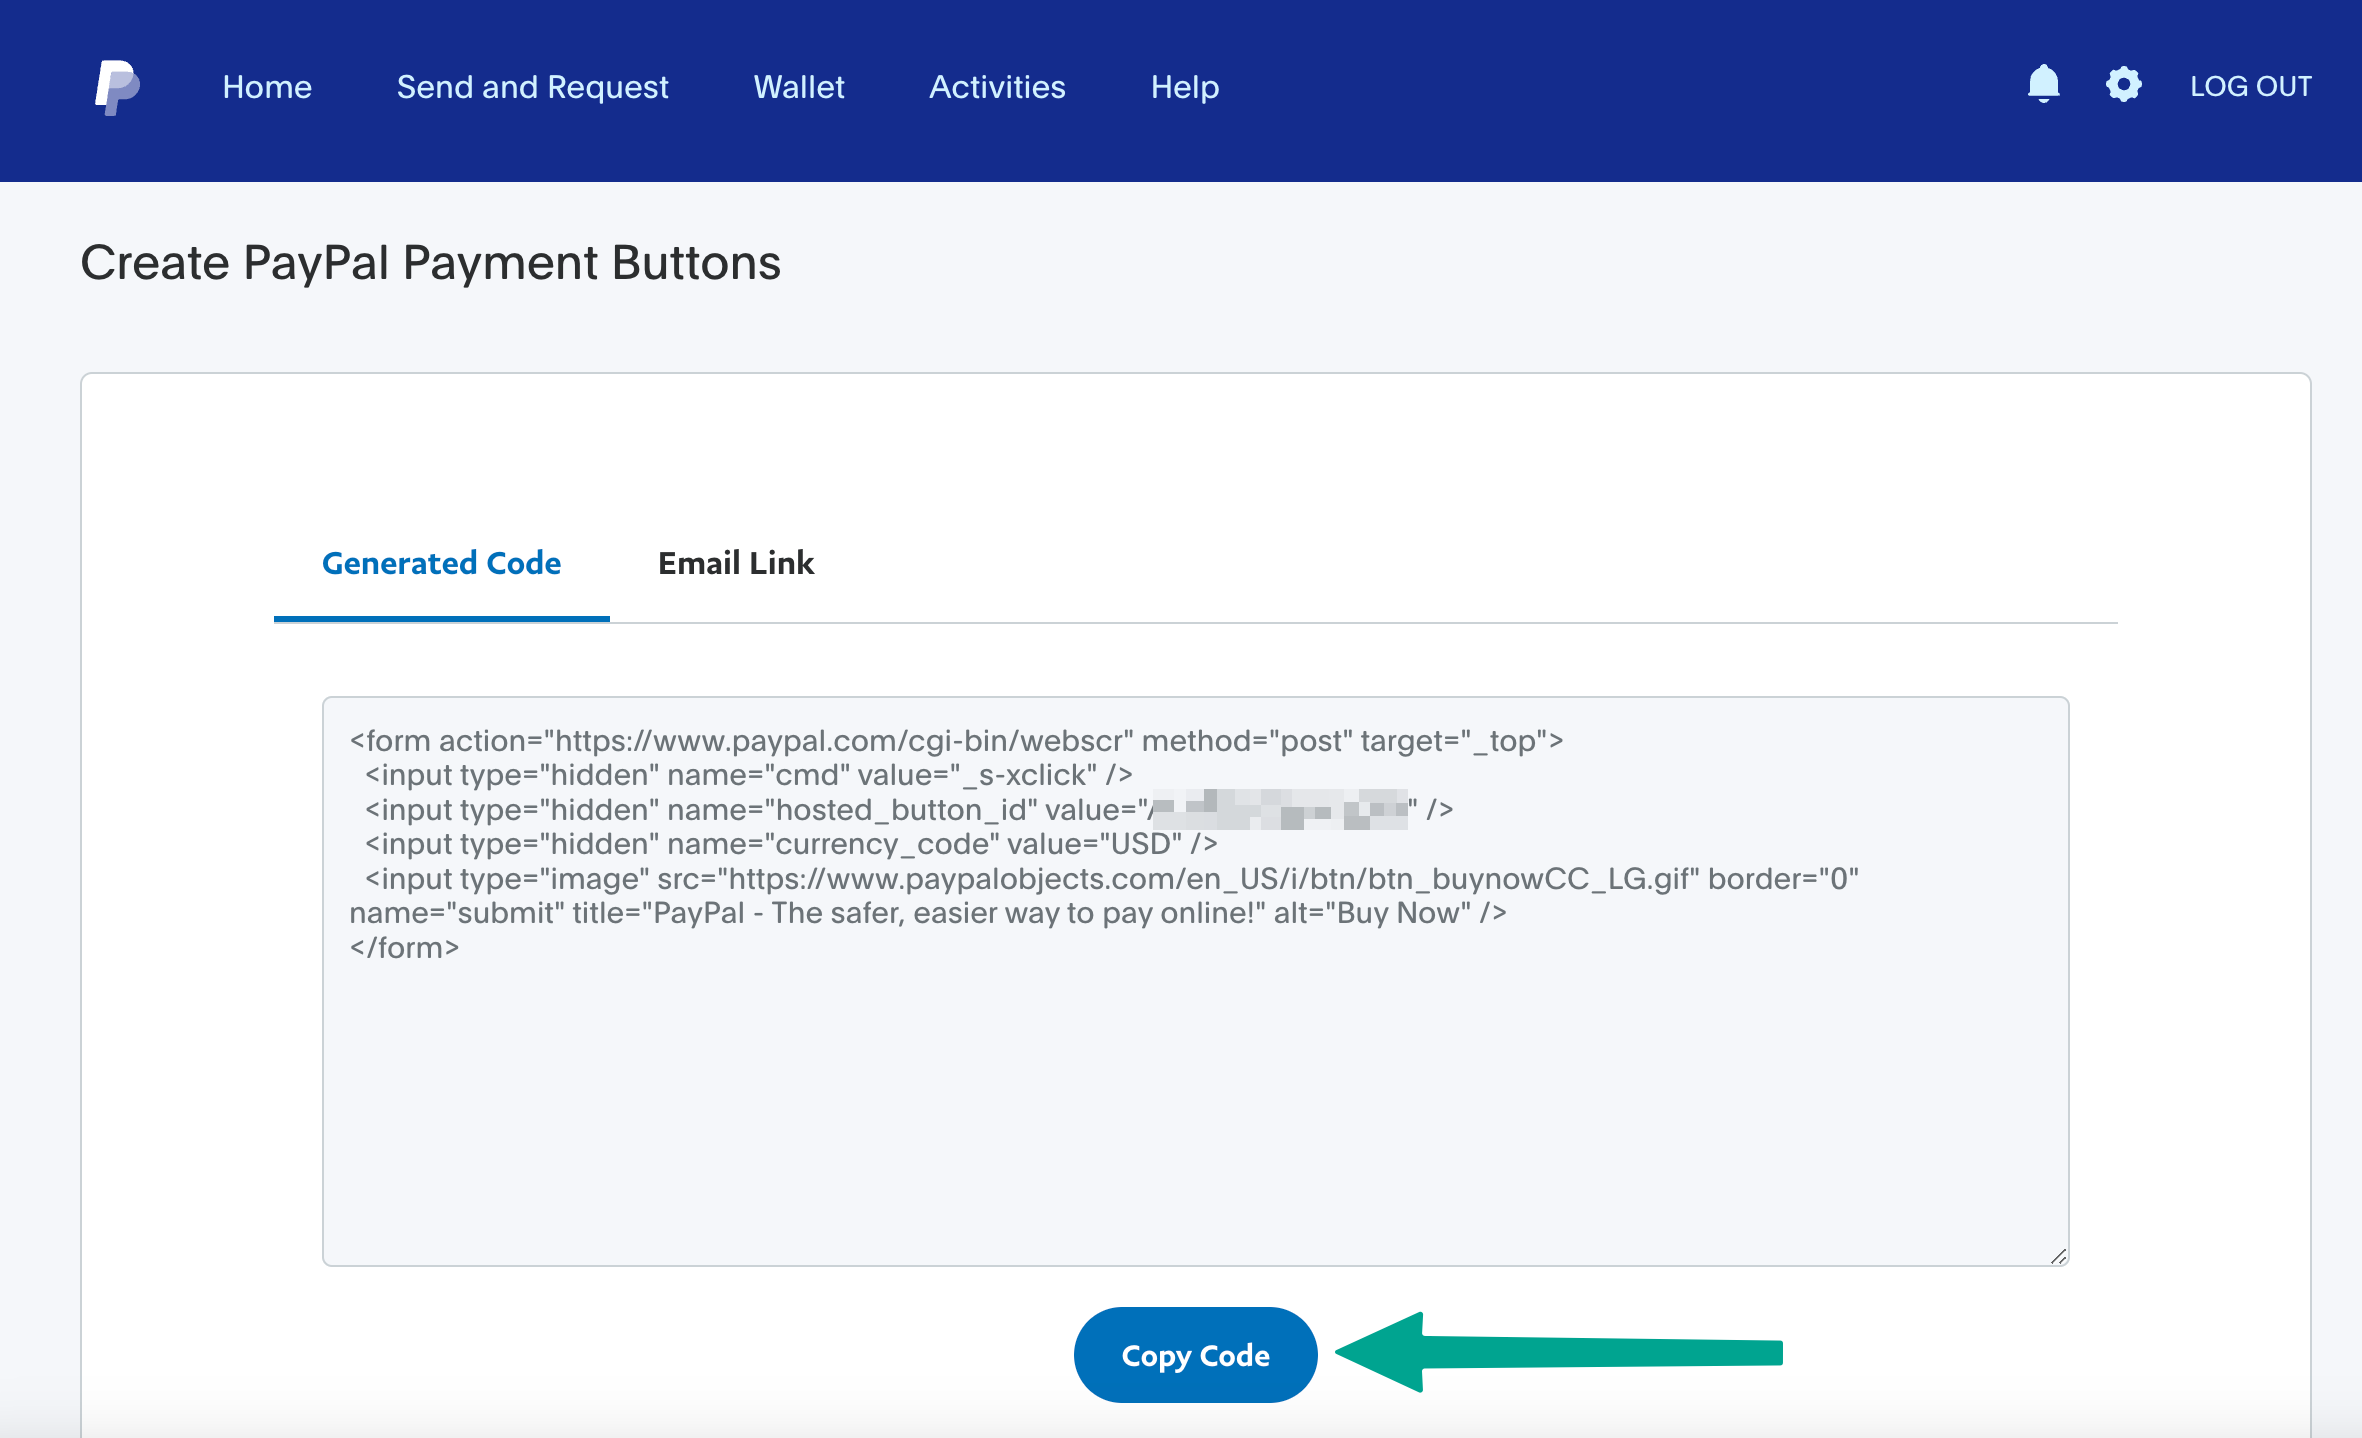
 You will land on a page with your button code. Copy the code:
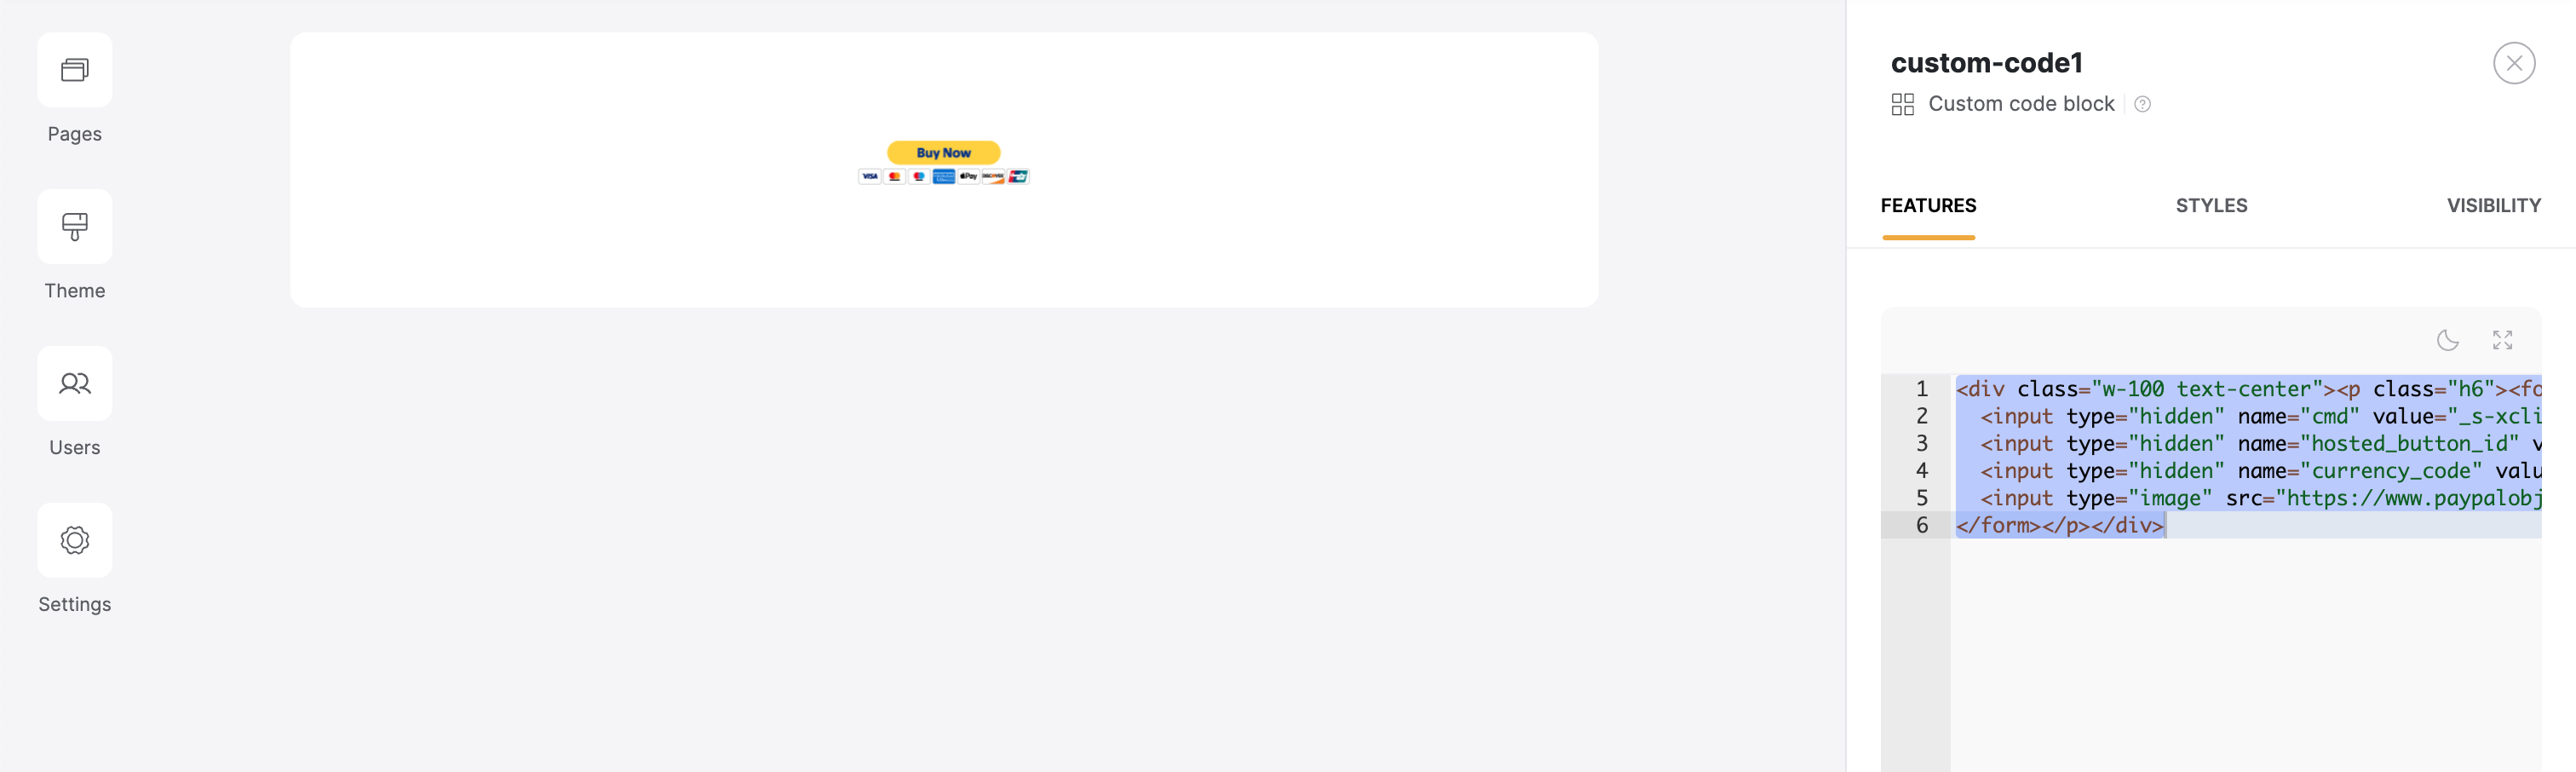
 Finally, add the link to a [Custom Code](/custom-code/3idxDhKqz1qPdqBuWbs61G/custom-code-block-overview/6XNrxFopUEiwbWipq81Eq1) block:
 ## Adding links in a data source
Let's assume you've created an e-commerce app. Thus, you have your [product listing](/building-blocks/vikC2AWEpQGkZd4jGyoVxo/list-block/pQhPYuA28VXr5tLLFBcbCU), and each product has a **View Details** button, which should be linked to the item [details page](/building-blocks/vikC2AWEpQGkZd4jGyoVxo/item-details-block-/4bE8XaFbJp45wkAwuWiz8f). On the details page, there's in turn a **Buy Now** button. So, let's customize the **Buy Now** to link it to the item's PayPal **Buy Now** button.
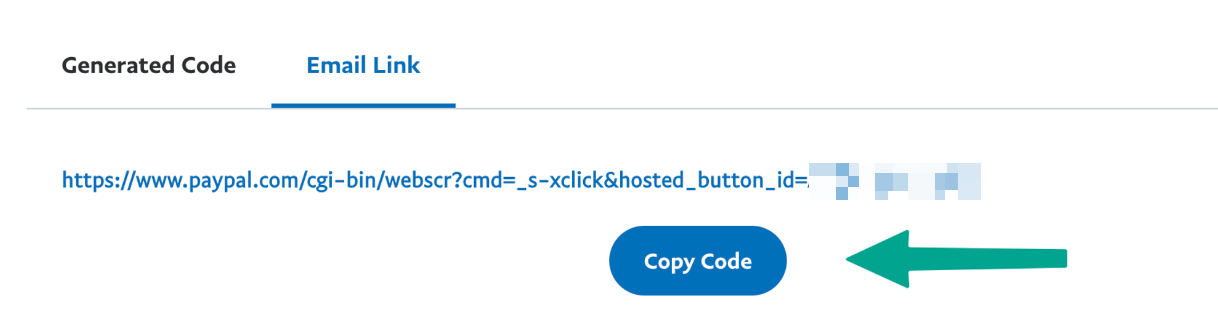
This time, when you create a button, switch to the **Email Link** tab, and copy the code.
## Adding links in a data source
Let's assume you've created an e-commerce app. Thus, you have your [product listing](/building-blocks/vikC2AWEpQGkZd4jGyoVxo/list-block/pQhPYuA28VXr5tLLFBcbCU), and each product has a **View Details** button, which should be linked to the item [details page](/building-blocks/vikC2AWEpQGkZd4jGyoVxo/item-details-block-/4bE8XaFbJp45wkAwuWiz8f). On the details page, there's in turn a **Buy Now** button. So, let's customize the **Buy Now** to link it to the item's PayPal **Buy Now** button.
This time, when you create a button, switch to the **Email Link** tab, and copy the code.
 ### **Adding the Button Link to the Product**
Now, you have the button link and need to add it to your data source to the corresponding product. We are going to use [Airtable](/data-sources/1YYStCJukT15Lh2j93qo9A/airtable/jHX7kfH7QvkVcELQvS3VoX) as our data source and create a **PayPal Link** field to add the button link there.
### **Adding the Button Link to the Product**
Now, you have the button link and need to add it to your data source to the corresponding product. We are going to use [Airtable](/data-sources/1YYStCJukT15Lh2j93qo9A/airtable/jHX7kfH7QvkVcELQvS3VoX) as our data source and create a **PayPal Link** field to add the button link there.
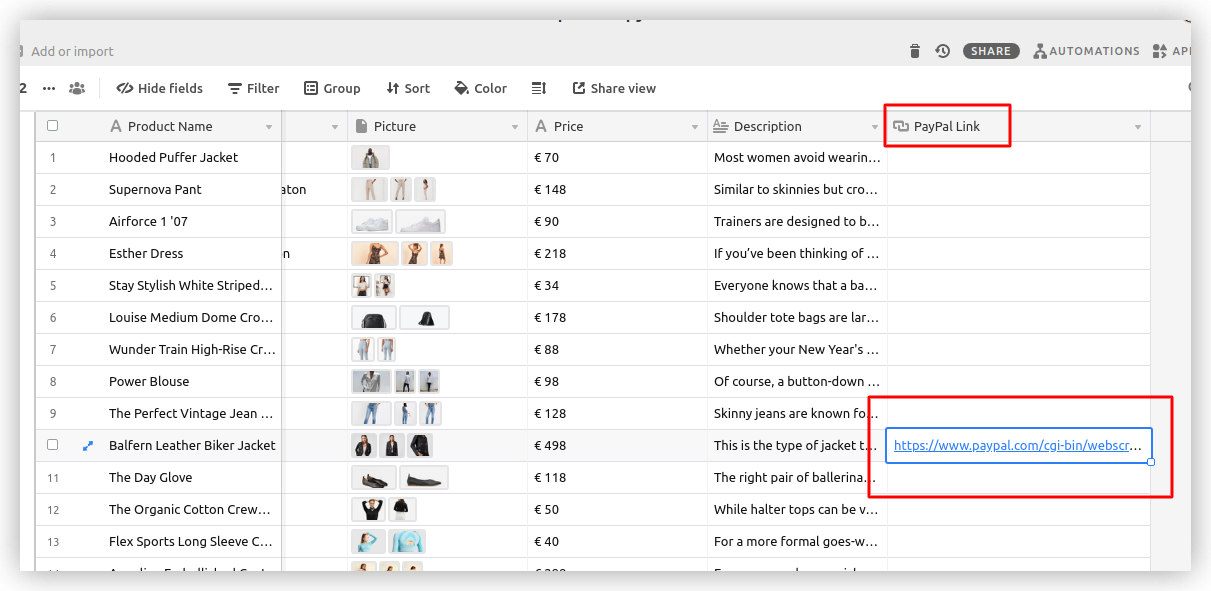 Next, on our product details page, we are going to set the **Buy Now** button action to **External url** and select the **PayPal Link** field.
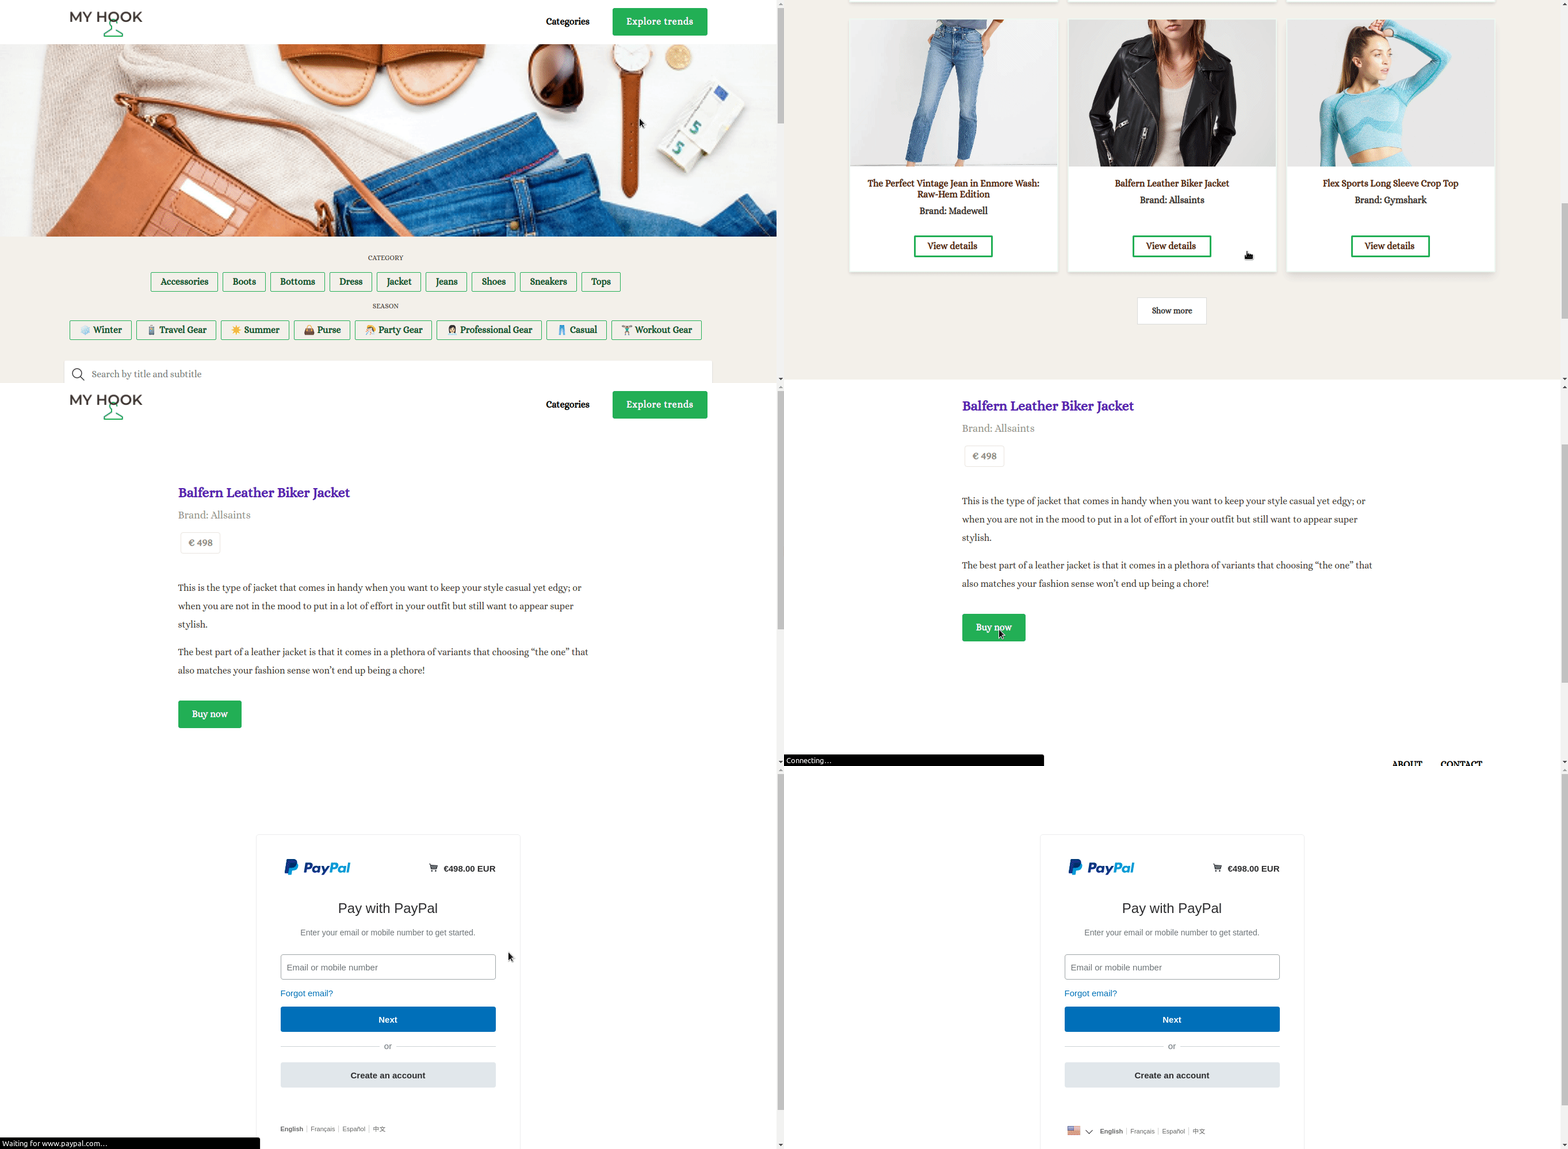
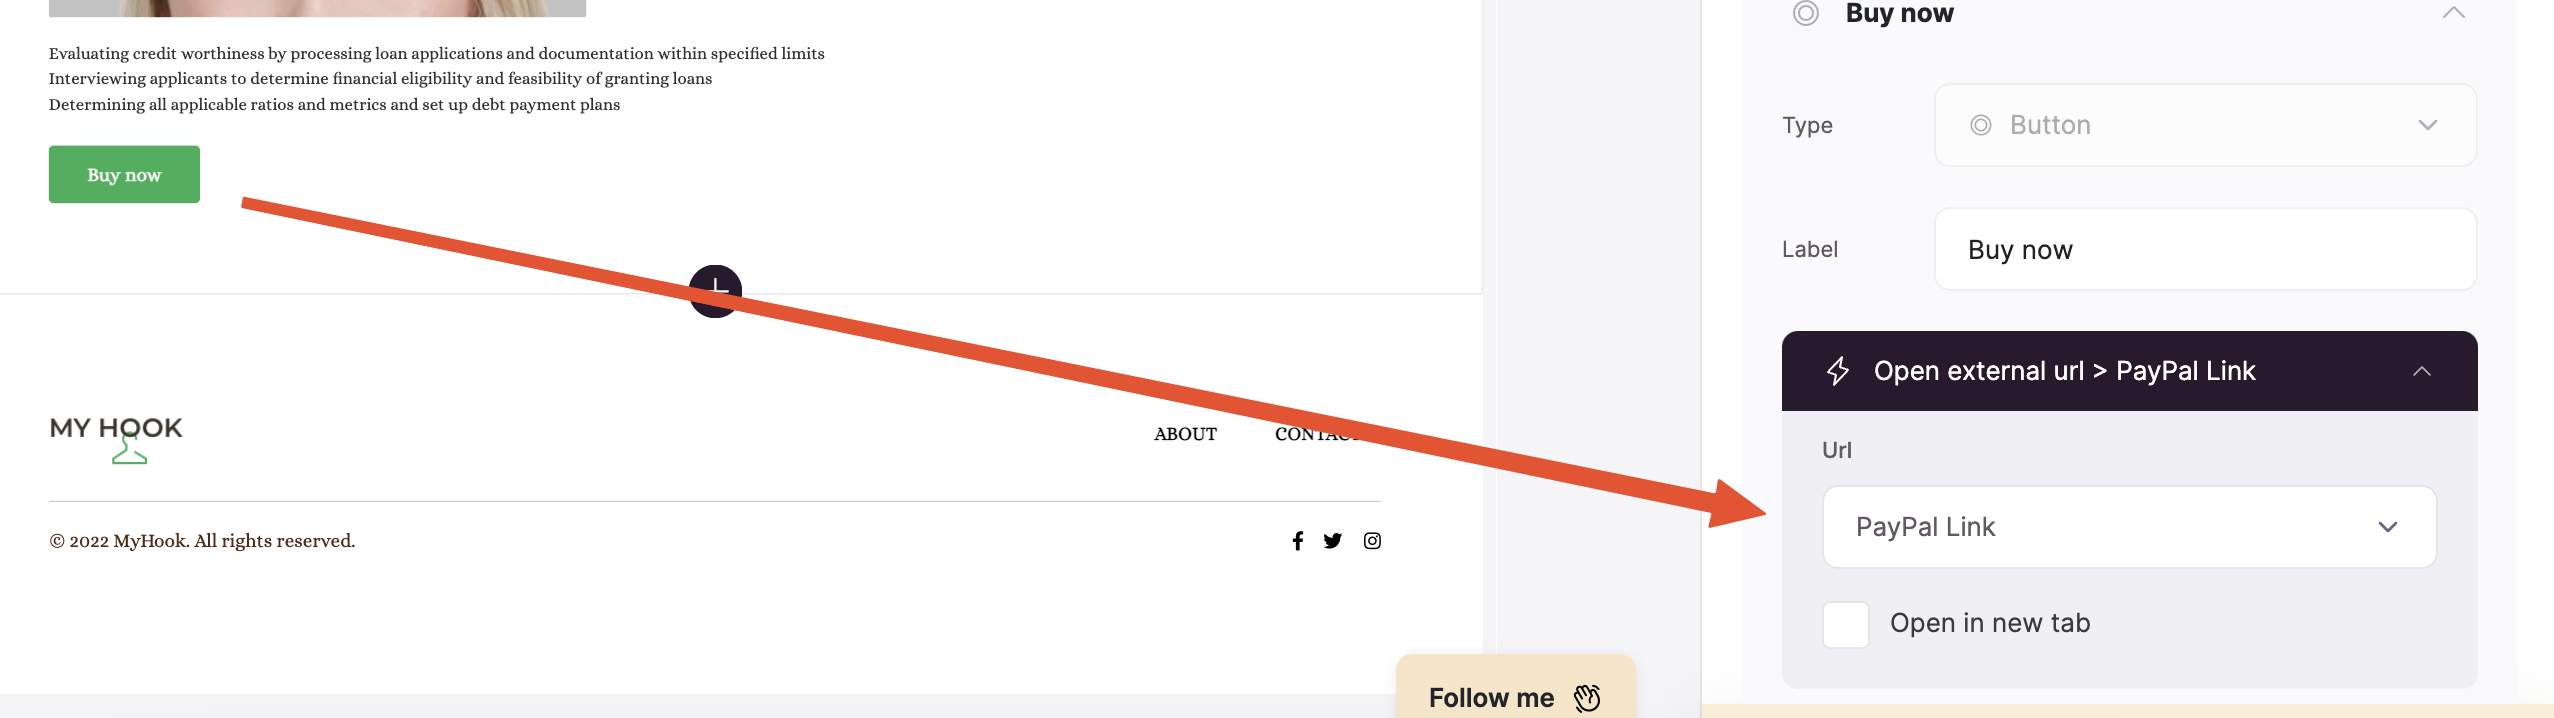 So, that's the process for one particular product, and you need to repeat it for all the products, creating a unique PayPal button for each one. When you're done, the Buy Now button on the product page will redirect to the PayPal payment page, as shown below.