> ## Documentation Index
> Fetch the complete documentation index at: https://docs.softr.io/llms.txt
> Use this file to discover all available pages before exploring further.
# Mailerlite
> Collecting form submissions with Mailerlite.
With MailerLite you can collect emails from your users through any email capture form. All the collected emails will be sent to and stored in your MailerLite account.
## **How to integrate MailerLite with Softr**
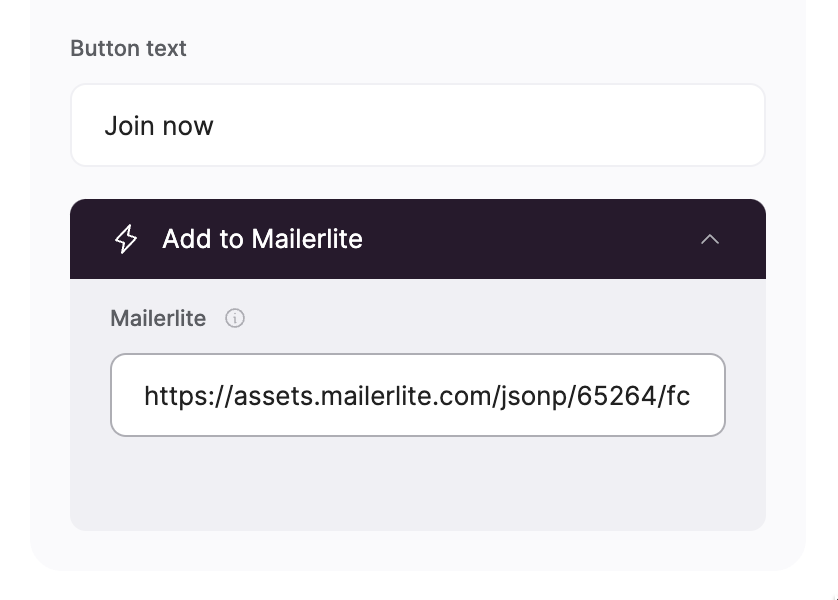
MailerLite integration can be applied to any block with email capture (CTA, Hero section, Form etc). For instance, if you are configuring a [CTA with email capture](/6772b65a34c84bfdbe1bc16e8b03f525), you will see an "Add to Mailerlite" option under the submit button's **Action.**
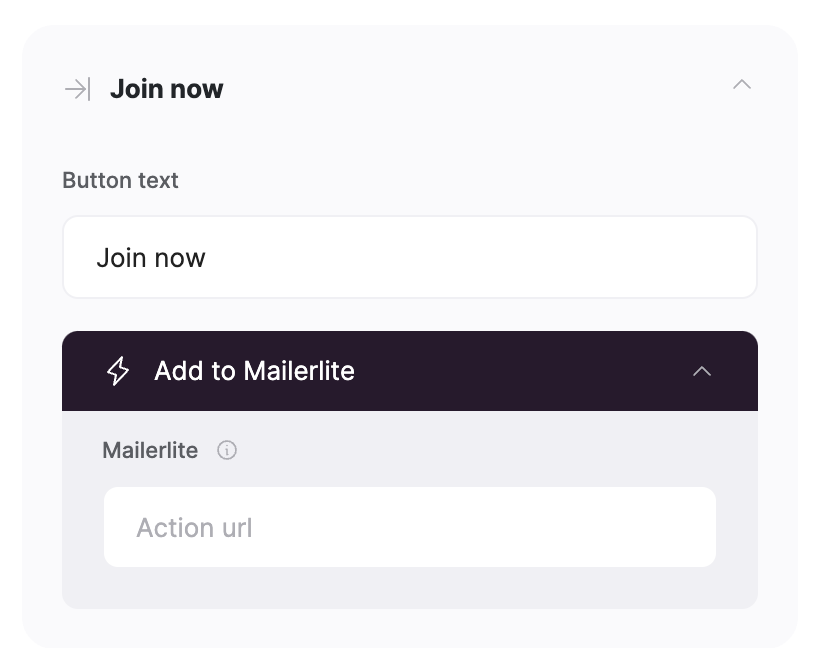
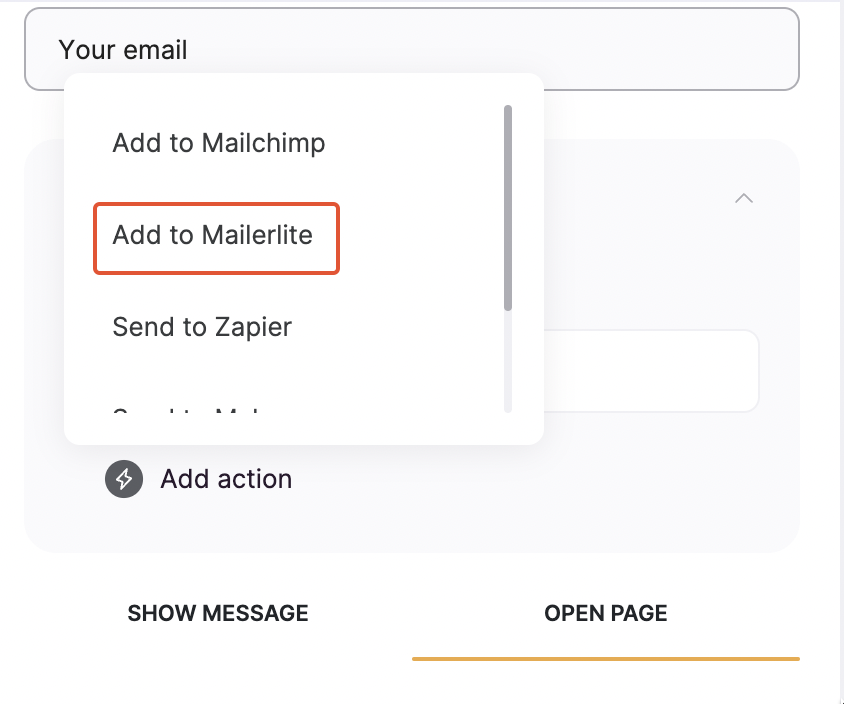 As soon as you choose this option, a new field will appear, where you need to provide the MailerLite **Action URL** to link the email capture form to your MailerLite account.
 So, let's see how you can get the **Action URL** from MailerLite.
## **How to locate MailerLite Action URL**
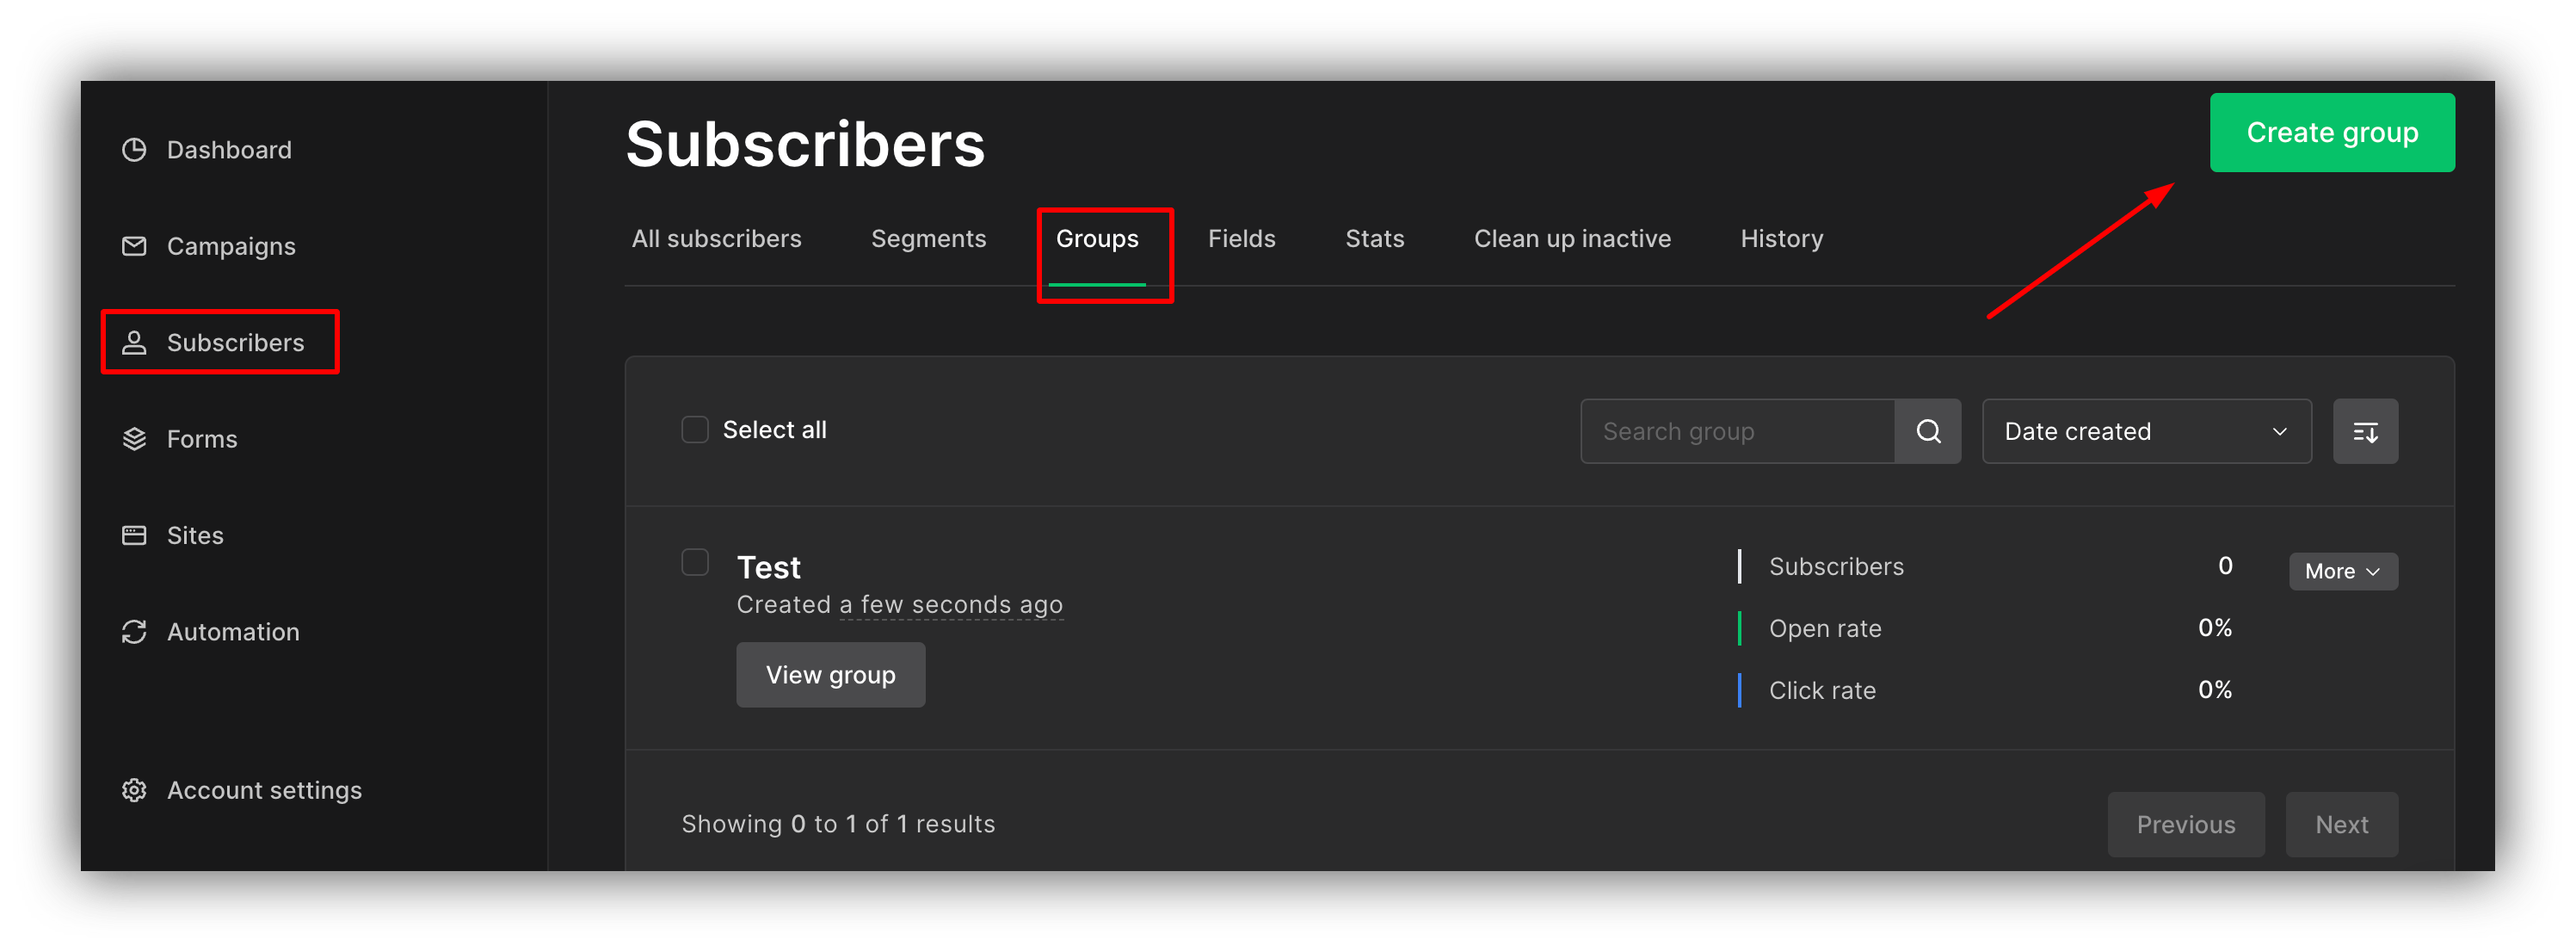
Log into your MailerLite account, go to **Subscribers => Groups**,and create a group (or use an existing group if you already have one).
So, let's see how you can get the **Action URL** from MailerLite.
## **How to locate MailerLite Action URL**
Log into your MailerLite account, go to **Subscribers => Groups**,and create a group (or use an existing group if you already have one).
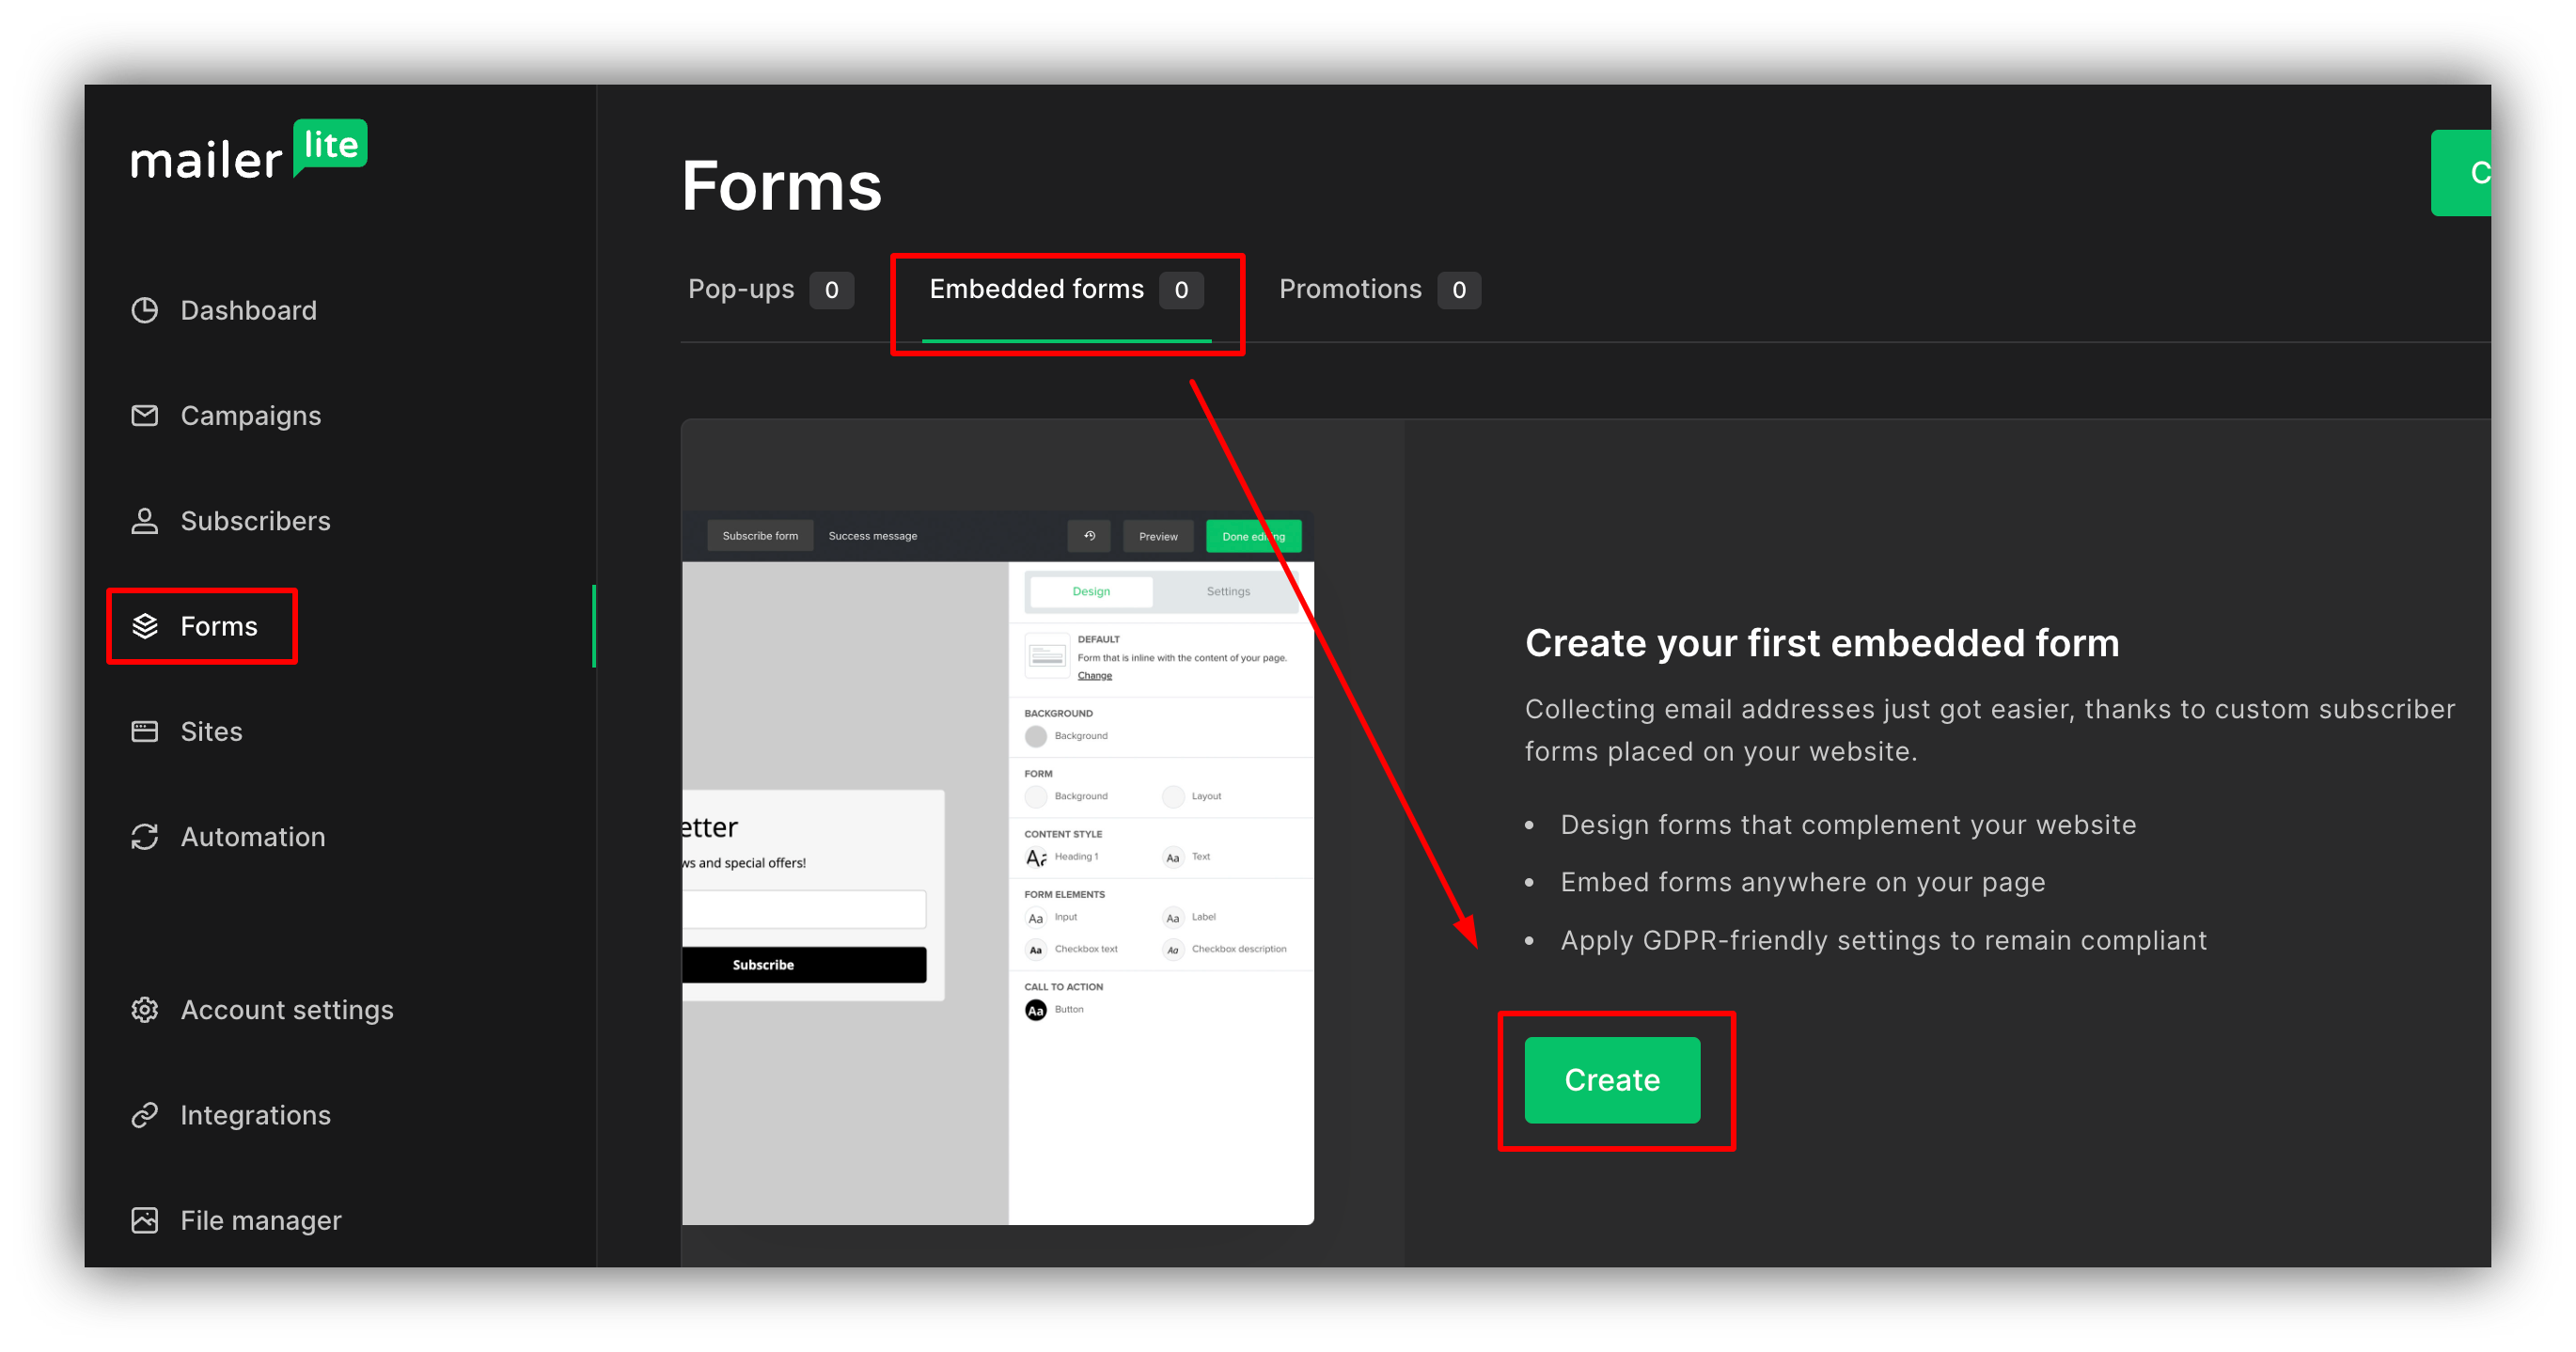
 Then go to **Forms => Embedded Forms** and create an embedded form as shown below.
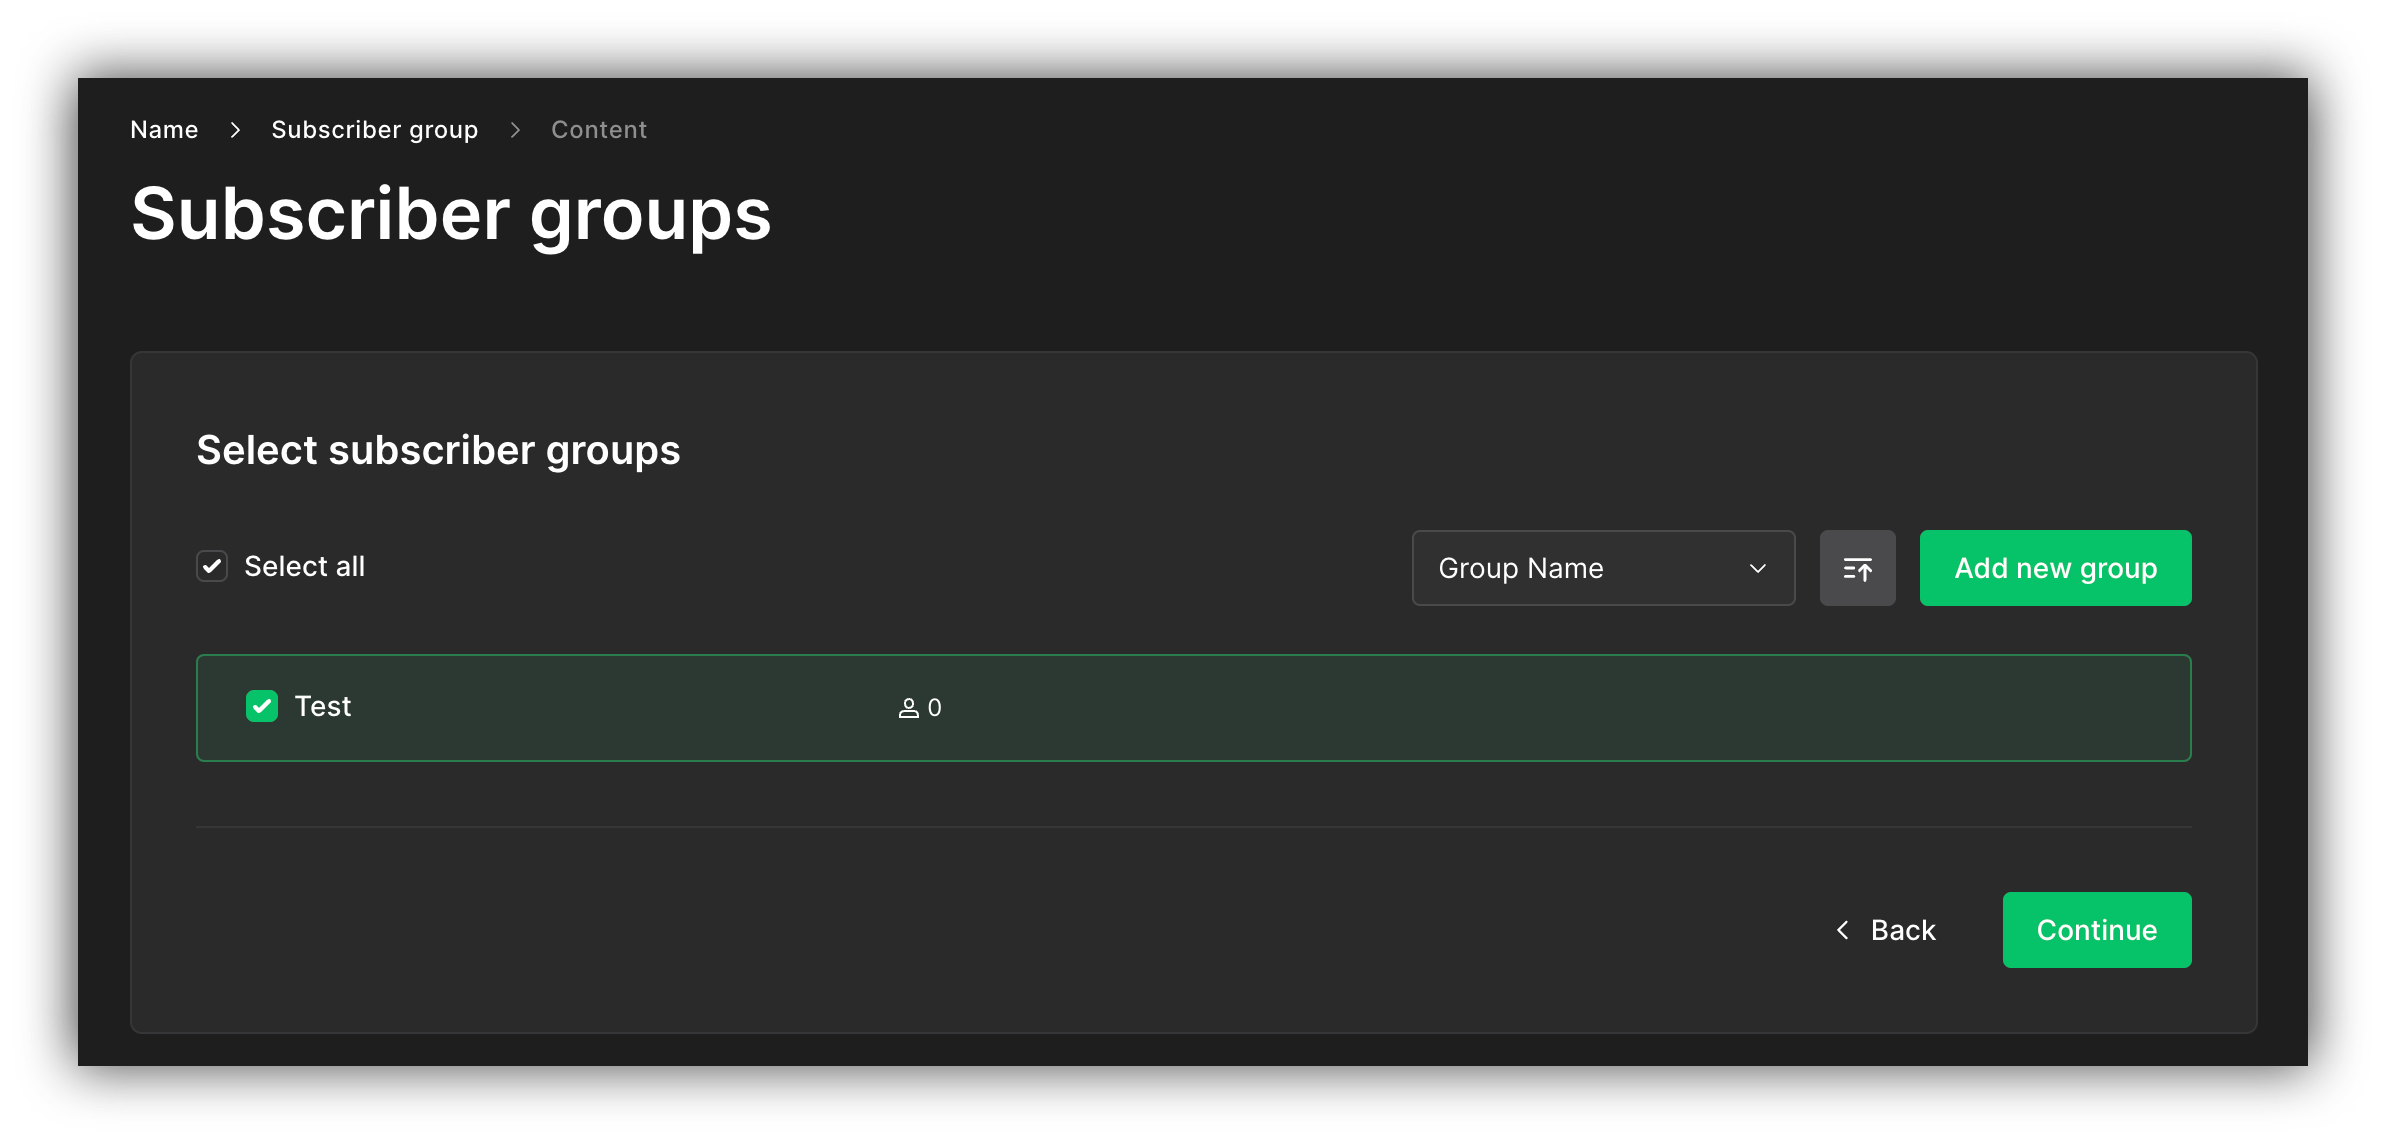
 After entering a name, you'll see the next step, where you need to select the Subscribers group for the form. Choose the group where you want the contacts to be stored and hit **Continue**.
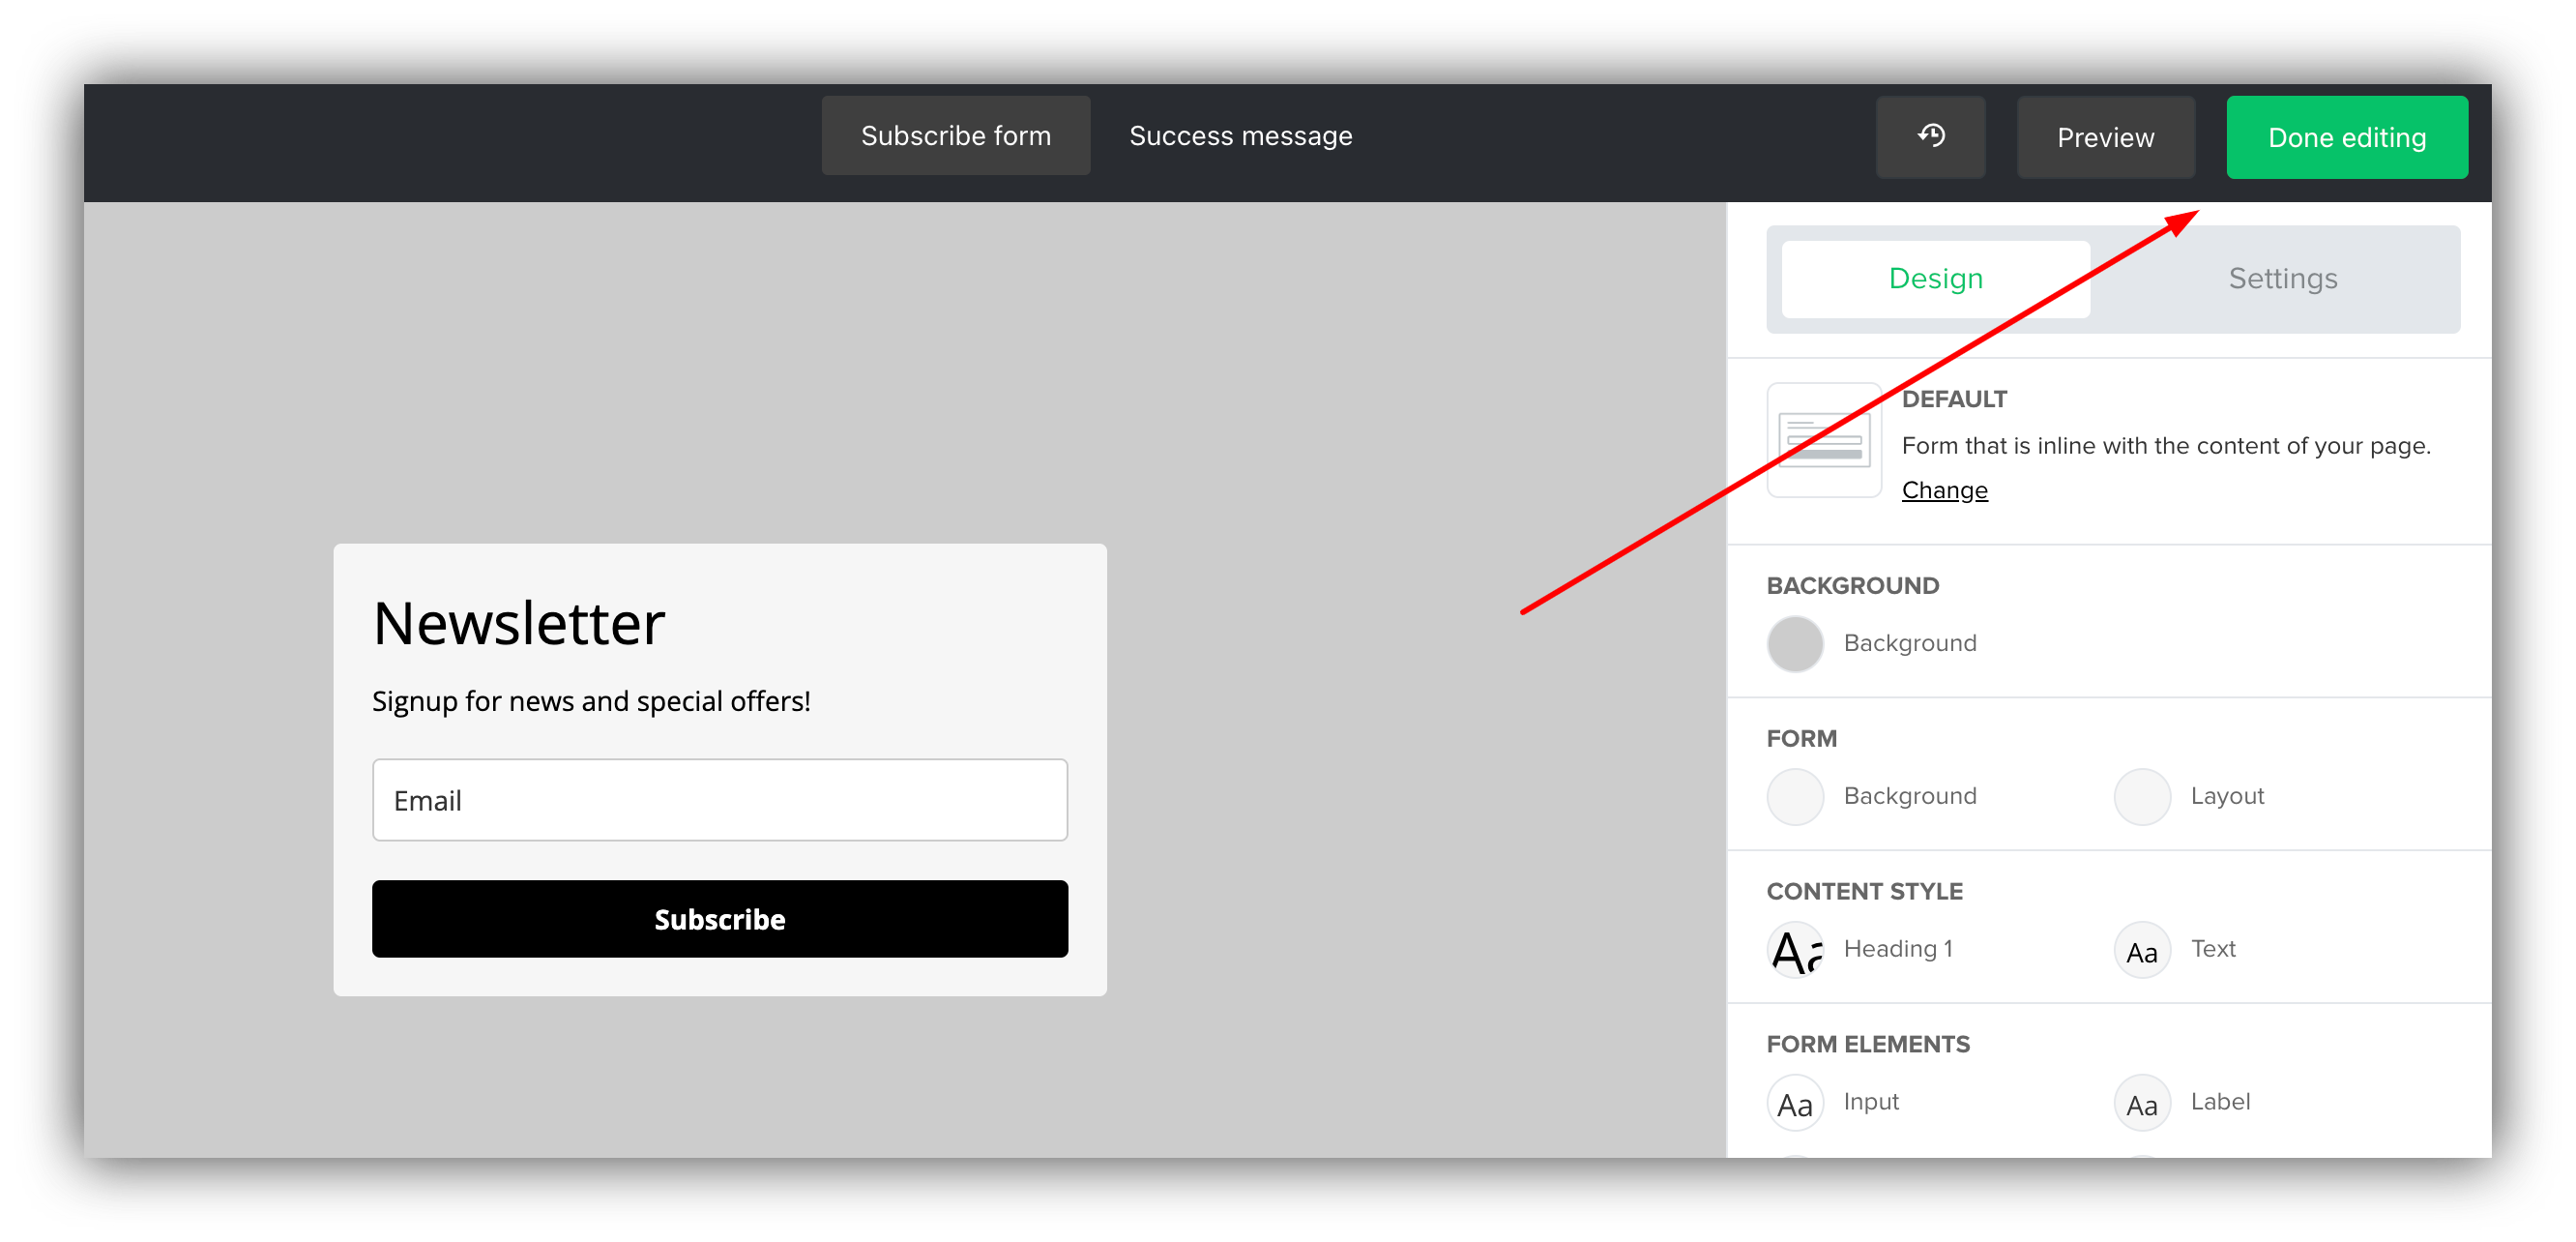
 In the next screen, just hit **Done Editing** to finalize the form.
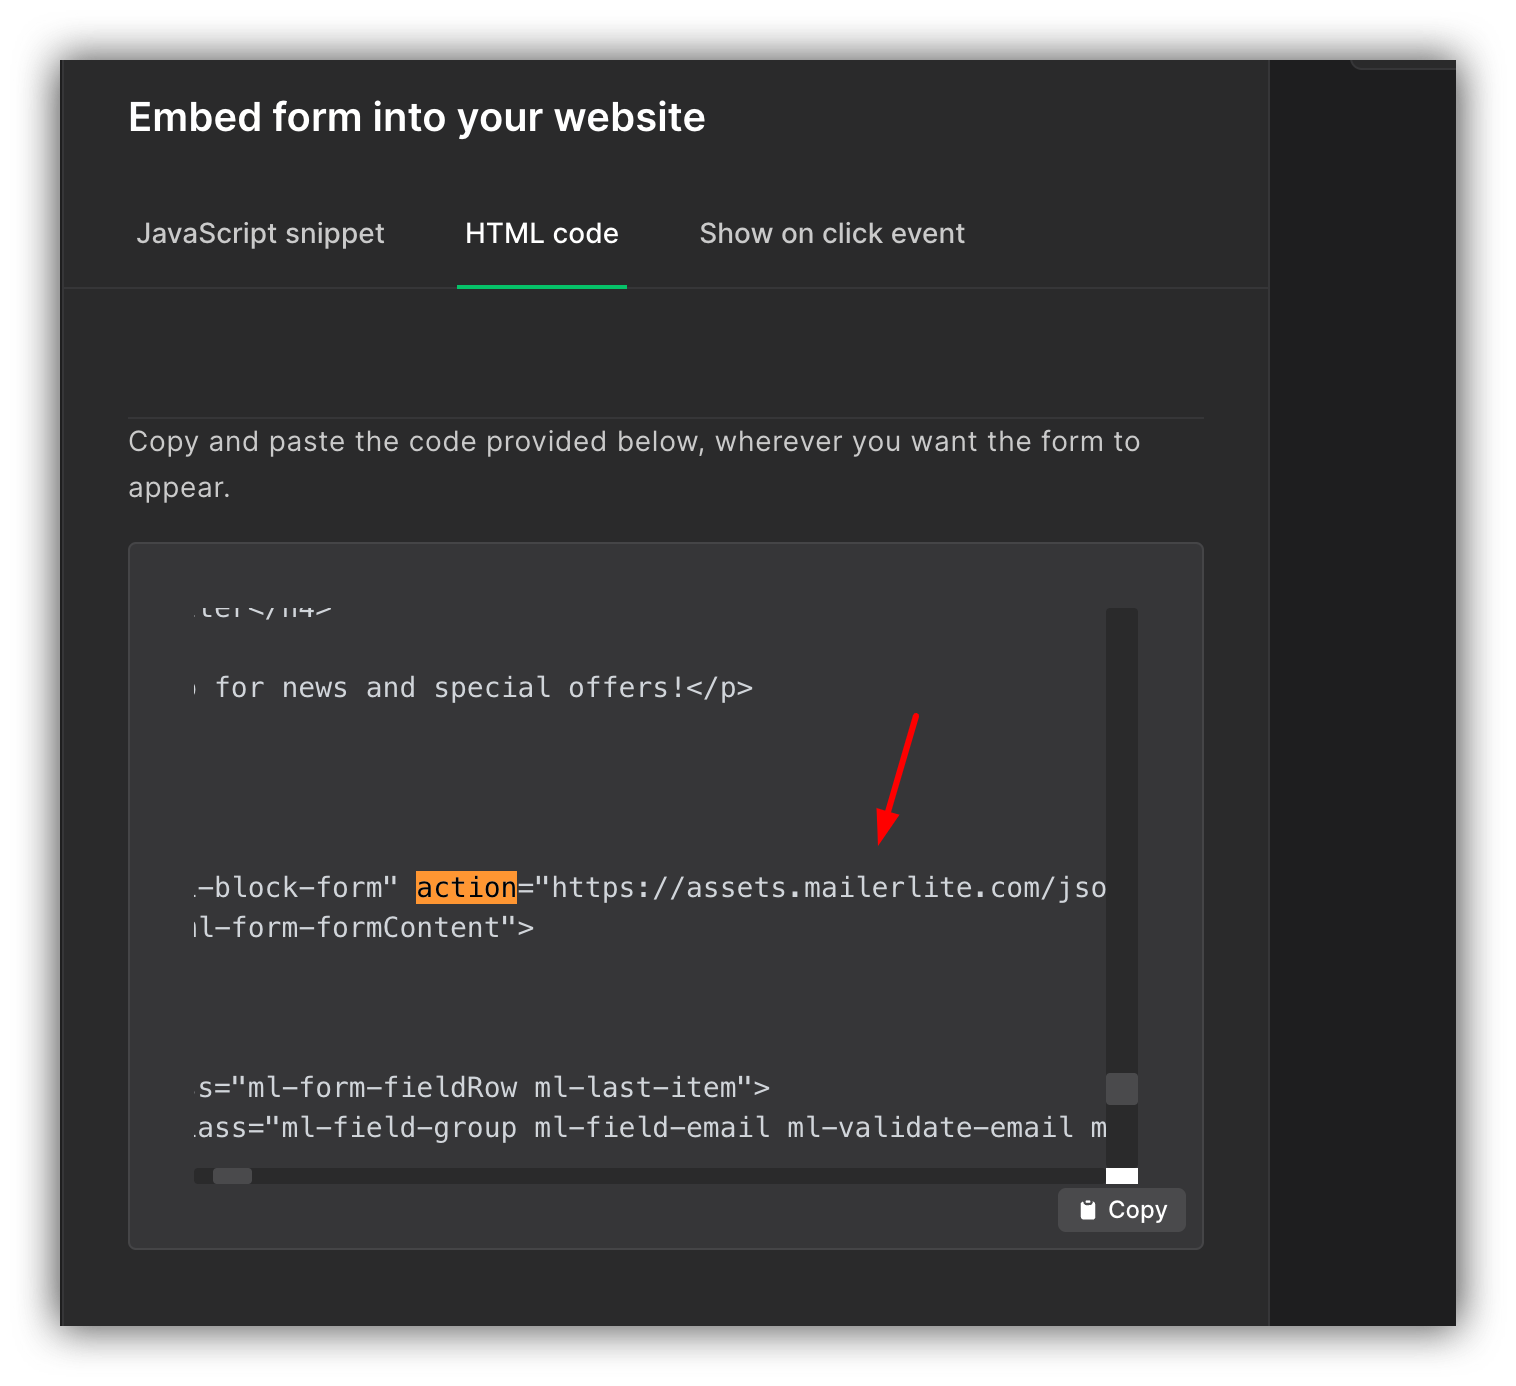
 Finally, you'll be taken to your form's **Overview** page, where you should scroll down to the **Embed form into your website** section and switch to the **HTML code** tab. Here, you need to locate the action URL of the form (can also search for "action" using browser search with Ctrl+F), and copy the URL (highlighted below).
 Lastly, you just need to add the URL in the **MailerLite** field of your Button.
 That's it. You can now publish your form and start collecting subscriptions. See how that works below.
 If you're testing the form submission and not getting anything on MailerLite, that could be due to **Double Opt-In** being enabled in your Form settings. When it's enabled, the user that submits the form receives a confirmation email. Only after the submission is confirmed by the user, it is sent to Mailerlite. You can find more details on that [here](https://www.mailerlite.com/help/how-to-use-double-opt-in-when-collecting-subscribers).
## Sending forms to MailerLite
In the previous section, we discussed how to capture emails with MailerLite, however you might also need to map a whole form with multiple field. Let's say you have a [Customizable Form](/building-blocks/vikC2AWEpQGkZd4jGyoVxo/advanced-form-features/jCim5VWZePgZuaRsUZBnpG)
on Softr with the following fields: **Name**, **Email**, and **Message**.
If you're testing the form submission and not getting anything on MailerLite, that could be due to **Double Opt-In** being enabled in your Form settings. When it's enabled, the user that submits the form receives a confirmation email. Only after the submission is confirmed by the user, it is sent to Mailerlite. You can find more details on that [here](https://www.mailerlite.com/help/how-to-use-double-opt-in-when-collecting-subscribers).
## Sending forms to MailerLite
In the previous section, we discussed how to capture emails with MailerLite, however you might also need to map a whole form with multiple field. Let's say you have a [Customizable Form](/building-blocks/vikC2AWEpQGkZd4jGyoVxo/advanced-form-features/jCim5VWZePgZuaRsUZBnpG)
on Softr with the following fields: **Name**, **Email**, and **Message**.
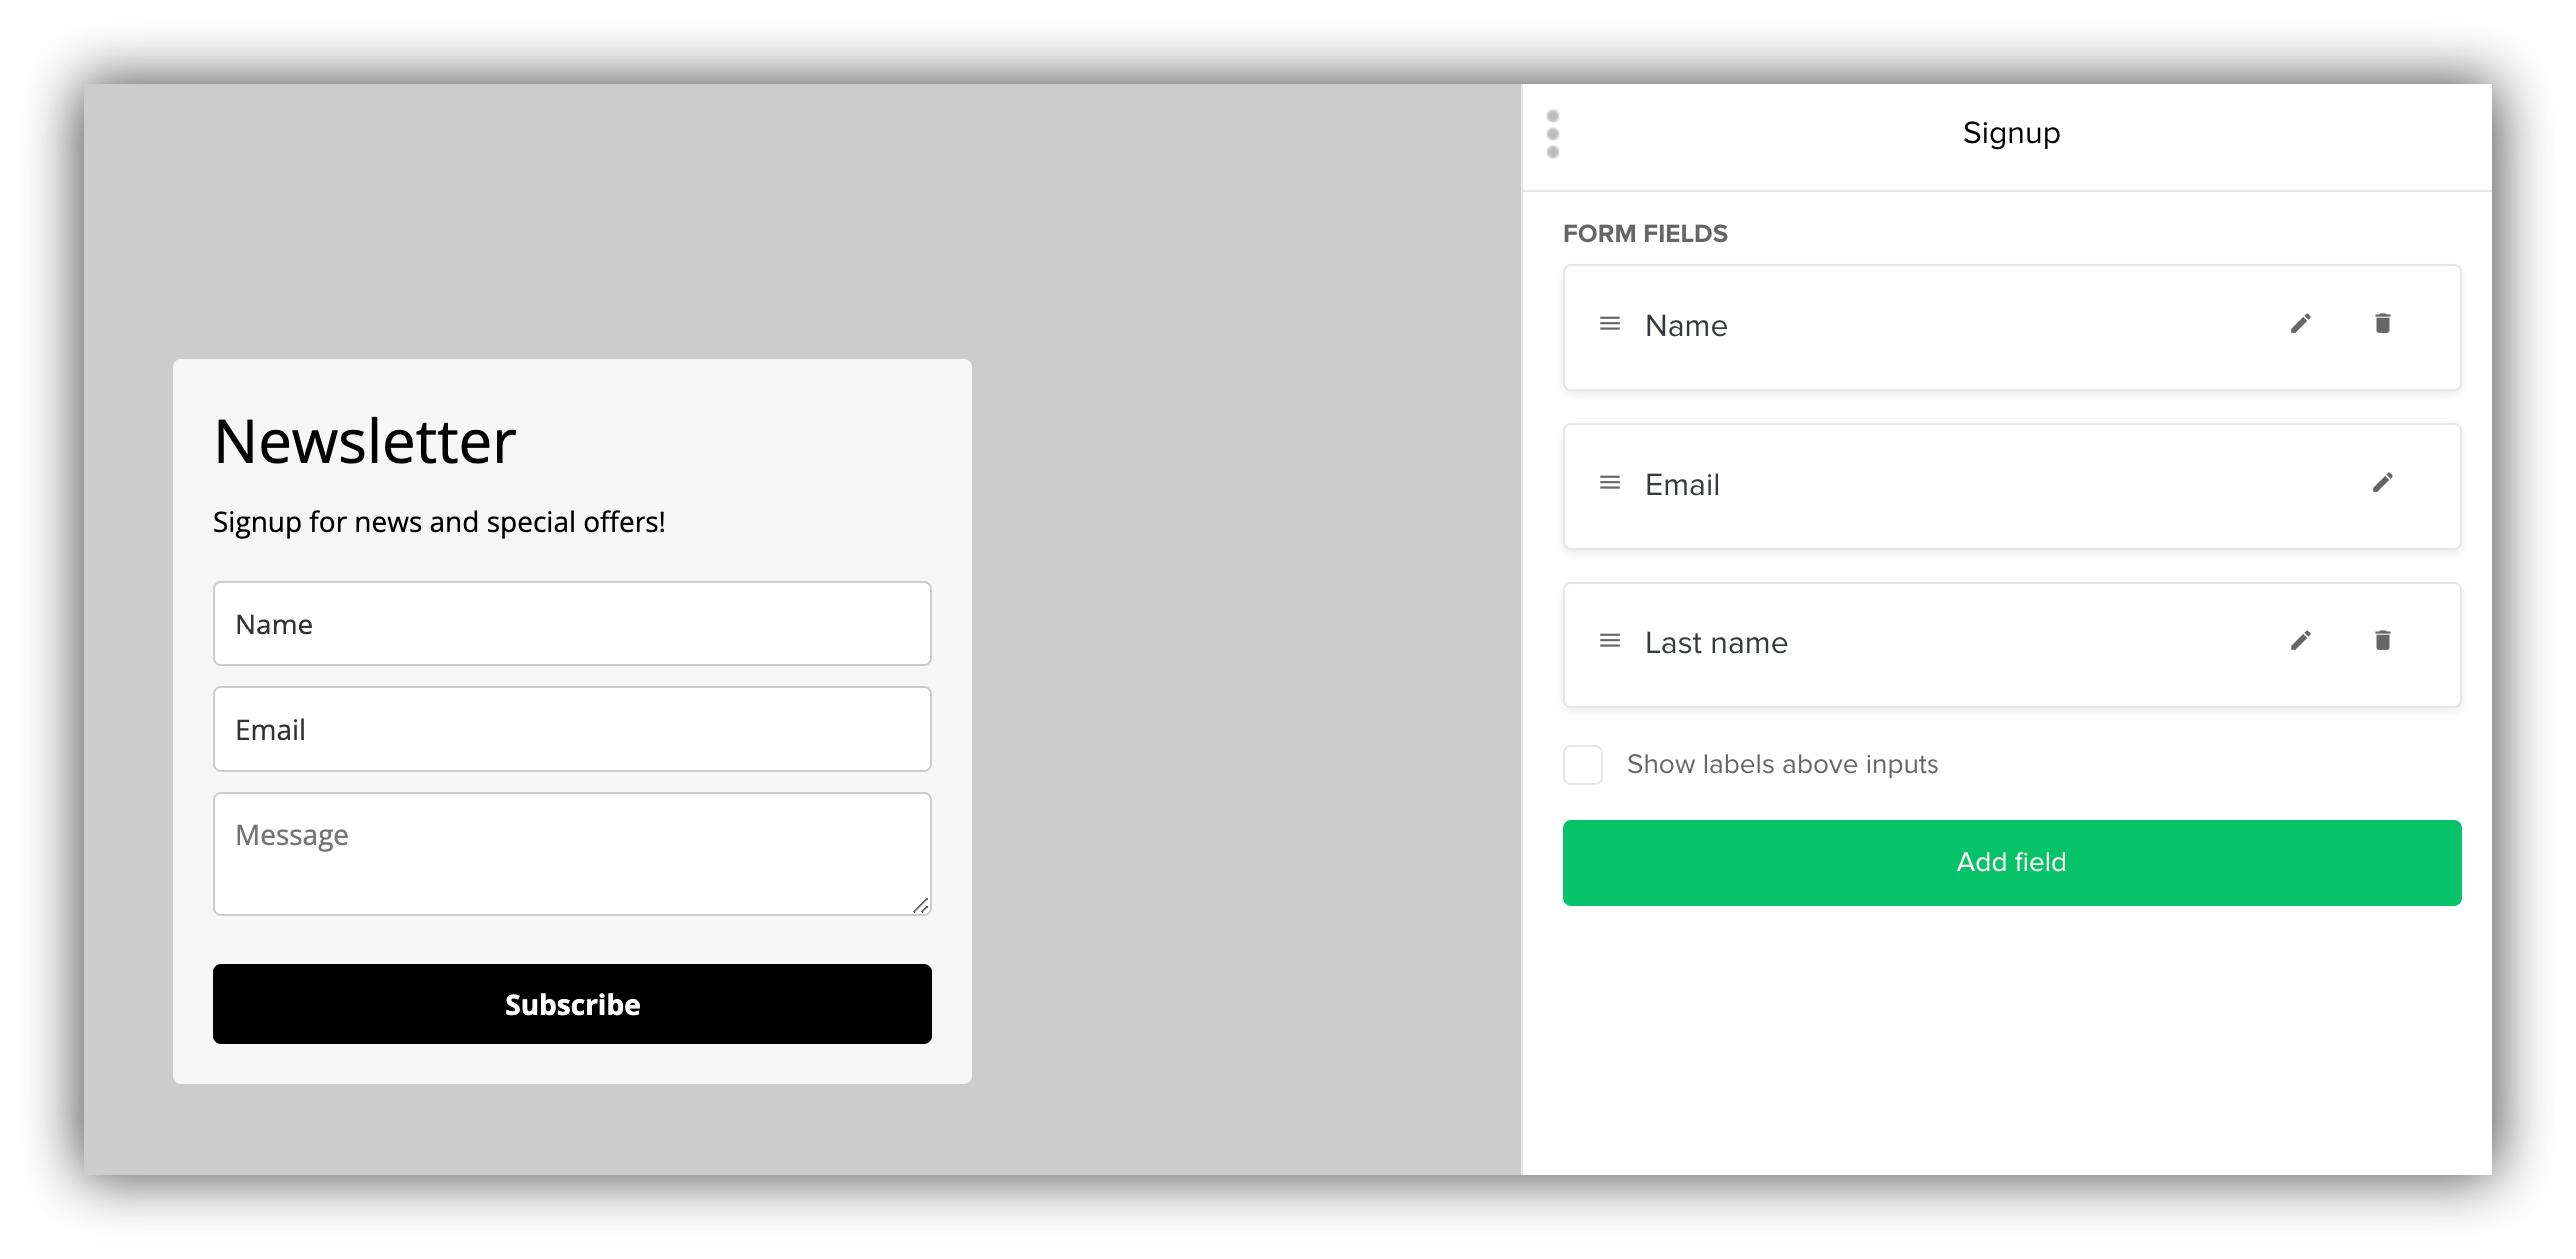
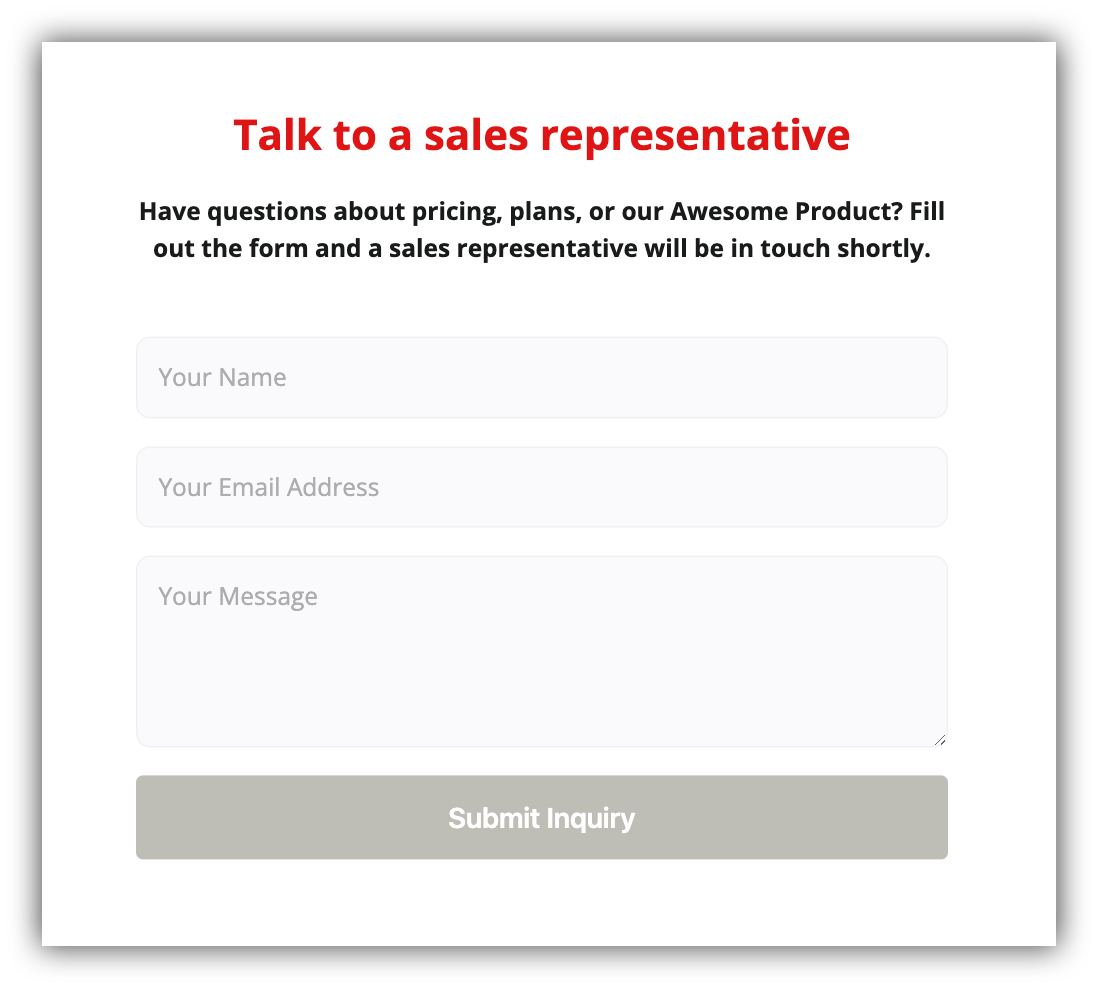 In order to receive the form submissions on MailerLite, you should build a similar form there as shown below.
 Next, in the form configuration page, you need to go to the **HTML code** tab of the **Embed form into your website** section and, apart from grabbing the **Action URL** of the form, you should get the names of corresponding fields (e.g. **fields\[name]** for the **Name** field as shown below).
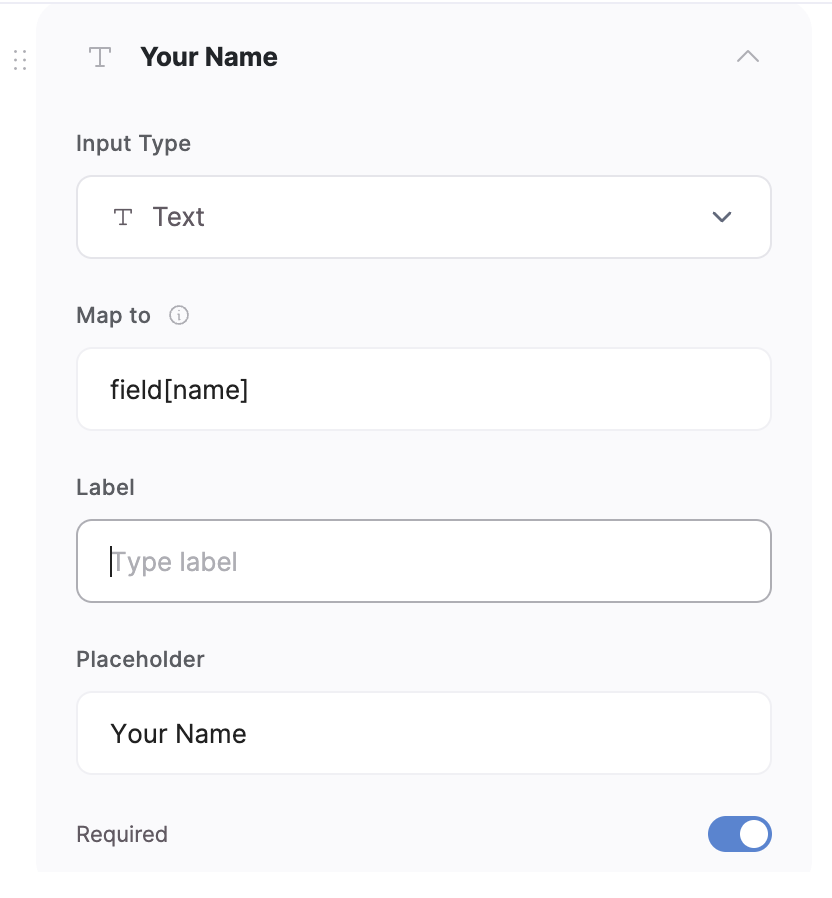
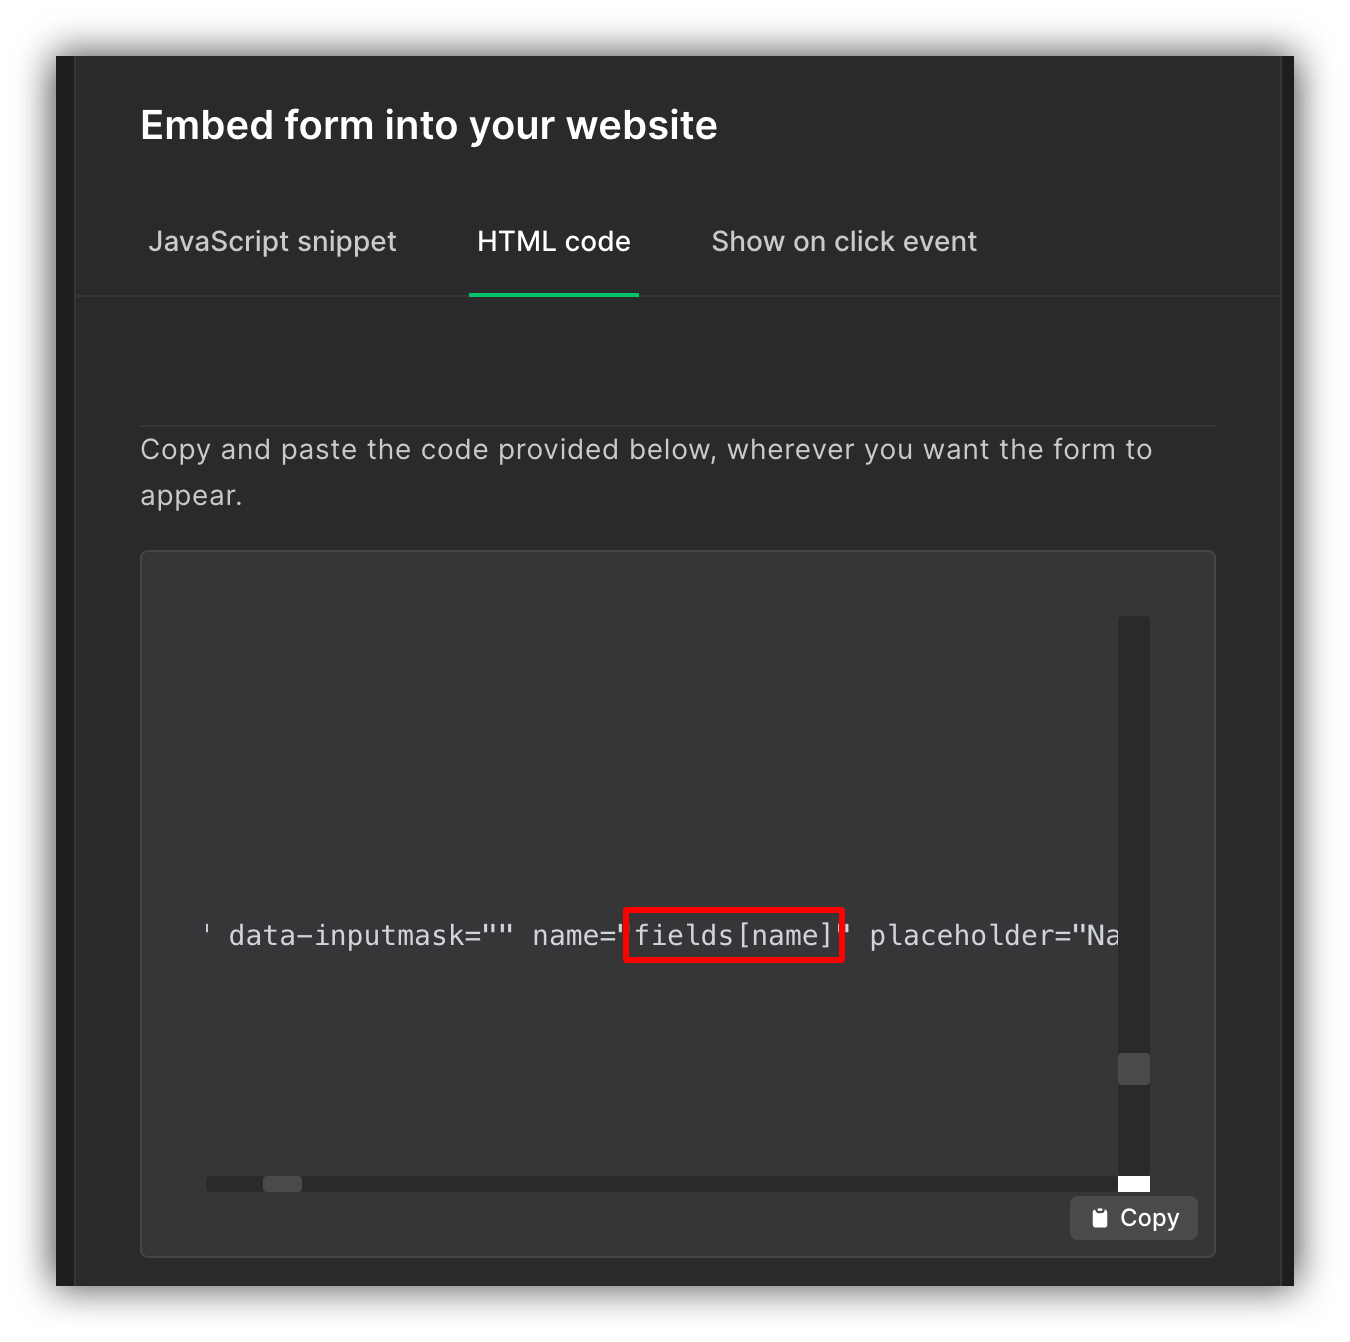 These names need to be pasted inside the **Map to** parameter of each of the form fields.
 As soon as you do the same for the rest of the fields and add the **Action URL** (discussed in the previous section on email capturing with Mailerlite), you're all set. Now, you can start receiving form submissions on MailerLite. Let's test the form to see how that works.