> ## Documentation Index
> Fetch the complete documentation index at: https://docs.softr.io/llms.txt
> Use this file to discover all available pages before exploring further.
# Intercom
> In this article we'll show you how to integrate Intercom on your Softr app.
Intercom is a messaging platform that allows you to communicate with prospective and existing customers. Here, we'll go through the process of adding the Intercom chat widget to your Softr app.
## Locating Intercom Workspace ID
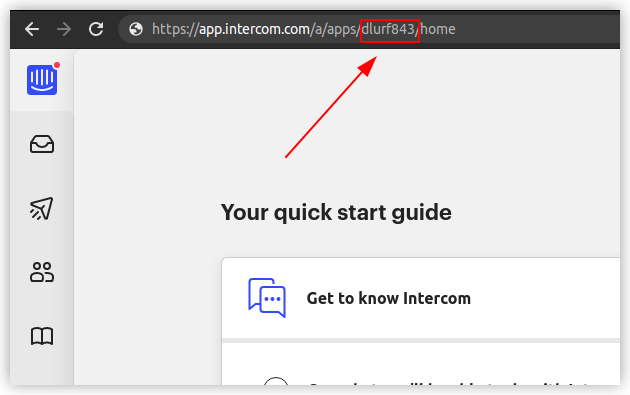
First, you need to locate your Intercom **workspace ID** (app ID). It can be found in the URL of any page you have open in Intercom. It's the code that comes after **apps/**.
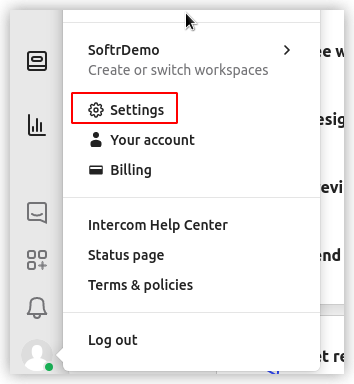
 The workspace ID can also be found in Settings. In your Intercom account, hover over the account icon in the lower left corner and go to **Settings**.
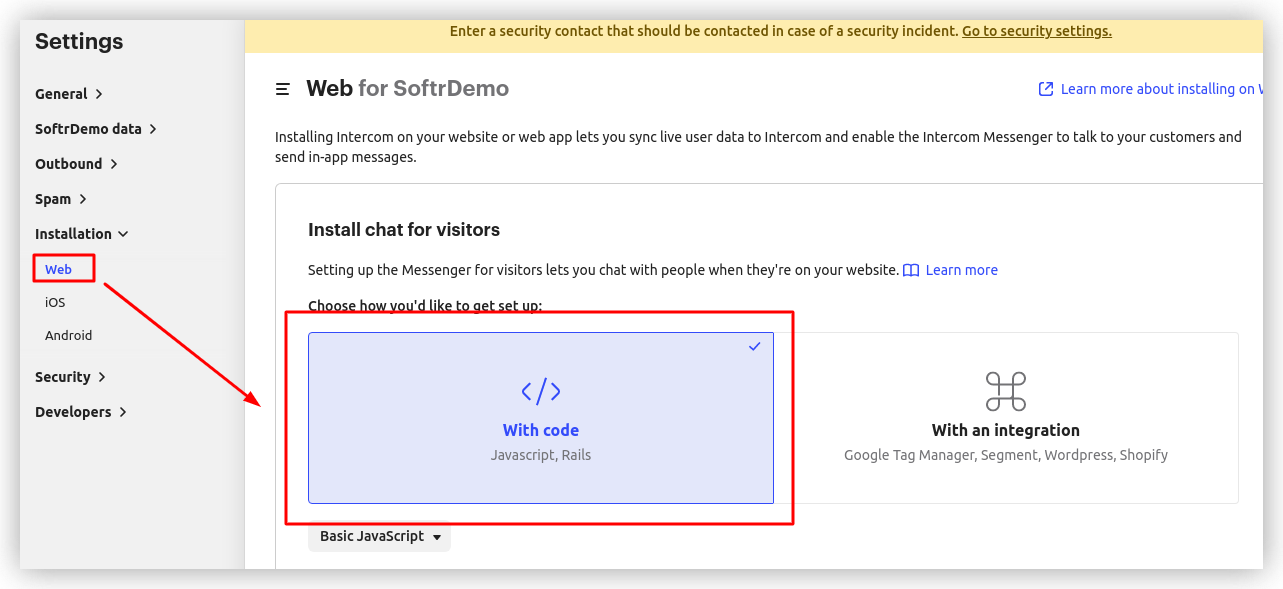
 Then go to **Installation => Web** and choose the **With code** option under **Install chat for visitors.**
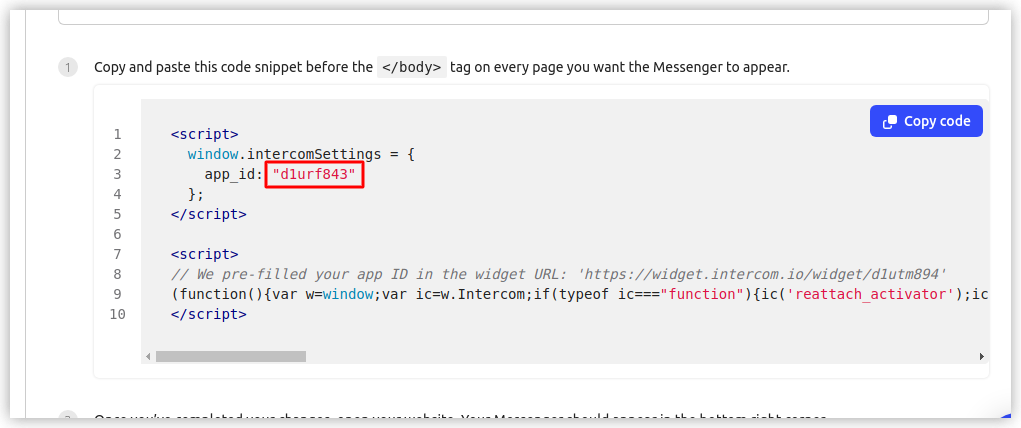
 Scroll down and copy the **app\_id**.
 ## Adding Workspace ID in Softr Studio
So, after copying the workspace ID, navigate to **Settings => Integrations => Intercom** in your Softr Studio and paste the ID.
## Adding Workspace ID in Softr Studio
So, after copying the workspace ID, navigate to **Settings => Integrations => Intercom** in your Softr Studio and paste the ID.
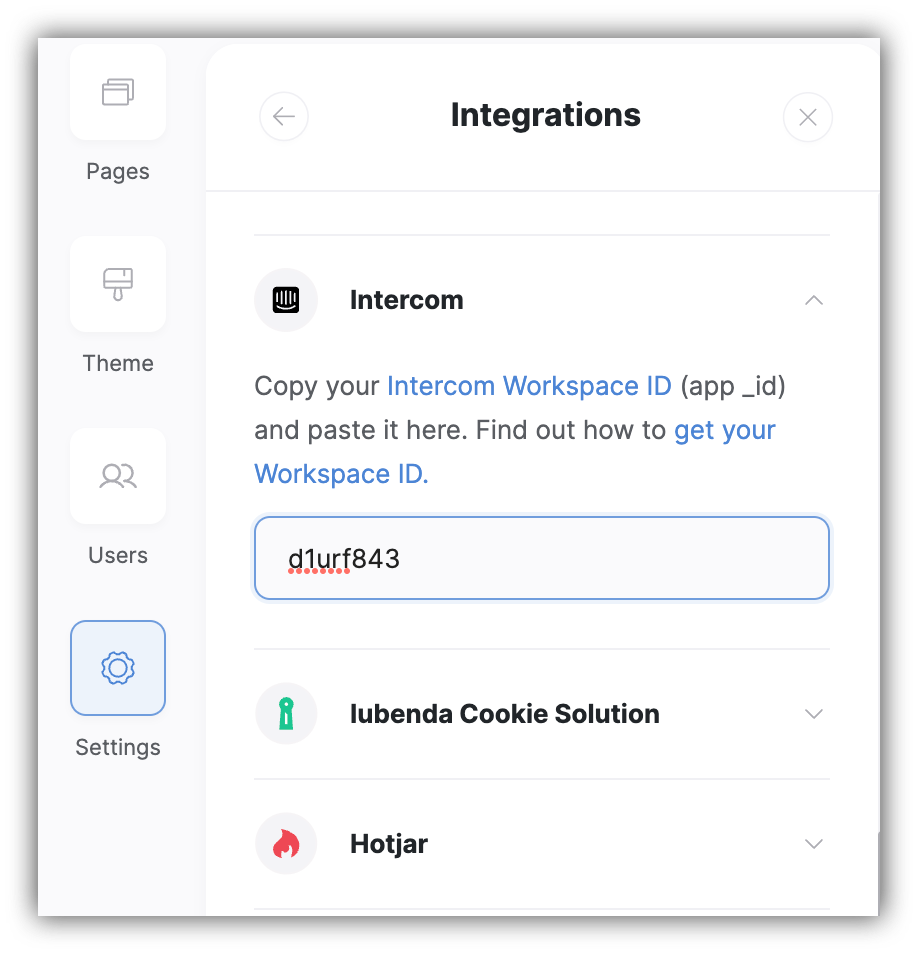 That's it. As soon as you save your settings and republish your Softr app, the Intercom chat widget will start appearing.