> ## Documentation Index
> Fetch the complete documentation index at: https://docs.softr.io/llms.txt
> Use this file to discover all available pages before exploring further.
# HubSpot Chat
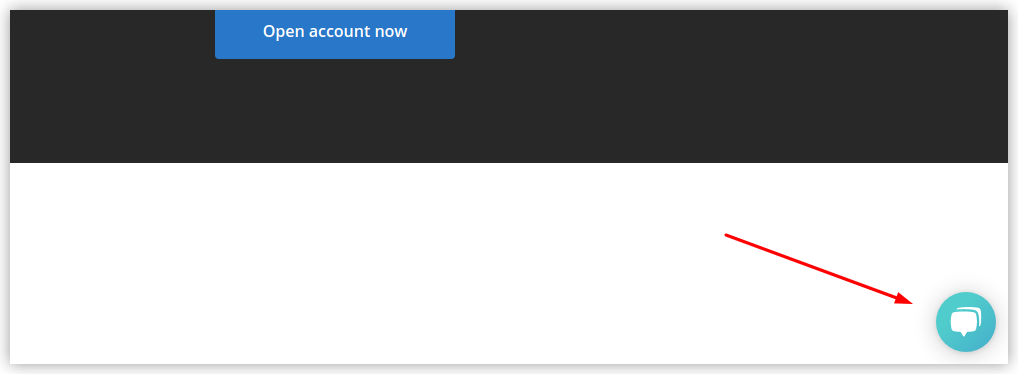
> HubSpot Chat allows to add a chat widget on your site to connect with site visitors at any time.
## Creating a Chatflow
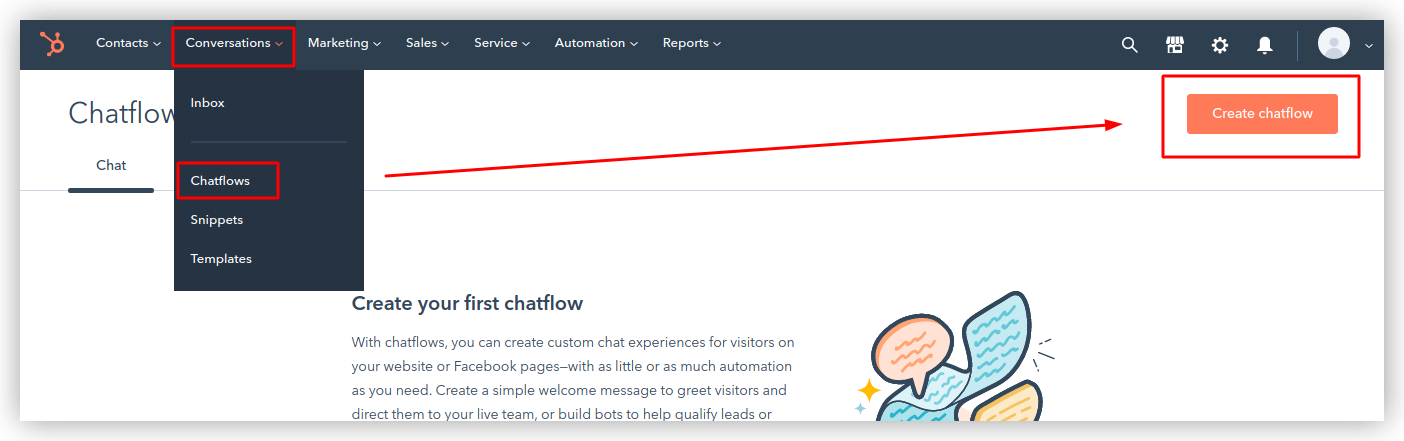
To add a chat widget to your Softr app, you first need to create a chatflow in your HubSpot account to be able to receive messages. To do that, go to **Conversations => Chatflows => Create chatflow.**
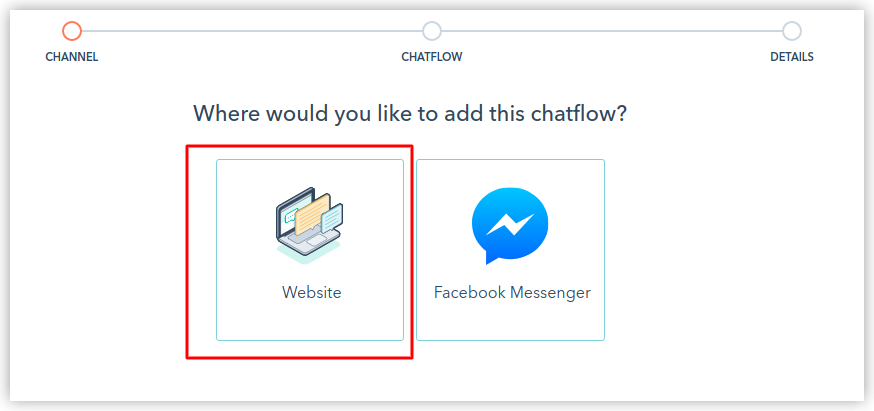
 In the next step, choose **Website**.
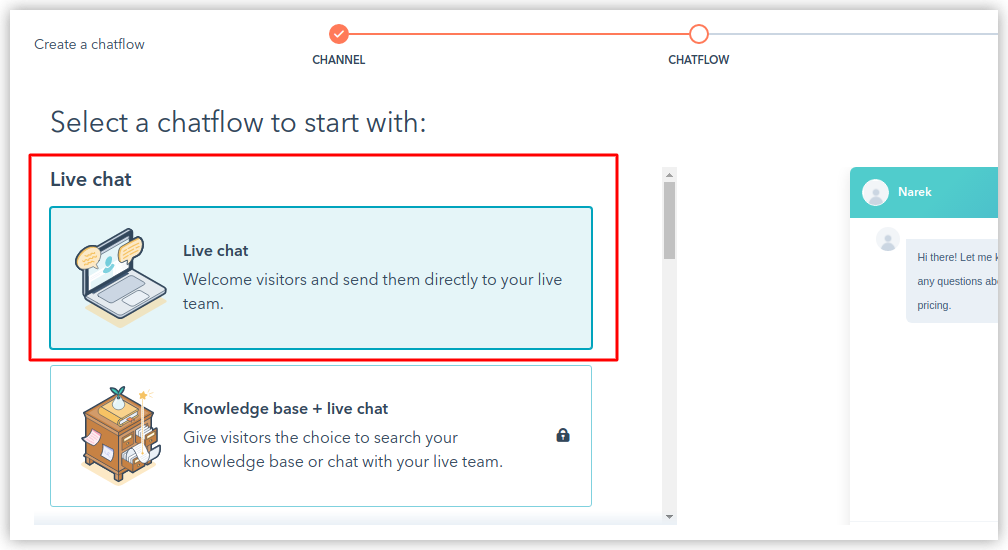
 Then select **Live chat**.
 Next, select the **Inbox** and a **Language** for the chatflow, and hit **Create**. You can find more info on configuring these and other parameters of the chatflow [here](https://knowledge.hubspot.com/chatflows/create-a-live-chat).
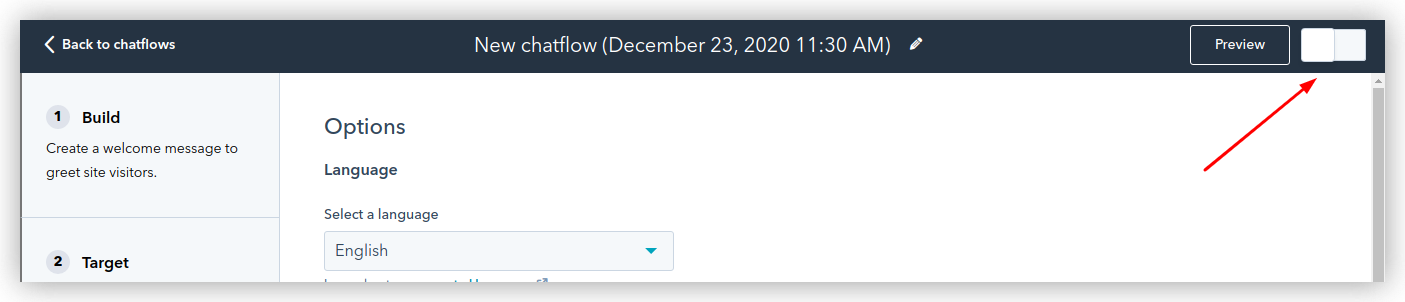
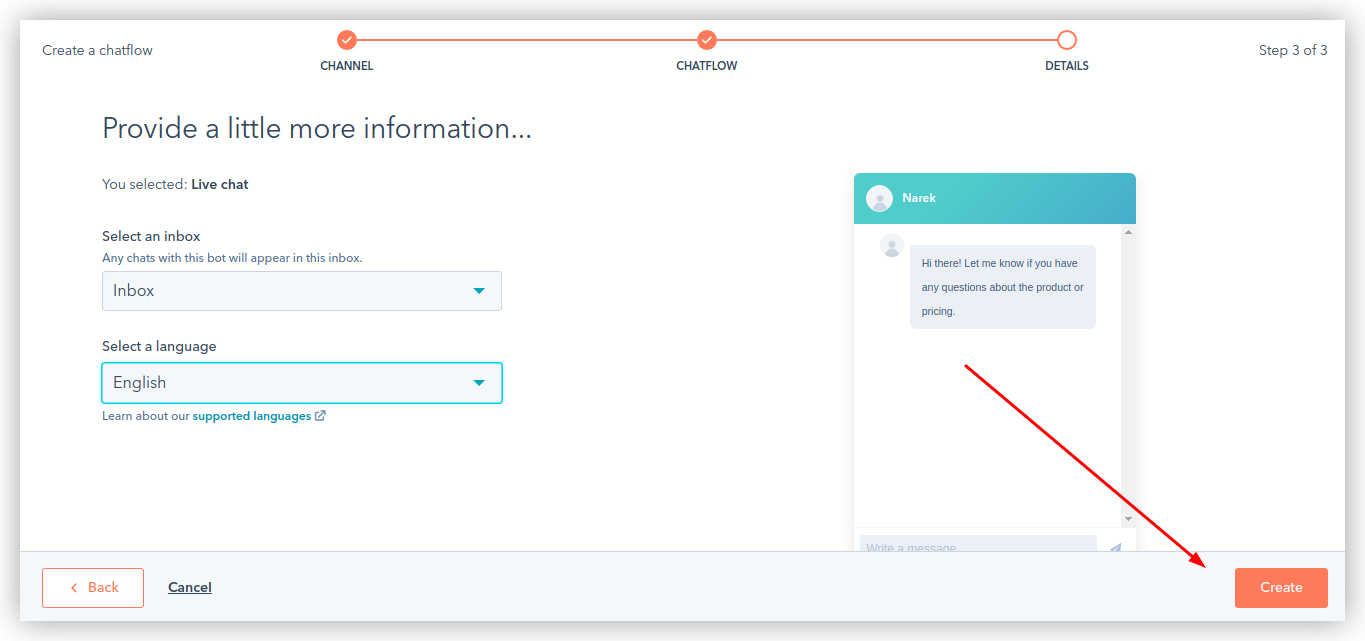 Lastly, you enter the edit page where you can [customize](https://knowledge.hubspot.com/chatflows/create-a-live-chat) your chatflow, and, as soon as you are done, enable it in the upper right corner of the page.
 So, your chatflow is ready, and you can go ahead and add the tracking code in your Softr app to start displaying the chat widget to your visitors.
## Getting the Tracking Code
Go to **Settings** in your HubSpot account.
So, your chatflow is ready, and you can go ahead and add the tracking code in your Softr app to start displaying the chat widget to your visitors.
## Getting the Tracking Code
Go to **Settings** in your HubSpot account.
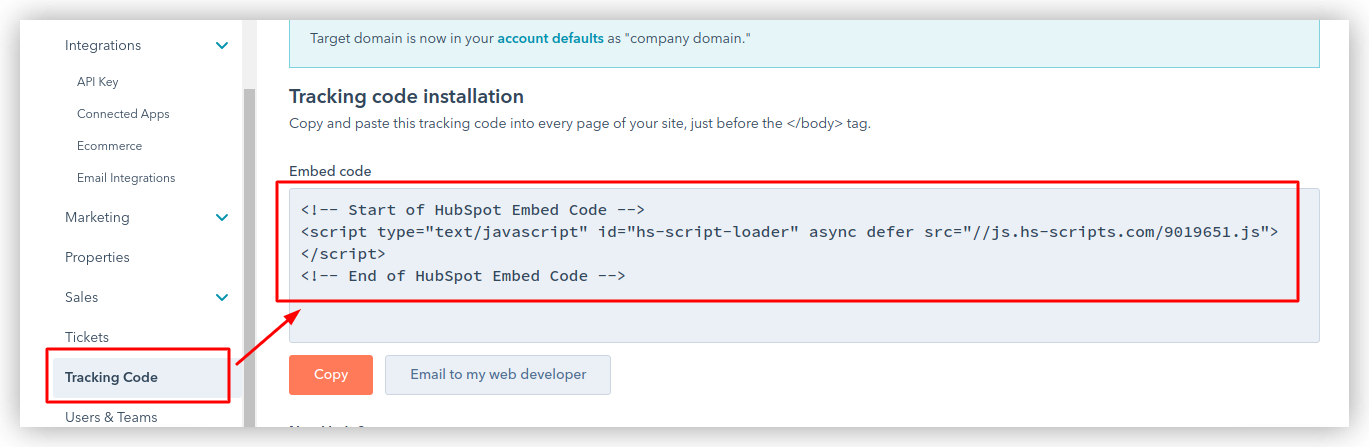
 Scroll down to **Tracking Code** and copy the **Embed code**.
The location of the tracking code can be different depending on your HubSpot subscription plan. Check out this [article](https://knowledge.hubspot.com/reports/install-the-hubspot-tracking-code) for more details.
Scroll down to **Tracking Code** and copy the **Embed code**.
The location of the tracking code can be different depending on your HubSpot subscription plan. Check out this [article](https://knowledge.hubspot.com/reports/install-the-hubspot-tracking-code) for more details.
 ## Adding the tracking code in Softr studio
In Softr Studio, go to **Settings => Integrations => HubSpot Chat**, and enter the **Tracking Code**.
## Adding the tracking code in Softr studio
In Softr Studio, go to **Settings => Integrations => HubSpot Chat**, and enter the **Tracking Code**.
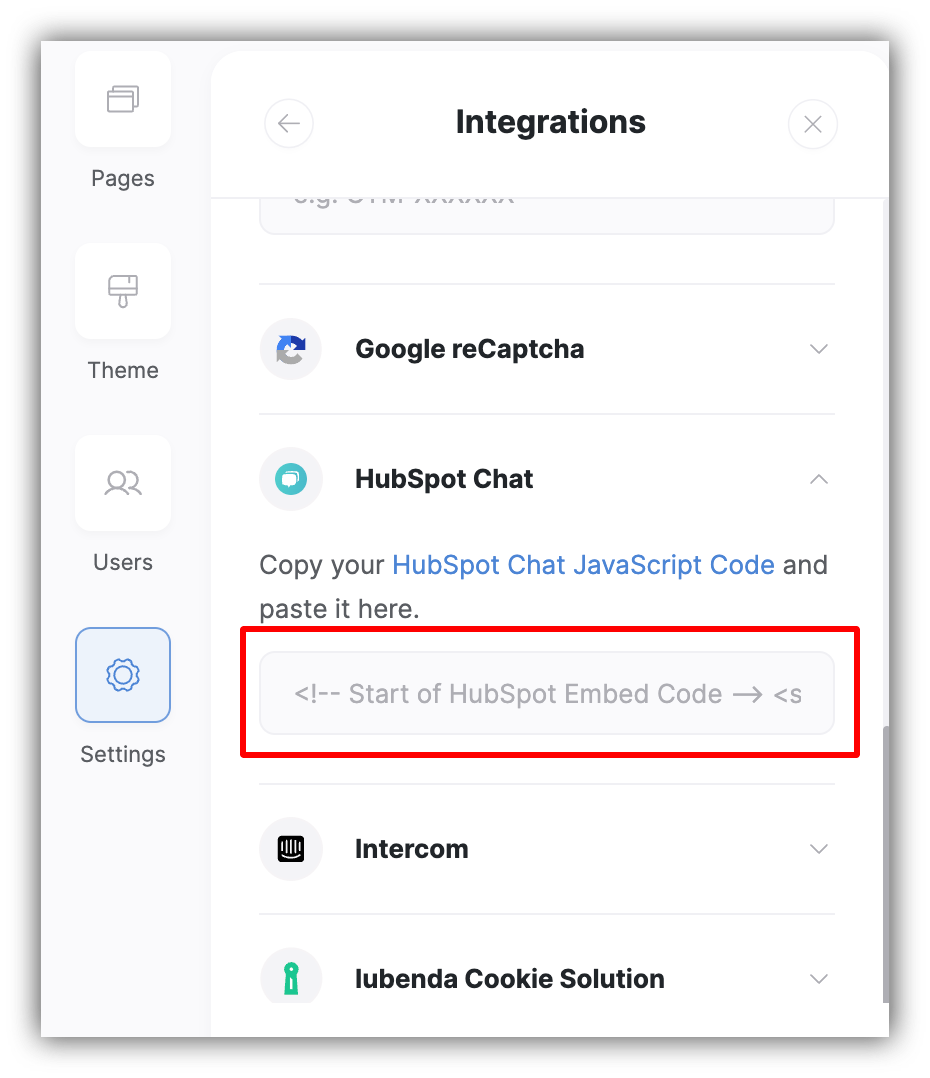 Save the **Settings**, republish your app, and you're done. Now, the chat widget should start appearing on your site.