> ## Documentation Index
> Fetch the complete documentation index at: https://docs.softr.io/llms.txt
> Use this file to discover all available pages before exploring further.
# SAML Single Sign-on
> Setting up single sign-on for your Softr app.
SAML Single Sign-on (SSO) is available for users on the [Enterprise plan](https://www.softr.io/pricing).
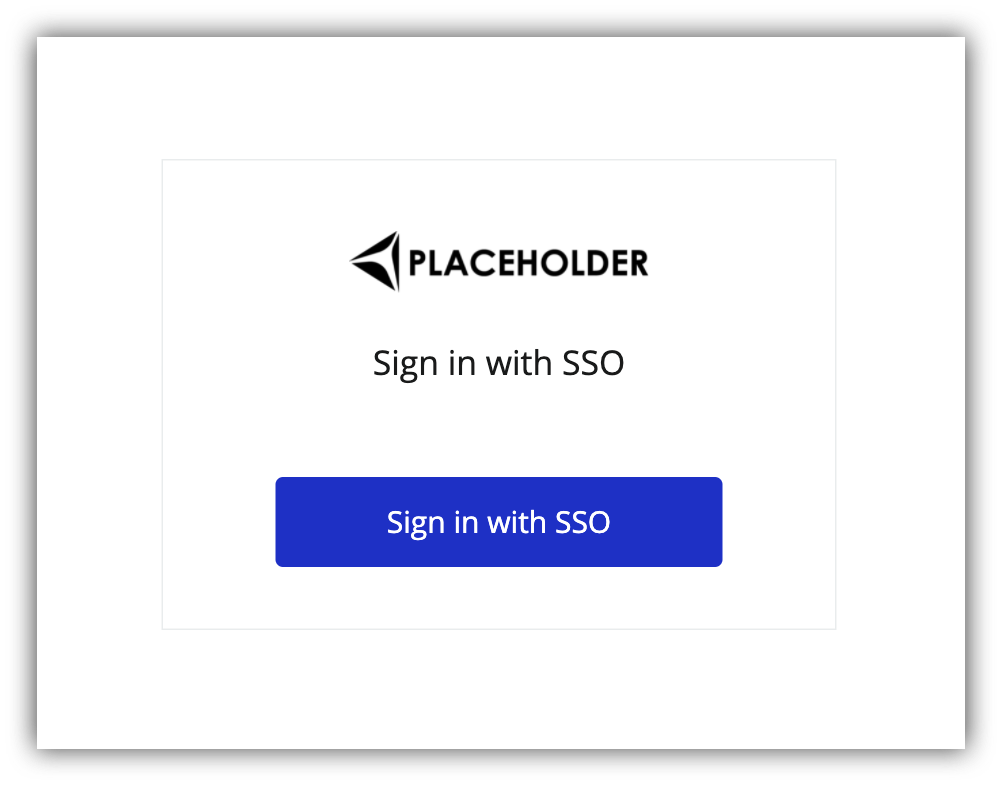 To be able to configure and use the block, you first need to setup SAML for your Softr app. We’ll learn what SAML is and how to configure it for Softr shortly, but let’s first get familiar with block settings.
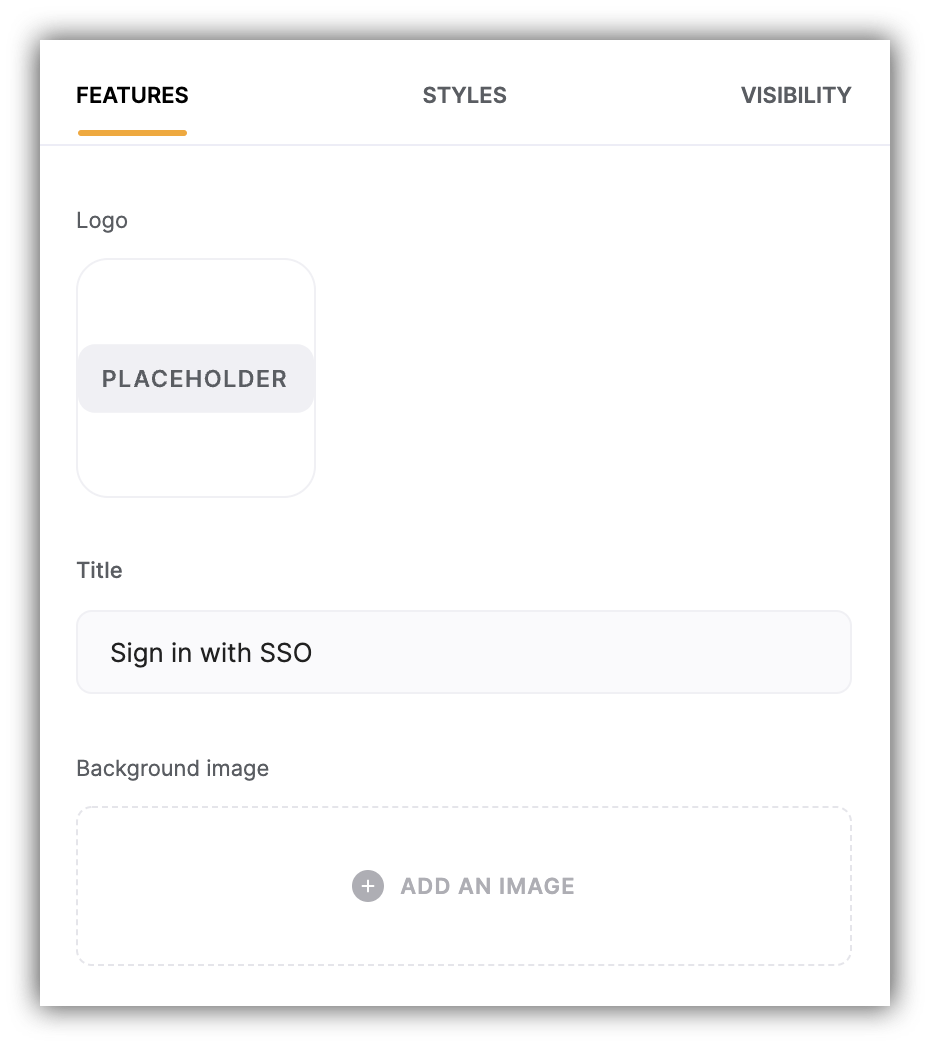
Under the **Features** tab in block settings, you can customize the Logo, Title, and Background Image of the signin block.
To be able to configure and use the block, you first need to setup SAML for your Softr app. We’ll learn what SAML is and how to configure it for Softr shortly, but let’s first get familiar with block settings.
Under the **Features** tab in block settings, you can customize the Logo, Title, and Background Image of the signin block.
 Next, you can enable [Domain-based signup](/add-and-manage-users/pxnkp9H3qyEVMF6XUceqnj/signup-form/tPe3uxmdcUNeFYuaLTR1o9) and customize the **login button text**. Finally, there's an option to set **which page the user should be taken to** after successfully signing in.
## ****Single Sign-On Configuration****
In this section, we'll go through the steps of setting up **SAML (Security Assertion Markup Language)** for your Softr app. SAML is an open standard that allows **identity providers (IdP)** to pass authorization credentials to **service providers (SP)**, so that users can use a single set of credentials to log into different SPs. In this case your Softr app is the **SP**, and you need to connect it to an IdP to implement **Single Sign-On (SSO)** on your Softr app. There are several IdP services (e.g. Azure, Okta, Box) that you can use, but here we'll demonstrate the setup flow using [OneLogin](https://www.onelogin.com/). So, let's start.
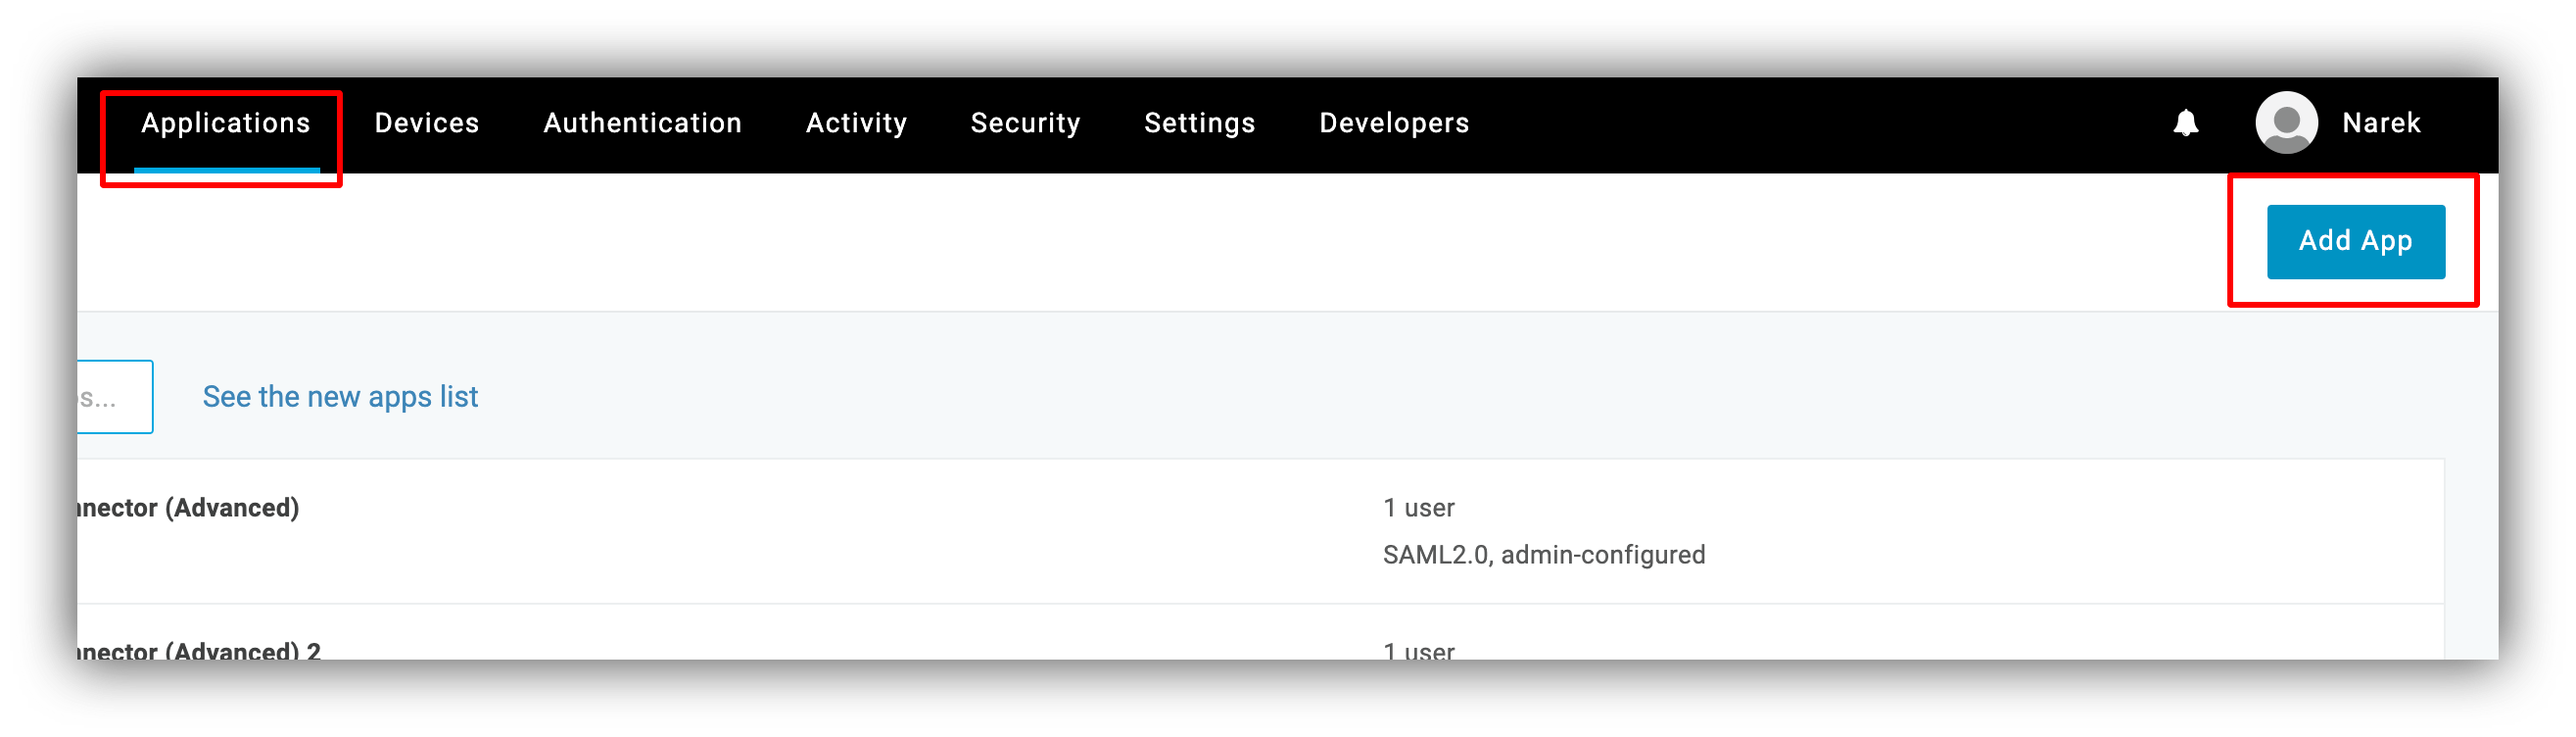
From the OneLogin dashboard, we are going to navigate to **Applications** and click **Add App**.
Next, you can enable [Domain-based signup](/add-and-manage-users/pxnkp9H3qyEVMF6XUceqnj/signup-form/tPe3uxmdcUNeFYuaLTR1o9) and customize the **login button text**. Finally, there's an option to set **which page the user should be taken to** after successfully signing in.
## ****Single Sign-On Configuration****
In this section, we'll go through the steps of setting up **SAML (Security Assertion Markup Language)** for your Softr app. SAML is an open standard that allows **identity providers (IdP)** to pass authorization credentials to **service providers (SP)**, so that users can use a single set of credentials to log into different SPs. In this case your Softr app is the **SP**, and you need to connect it to an IdP to implement **Single Sign-On (SSO)** on your Softr app. There are several IdP services (e.g. Azure, Okta, Box) that you can use, but here we'll demonstrate the setup flow using [OneLogin](https://www.onelogin.com/). So, let's start.
From the OneLogin dashboard, we are going to navigate to **Applications** and click **Add App**.
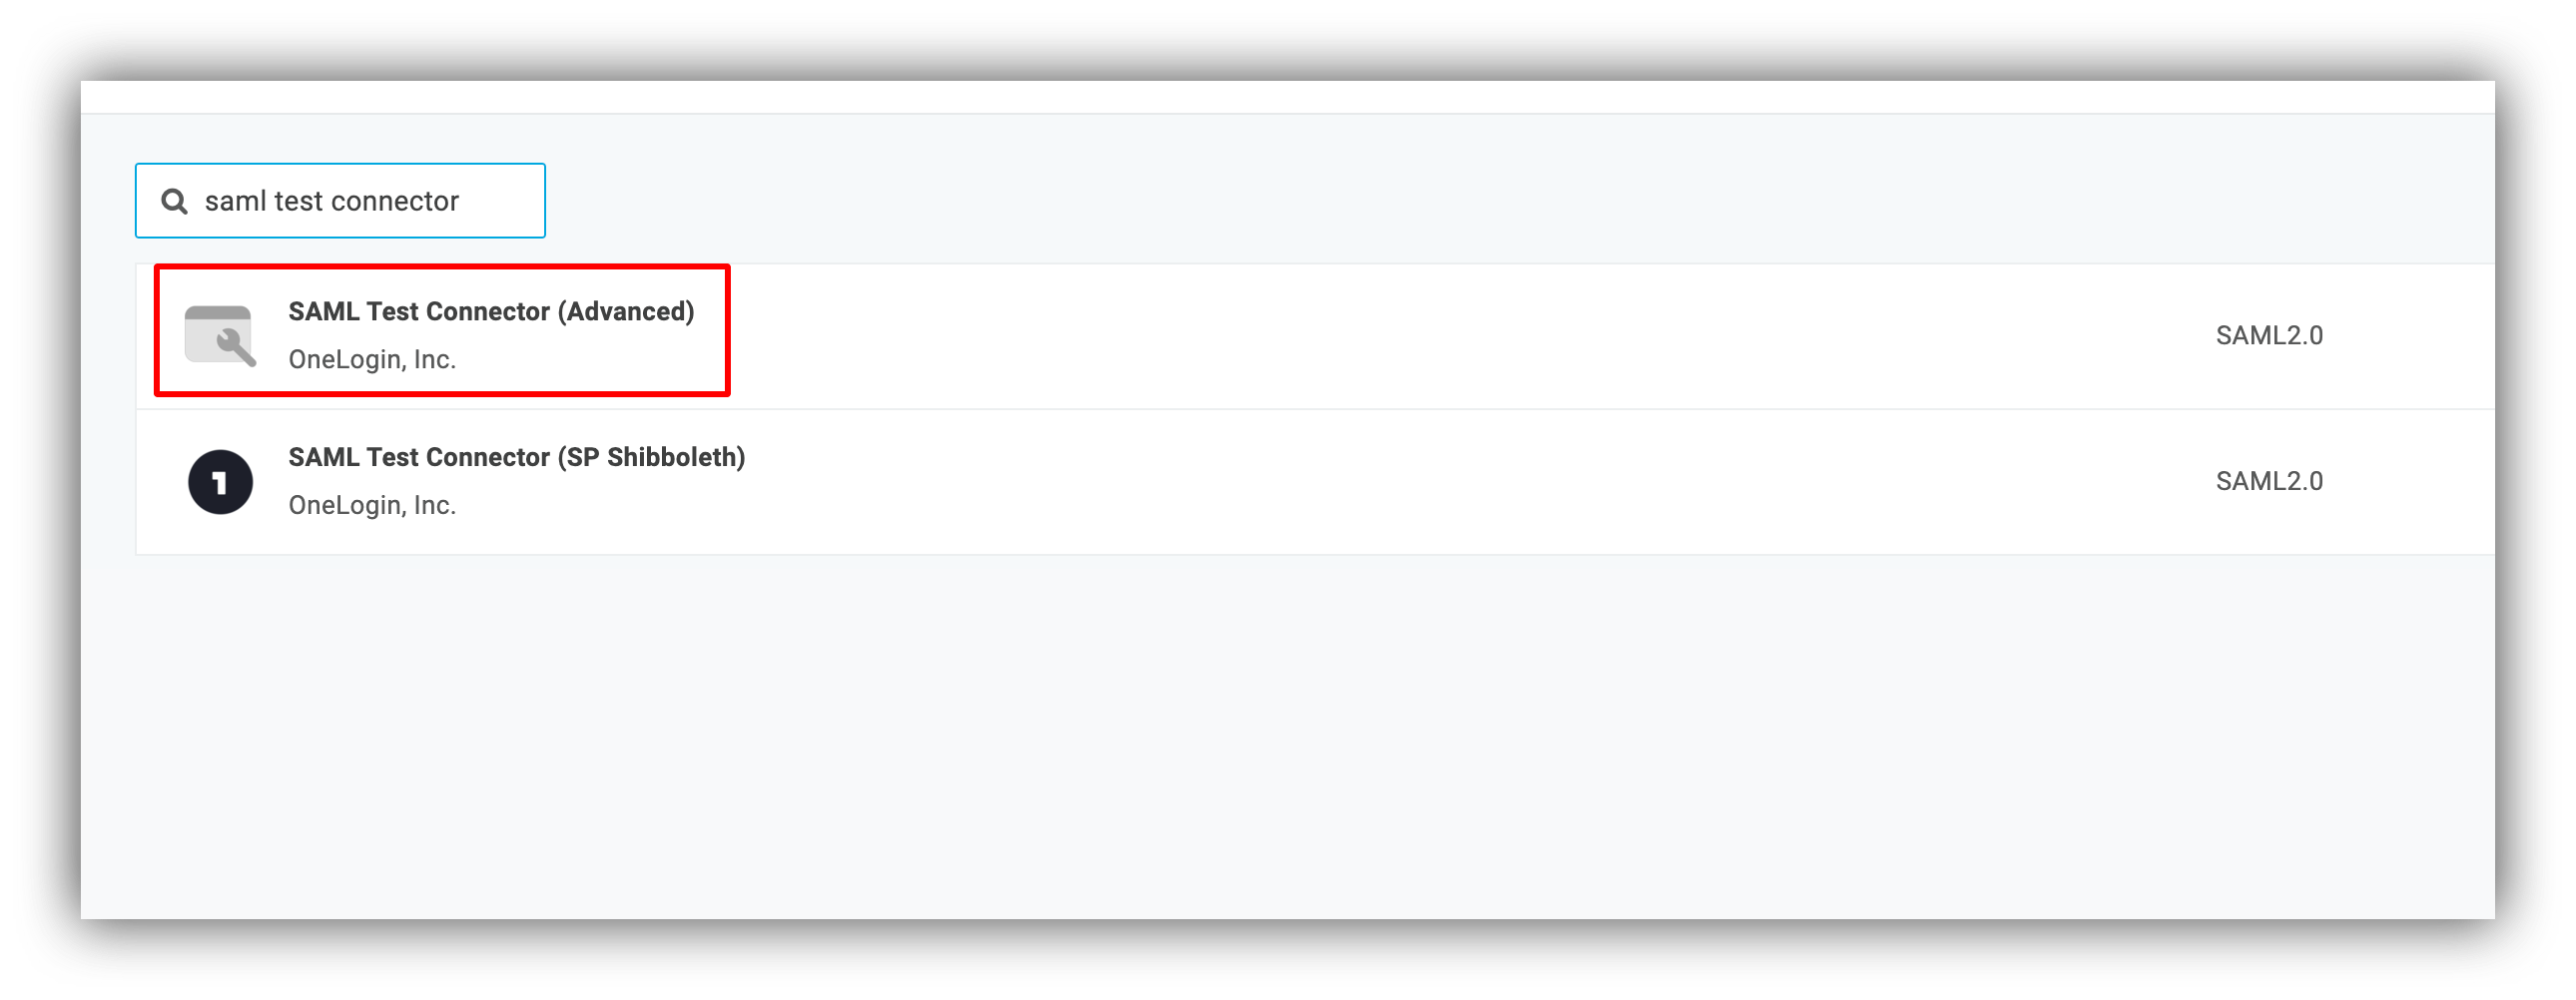
 In the list that opens next, search for "saml test connector," select it, and create the application.
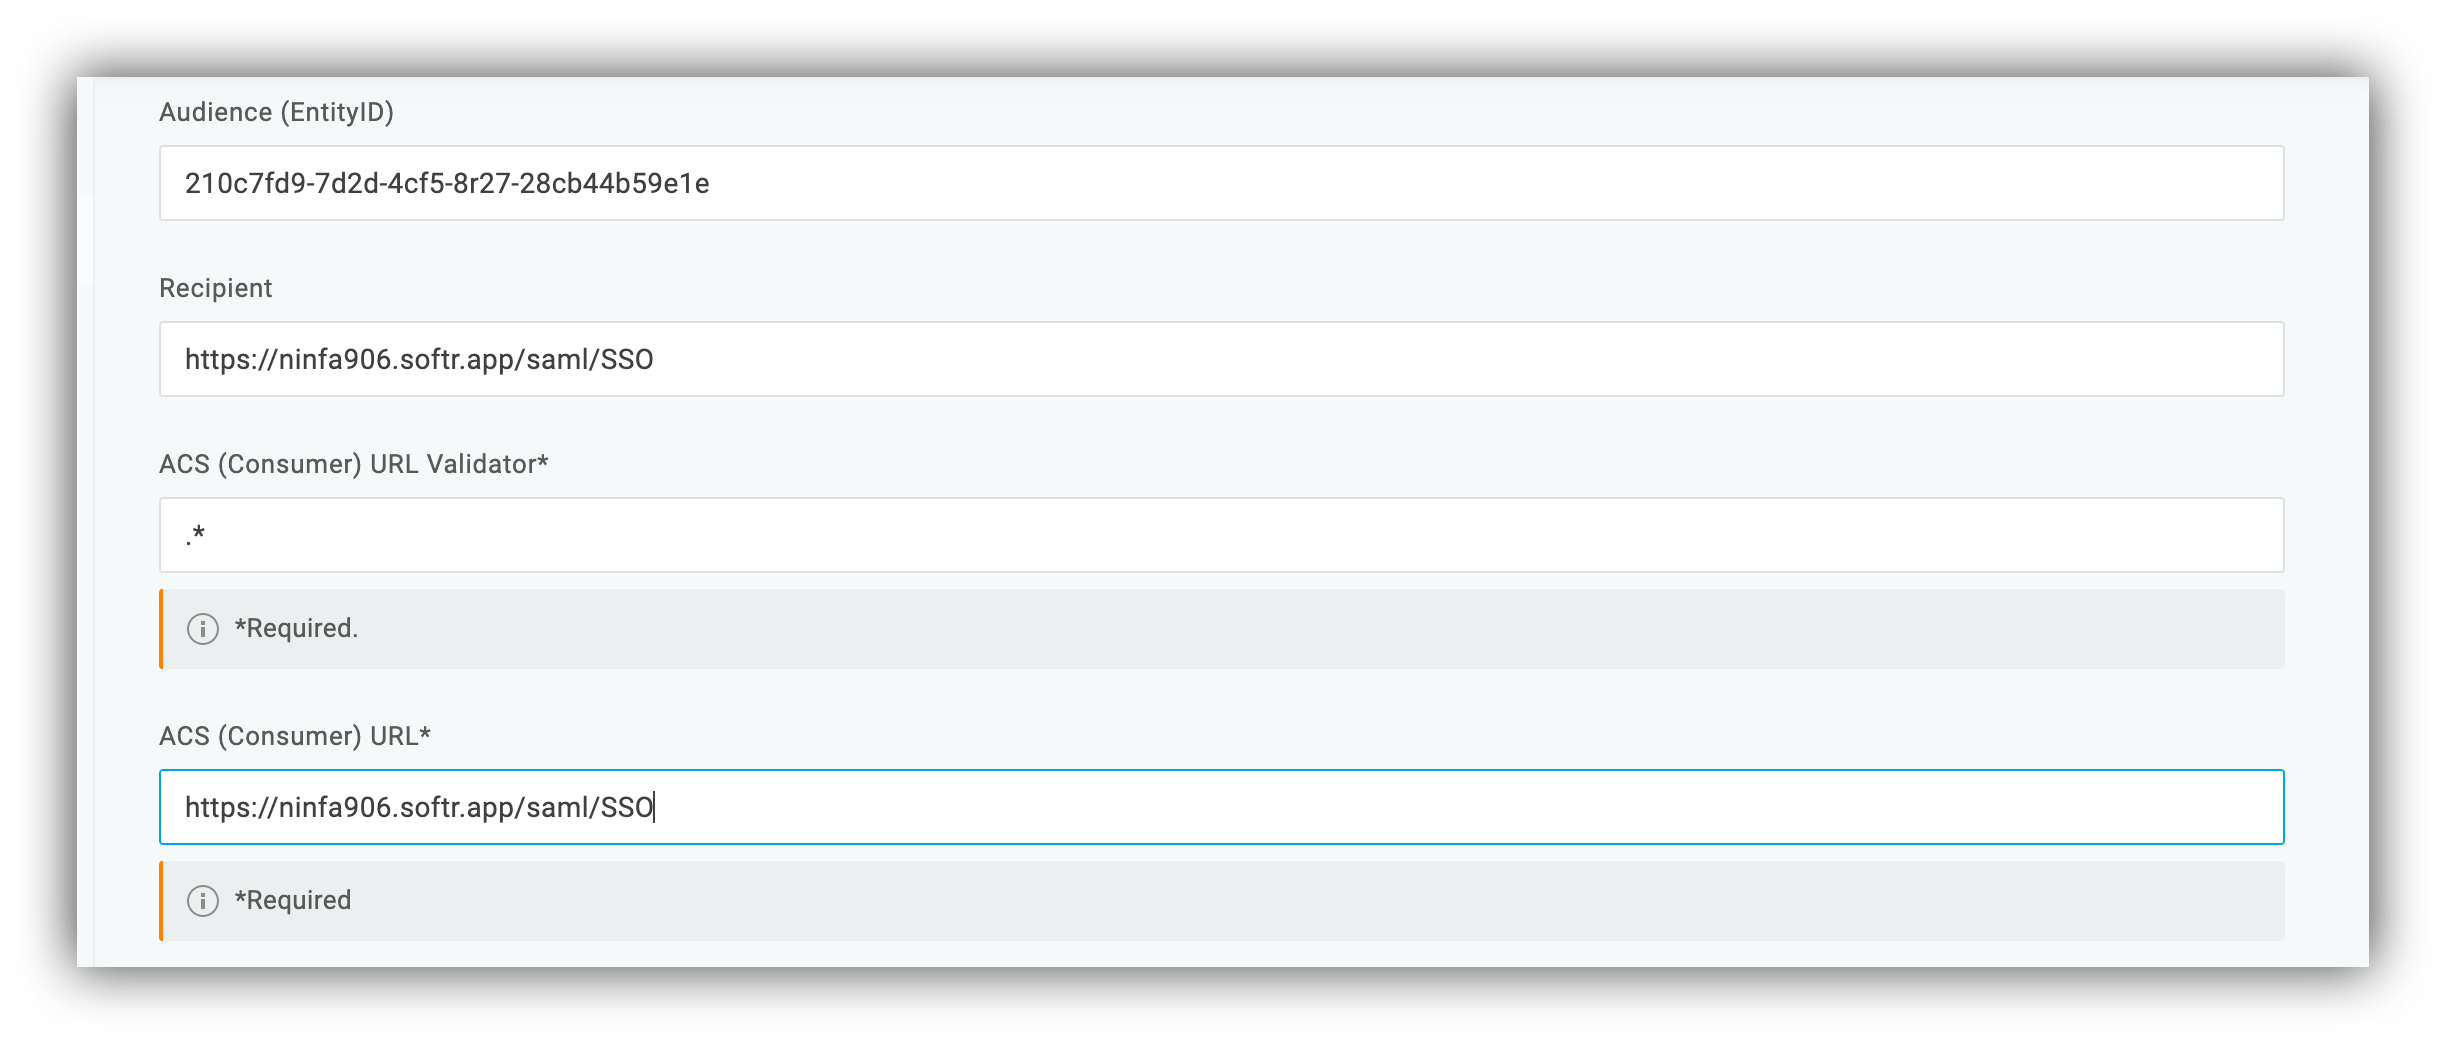
 In the Application settings, we are going to navigate to **Configuration** and fill in the following fields:
* **Audience (EntityID)**
* **Recipient**
* **ACS (Consumer) URL Validator**
* **ACS (Consumer) URL**
To do this, you need to navigate to your Softr app's **Settings => SAML Integration**. From there, copy the **ACS URL** and paste into **Recipient** and **ACS (Consumer) URL\*** fields as well as copy the **Audience URL** and paste into the **Audience (EntityID)** field. In the **ACS (Consumer) URL Validator** field, just add "**.\***".
In the Application settings, we are going to navigate to **Configuration** and fill in the following fields:
* **Audience (EntityID)**
* **Recipient**
* **ACS (Consumer) URL Validator**
* **ACS (Consumer) URL**
To do this, you need to navigate to your Softr app's **Settings => SAML Integration**. From there, copy the **ACS URL** and paste into **Recipient** and **ACS (Consumer) URL\*** fields as well as copy the **Audience URL** and paste into the **Audience (EntityID)** field. In the **ACS (Consumer) URL Validator** field, just add "**.\***".
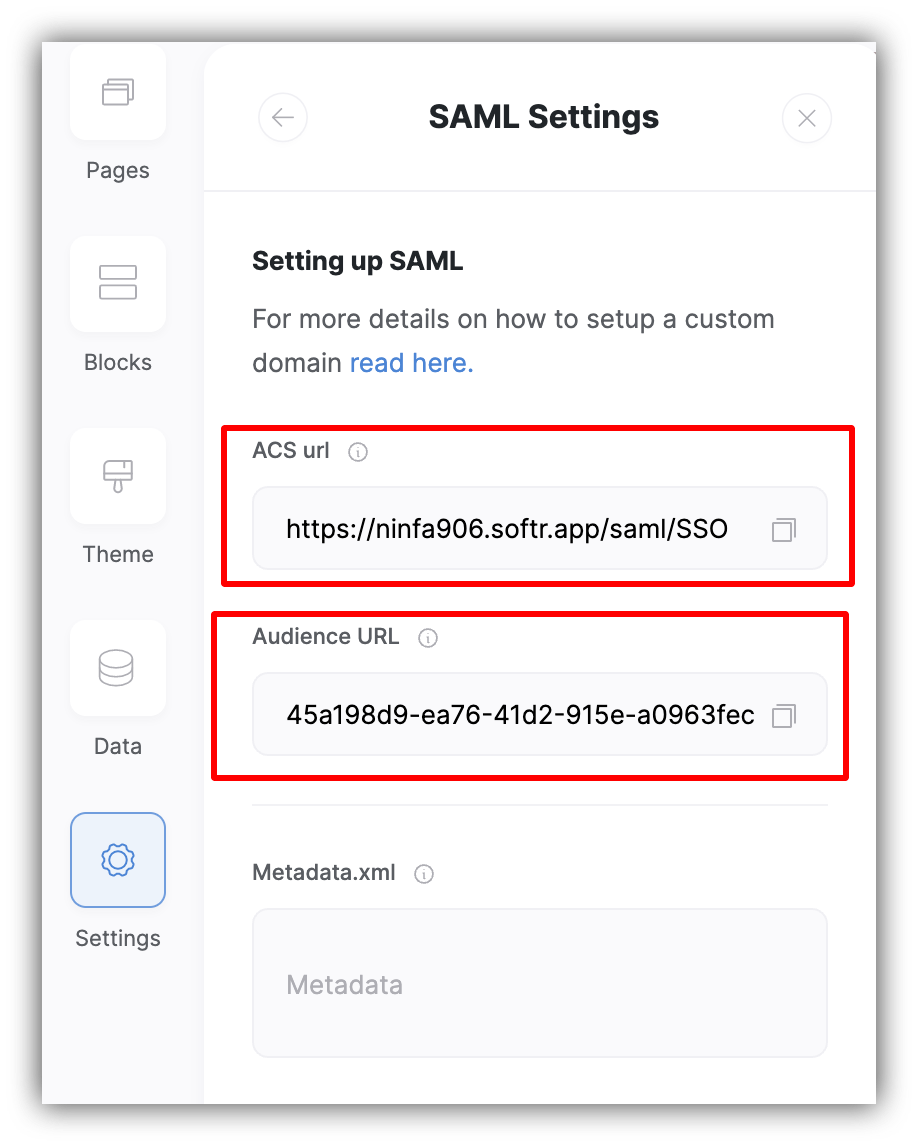 So, the **ACS URL** is basically your application SAML URL, while the **Audience URL** is a unique identifier that allows the IdP to identify the SP. Eventually, your setup should look similar to what's shown below.
 As soon as you're done with the **Configuration** section, navigate to application's **Parameters**, where you need to create the **Email**, **First Name**, and **Last Name** fields. In the pop-up that opens after clicking the Create button, you need to add the field name (can be anything) and check the **Include in SAML assertion** flag.
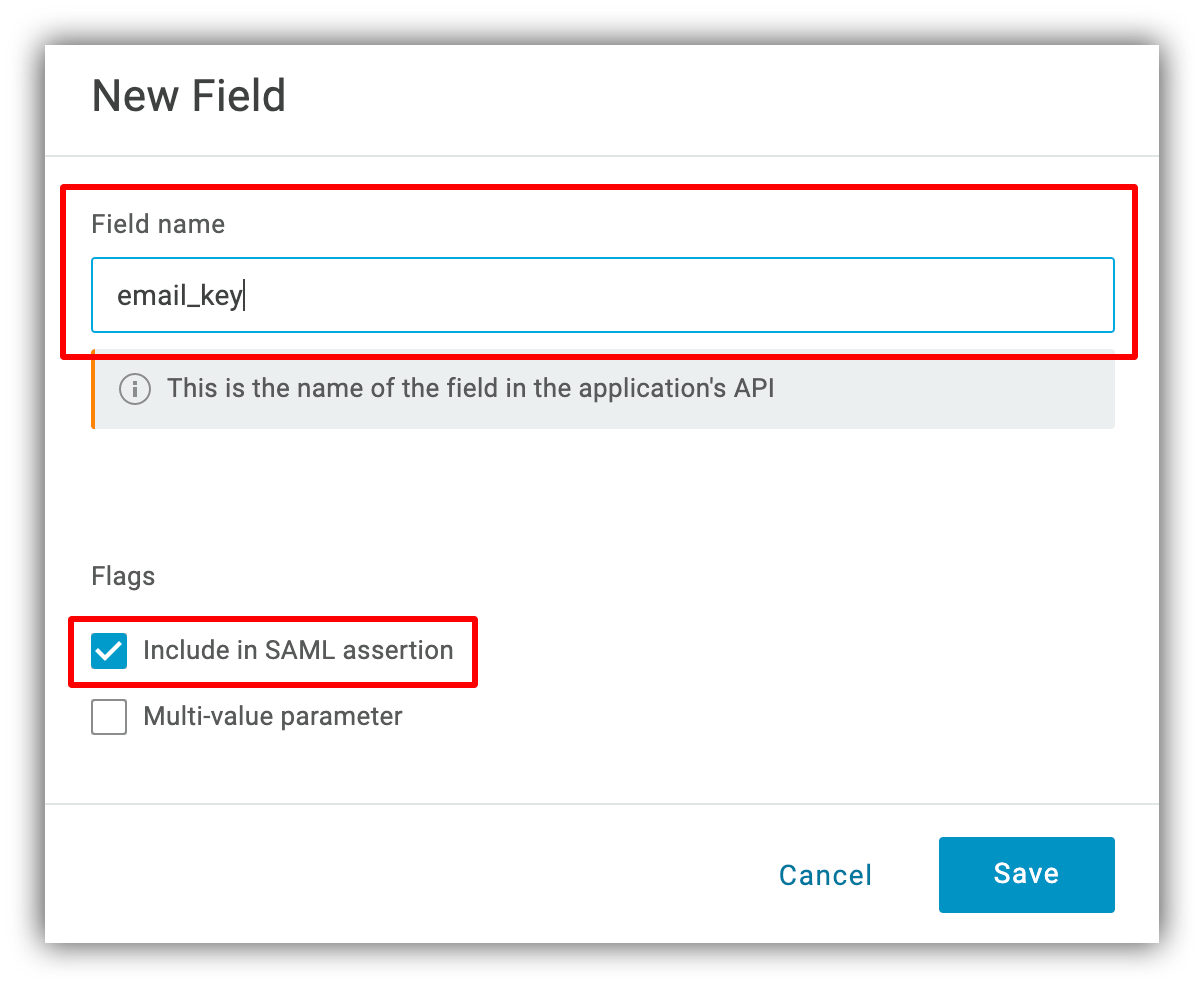 Then hit **Save** and choose the field's value ("Email," "First Name," or "Last Name" depending on which one you're configuring).
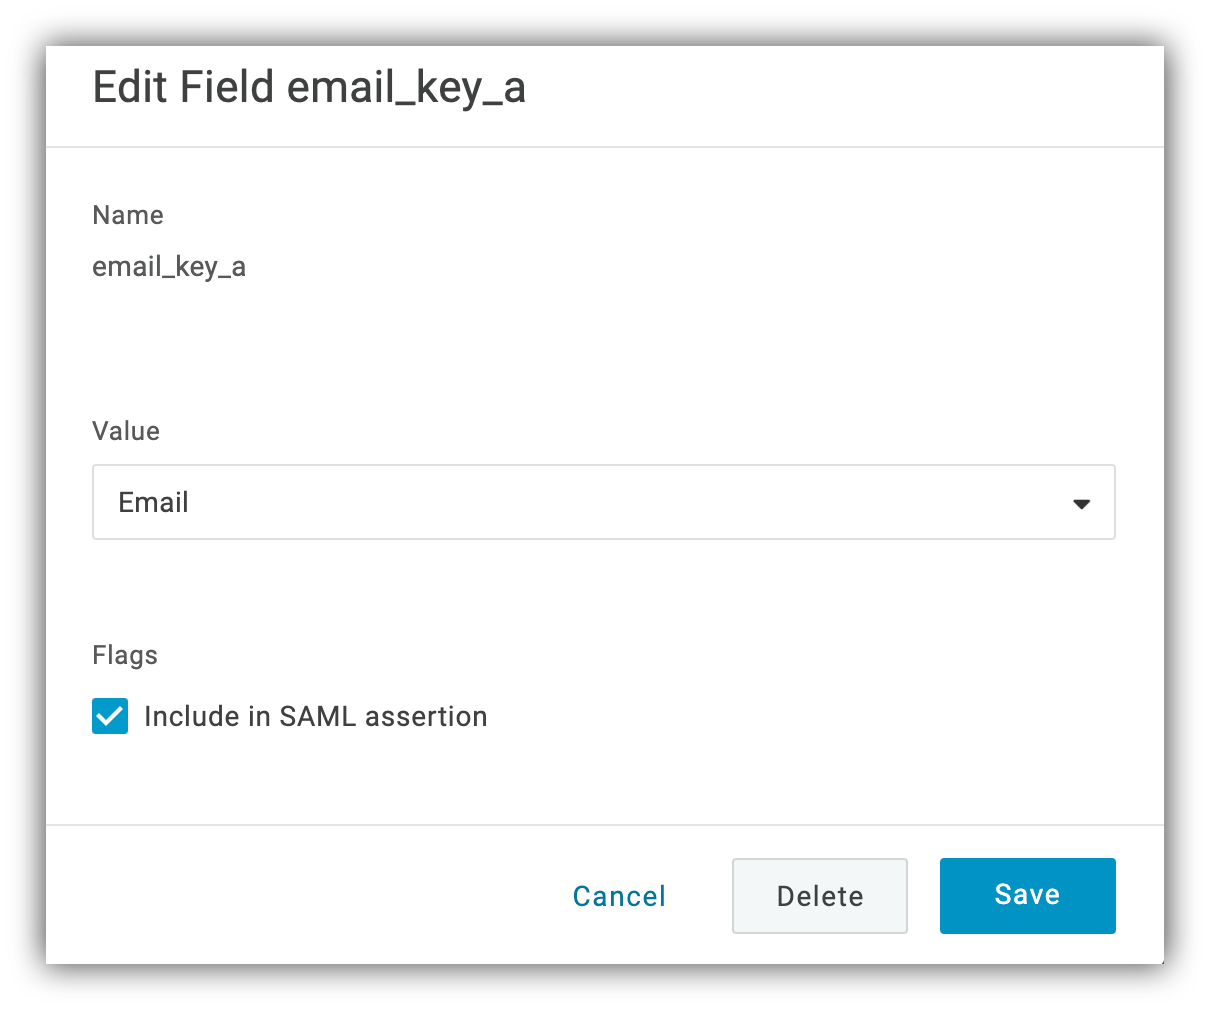 In the screenshot below, we already have all the three fields added.
 Further on, navigate to the **SSO** section and copy the **Issuer URL**. As soon as you paste it in the browser address bar, it will download a metadata XML file, which we are going to use in the next step.
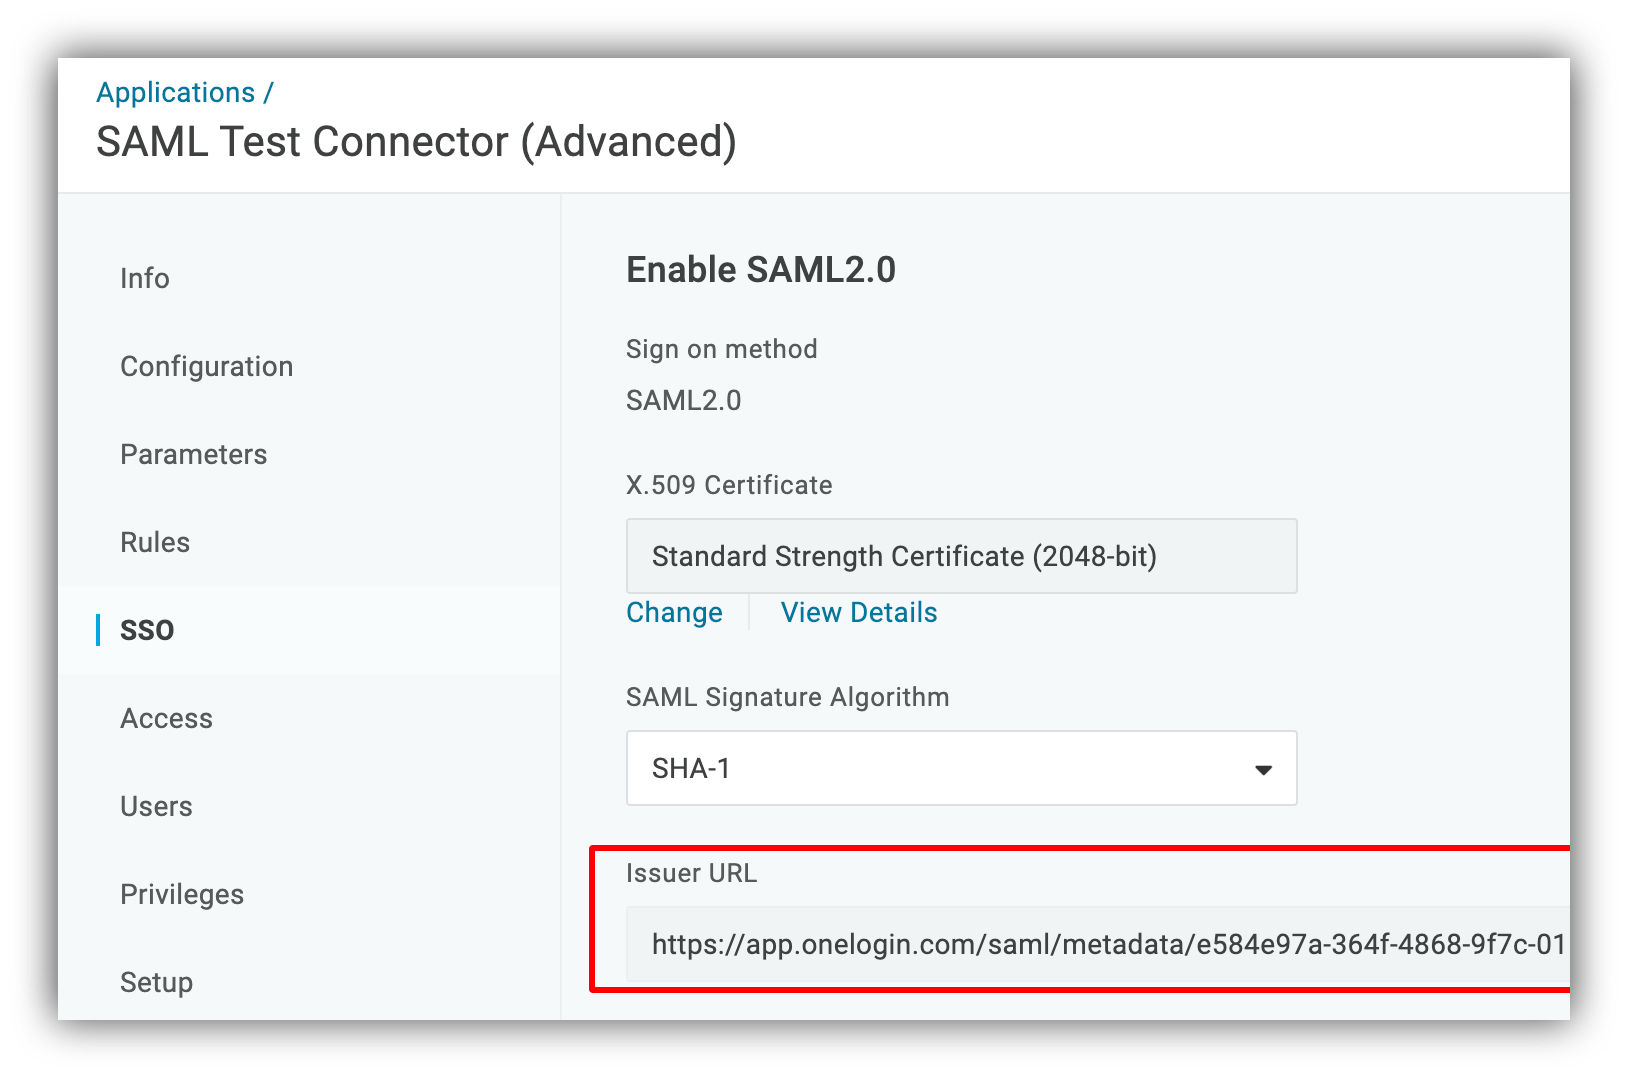 Now that you have everything ready, go to your Softr app's **SAML Settings** and fill in the Metadata.xml field with the XML you downloaded in the previous steps and the key fields with the names of the fields we defined earlier in **Step 3**.
 That's it, you're all set and can now add the **Single Sign-on** block from **Blocks => User Accounts** to allow your users to log in with their IdP (in this case OneLogin) credentials.
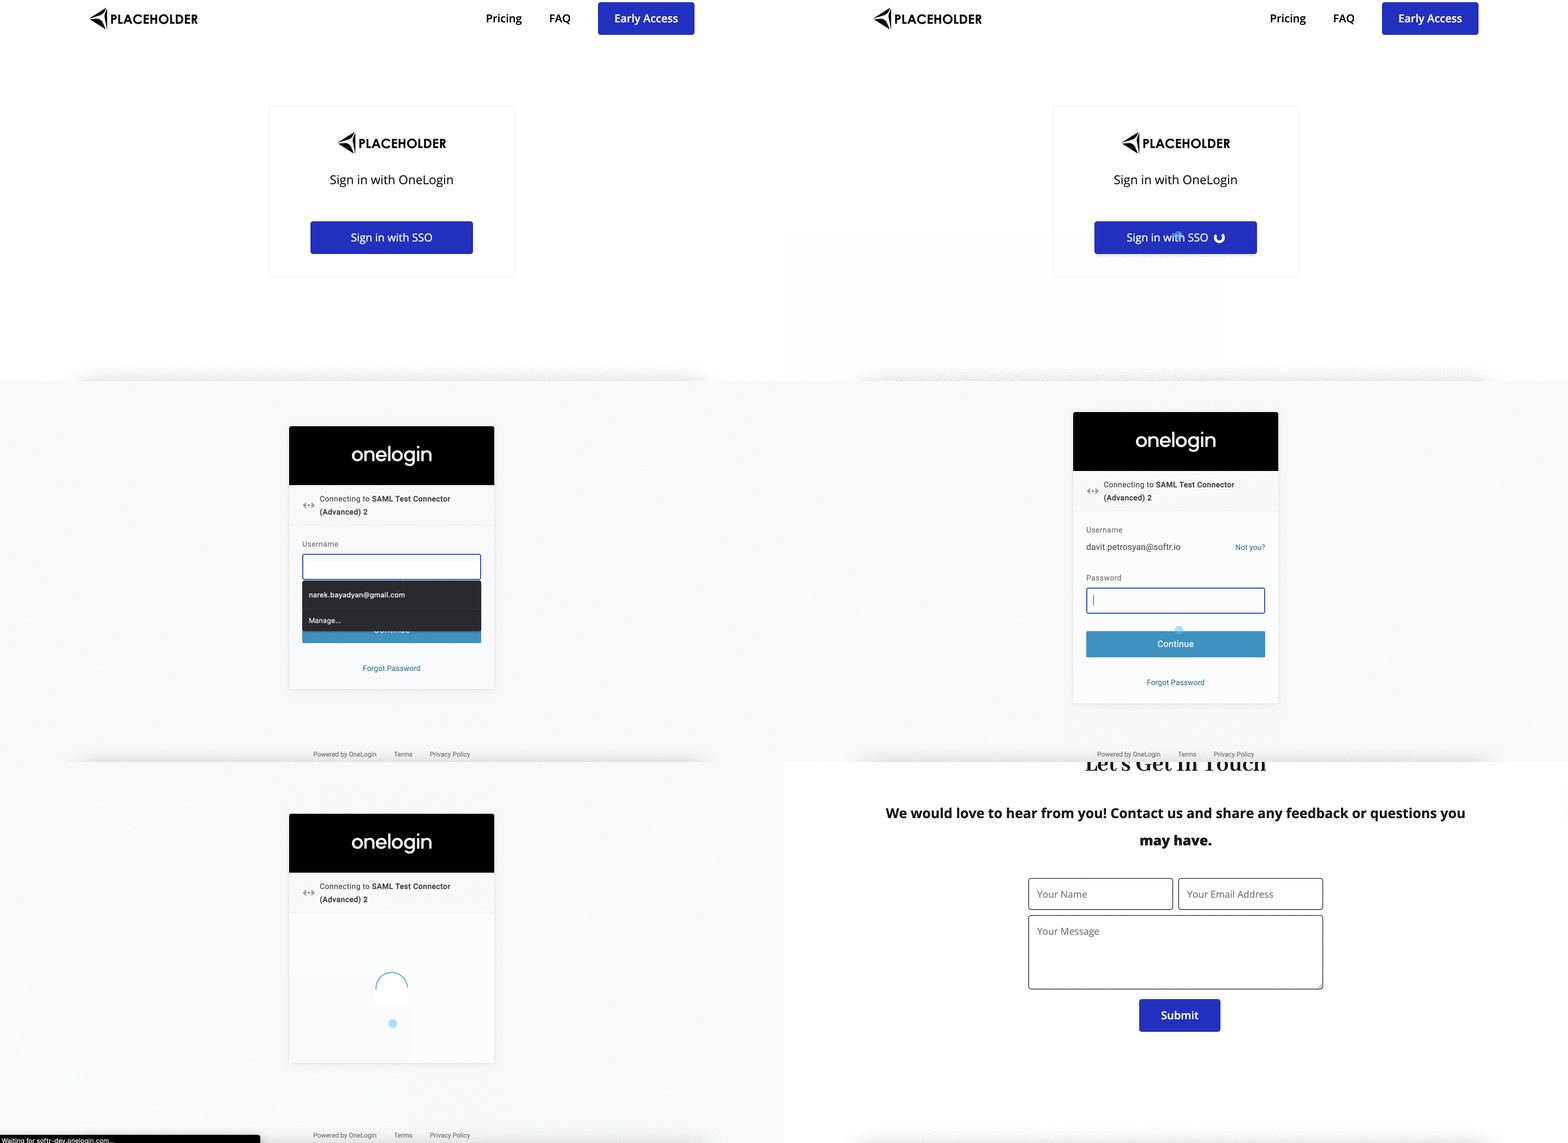
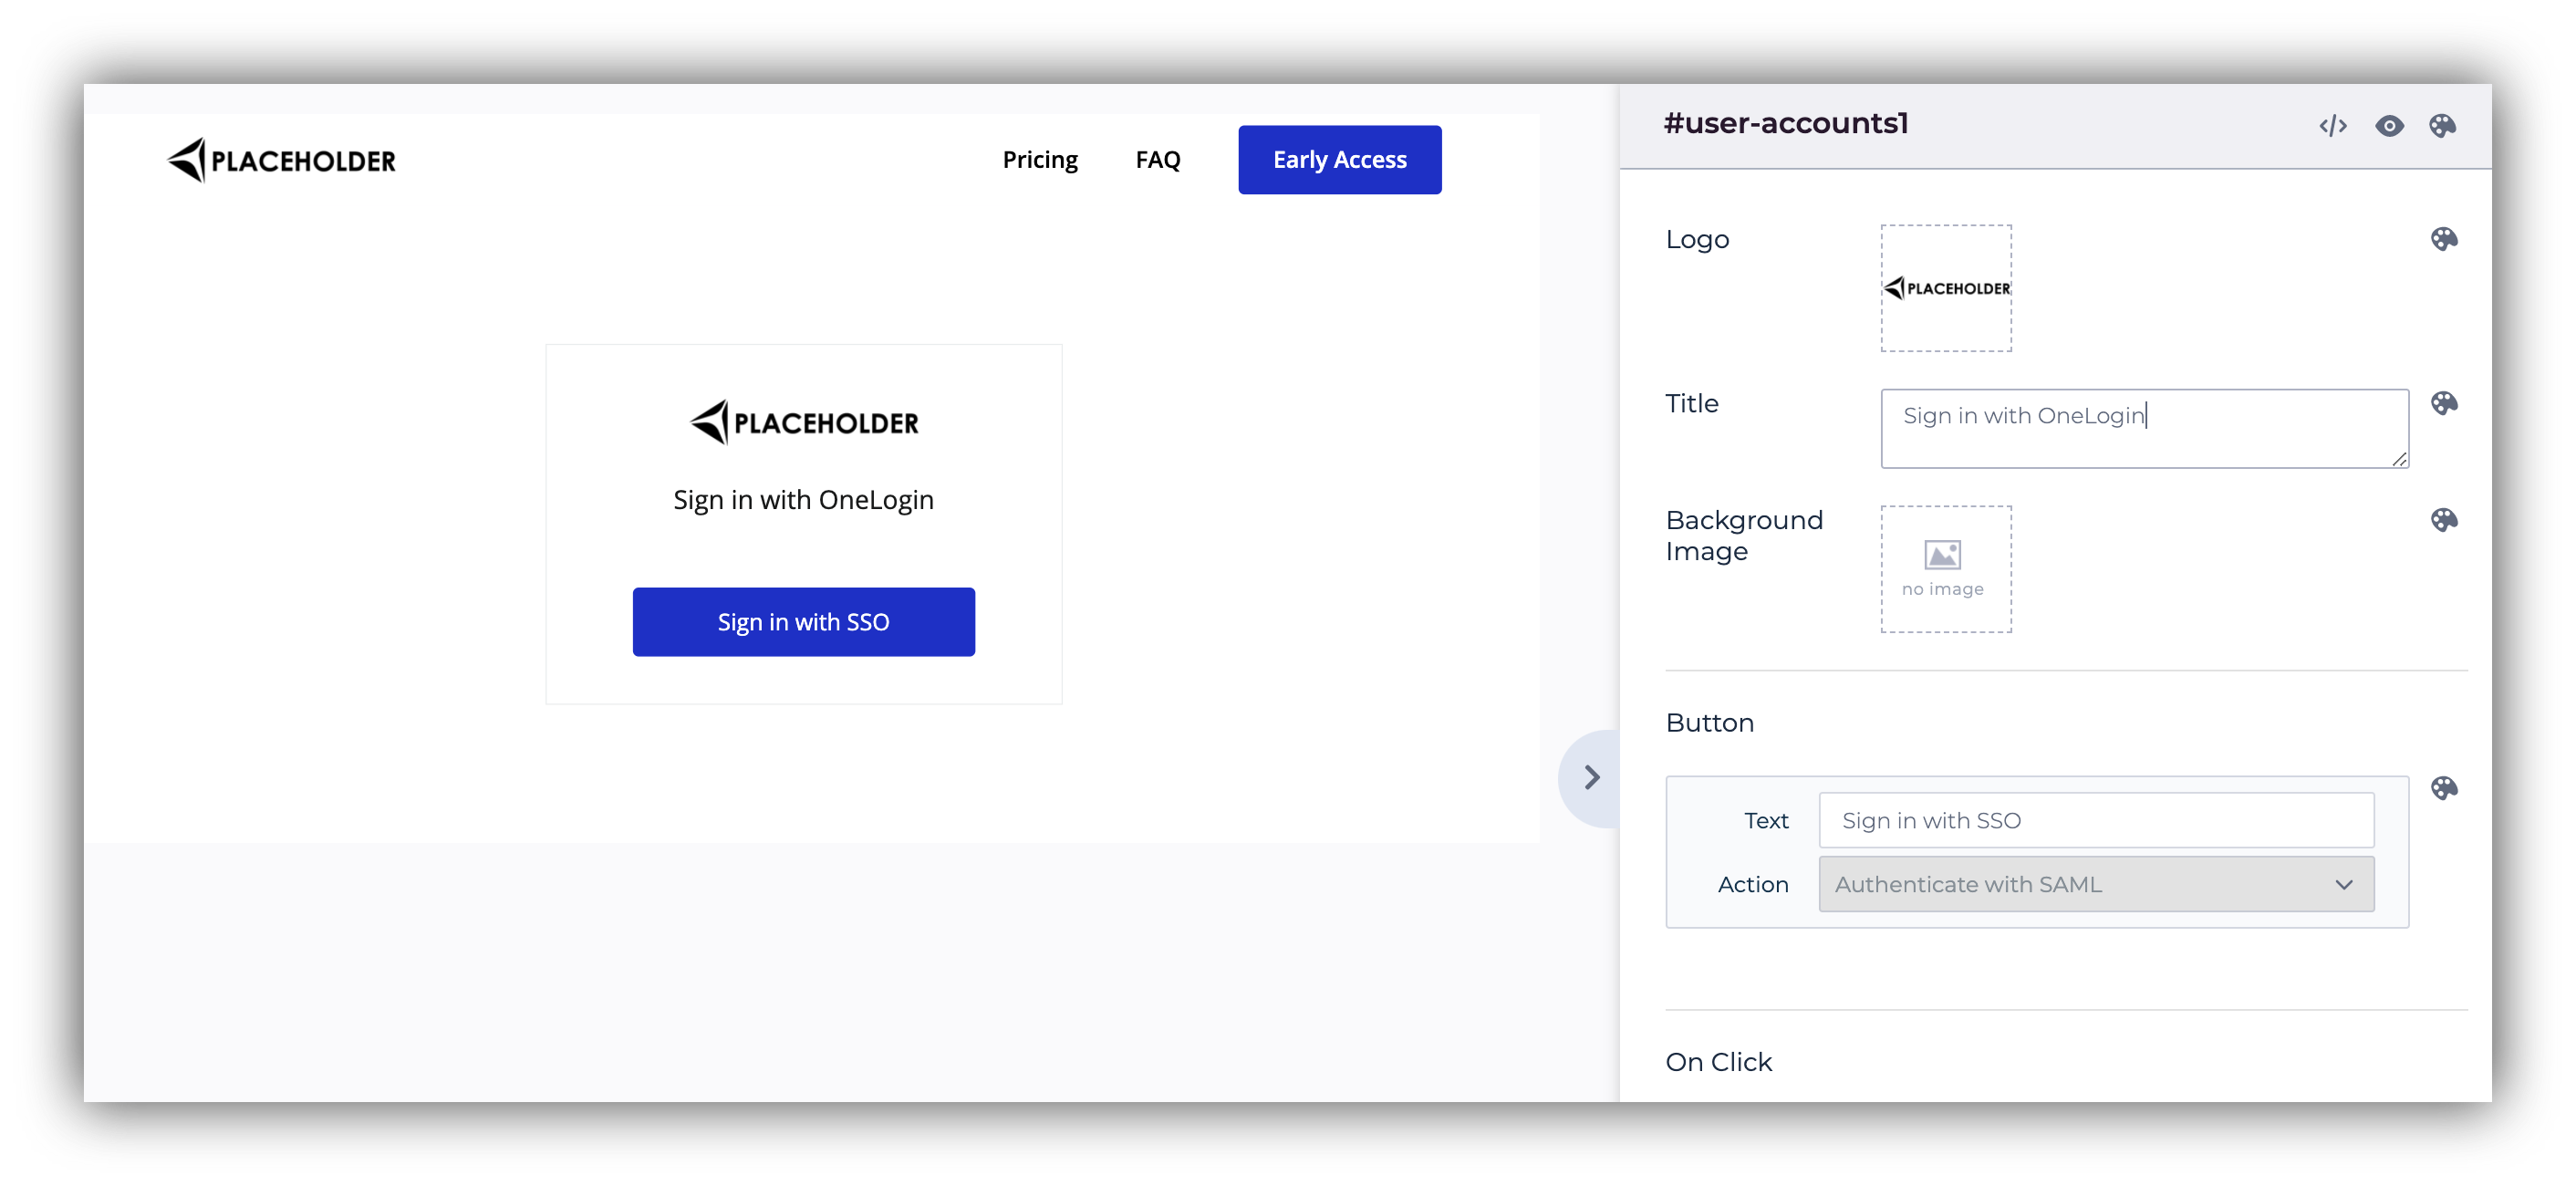 You can customize the Logo, Title, Page after signin, and other settings and publish your app. Now, all the users that have an account on your OneLogin application, will be able to log in to your Softr app, and a user will be created for them. See below.