> ## Documentation Index
> Fetch the complete documentation index at: https://docs.softr.io/llms.txt
> Use this file to discover all available pages before exploring further.
# Add Record
> Letting users add new records to your data.
## Overview
### Adding the Button
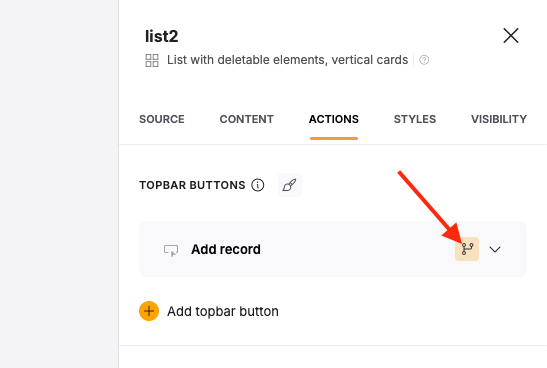
This [Action Button](/actions/ntEfT9zSJk6aY54G6W5KGU/action-buttons-overview/idg8Fqf2kjFwcx6kyP3jNq) is available under **Topbar Buttons** and lets users add new records/rows to your [data source](https://www.notion.so/4230abecf813402aa2926466c313290a). Add Record buttons are only available on List Blocks and can be added by clicking on the List Block, selecting the Actions tab, clicking the **+ Add Topbar Button**, then choosing **Add Record** from the dropdown.
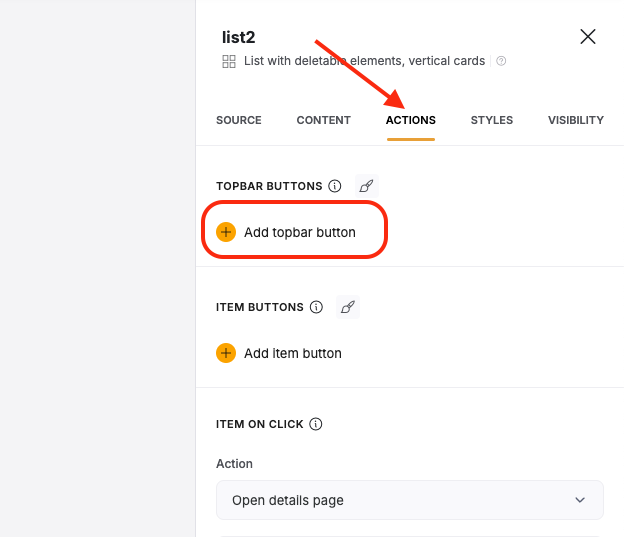 By default, you’ll have one **Add record** button added to your block, which you can remove if needed.
### Adding Form Fields
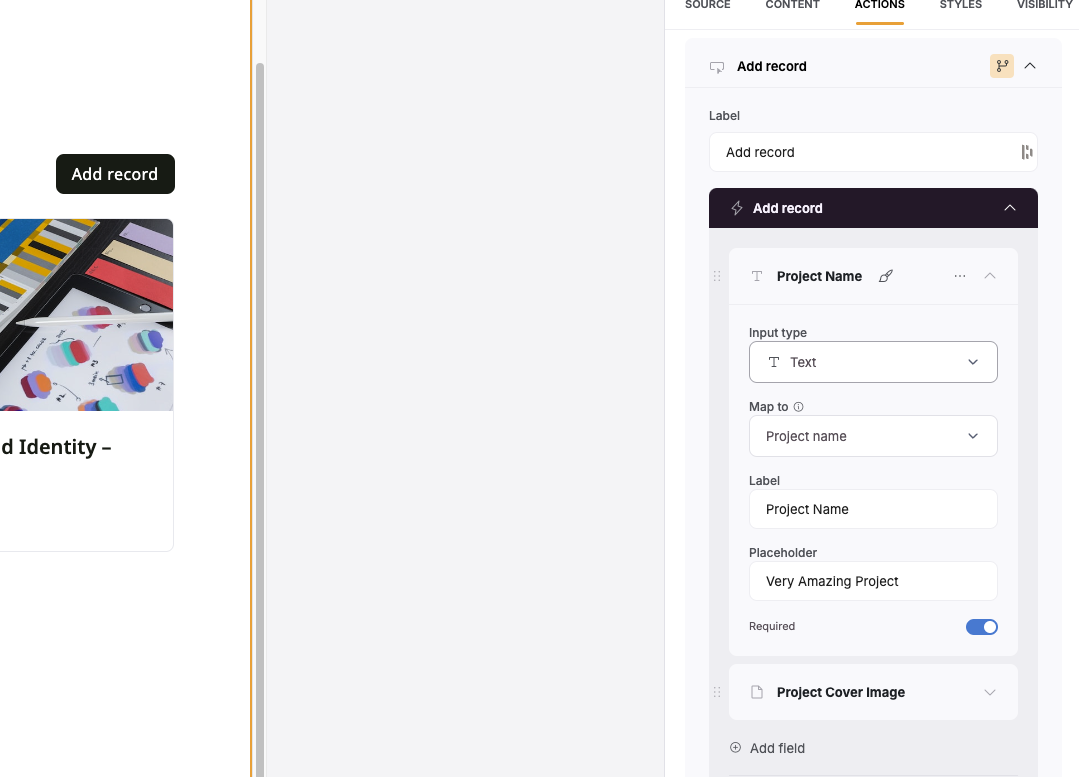
When you give users the option to add a new record, they’ll likely need some fields to fill out. Once the button has been added, you can:
1. Give the button a label
2. Add fields that the user should be able to fill out for the new record. Each field will have its own set of options, but at minimum each will have a label, a placeholder, whether its required or not, and a way to map it to your data source.
By default, you’ll have one **Add record** button added to your block, which you can remove if needed.
### Adding Form Fields
When you give users the option to add a new record, they’ll likely need some fields to fill out. Once the button has been added, you can:
1. Give the button a label
2. Add fields that the user should be able to fill out for the new record. Each field will have its own set of options, but at minimum each will have a label, a placeholder, whether its required or not, and a way to map it to your data source.
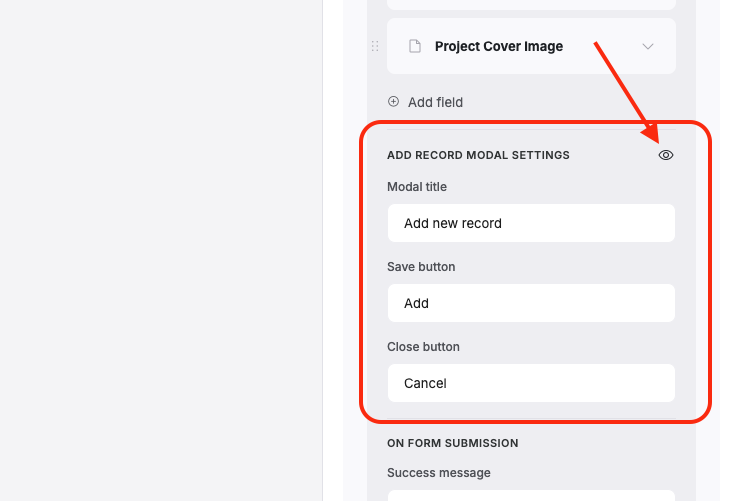
 ### About the Modal
You won’t be able to see the live form that the users will see when adding a record unless you preview or use the app live. However, you can set the title of the **Add Record** modal as well as what the Add and Cancel buttons say. You can preview the modal by clicking the eye icon in the upper right of the section. If you need to change the theme of the modal such as background, text color, button color, etc., you can do that in the [Theme](/styling/7qXYEkNvWQamR6vcLXzZnF/application-theme/91YGSL2aDJajXdbPBhitbc) menu tab.
### About the Modal
You won’t be able to see the live form that the users will see when adding a record unless you preview or use the app live. However, you can set the title of the **Add Record** modal as well as what the Add and Cancel buttons say. You can preview the modal by clicking the eye icon in the upper right of the section. If you need to change the theme of the modal such as background, text color, button color, etc., you can do that in the [Theme](/styling/7qXYEkNvWQamR6vcLXzZnF/application-theme/91YGSL2aDJajXdbPBhitbc) menu tab.
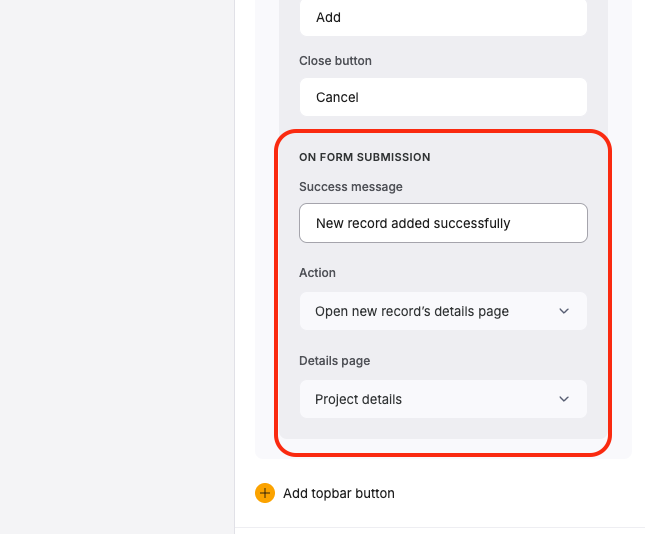
 ### Setting the On Form Submission
In this section of the Add Record button, you can set the Success message that appears the user when the submit, as well as the Action that happens upon submitting the form. You have several choices here:
* **Open new record’s details page** - This will immediately send the user to a details page displaying the new records details. If you do not have a details page for this type of record, you will be asked to create one.
* **Close the modal** - This will close the popup and return the user to the original screen before clicking the Add Record button.
* **Open a page** - This will link the user to a page in your app that you specify
* **Open an external URL** - This will send the user to a URL link that you specify
### Setting the On Form Submission
In this section of the Add Record button, you can set the Success message that appears the user when the submit, as well as the Action that happens upon submitting the form. You have several choices here:
* **Open new record’s details page** - This will immediately send the user to a details page displaying the new records details. If you do not have a details page for this type of record, you will be asked to create one.
* **Close the modal** - This will close the popup and return the user to the original screen before clicking the Add Record button.
* **Open a page** - This will link the user to a page in your app that you specify
* **Open an external URL** - This will send the user to a URL link that you specify
 ### Button Visibility
After the button has been created, you can click on the yellow highlighted branching icon to set visibility conditions based on a Logged-in User’s [User Group](/user-groups-and-permissions/3oA6AaFzUiePs2sW2TpYrF/user-groups/6XQfKMeKHUvBcAjKvLs3g3).
### Button Visibility
After the button has been created, you can click on the yellow highlighted branching icon to set visibility conditions based on a Logged-in User’s [User Group](/user-groups-and-permissions/3oA6AaFzUiePs2sW2TpYrF/user-groups/6XQfKMeKHUvBcAjKvLs3g3).
 ## Example
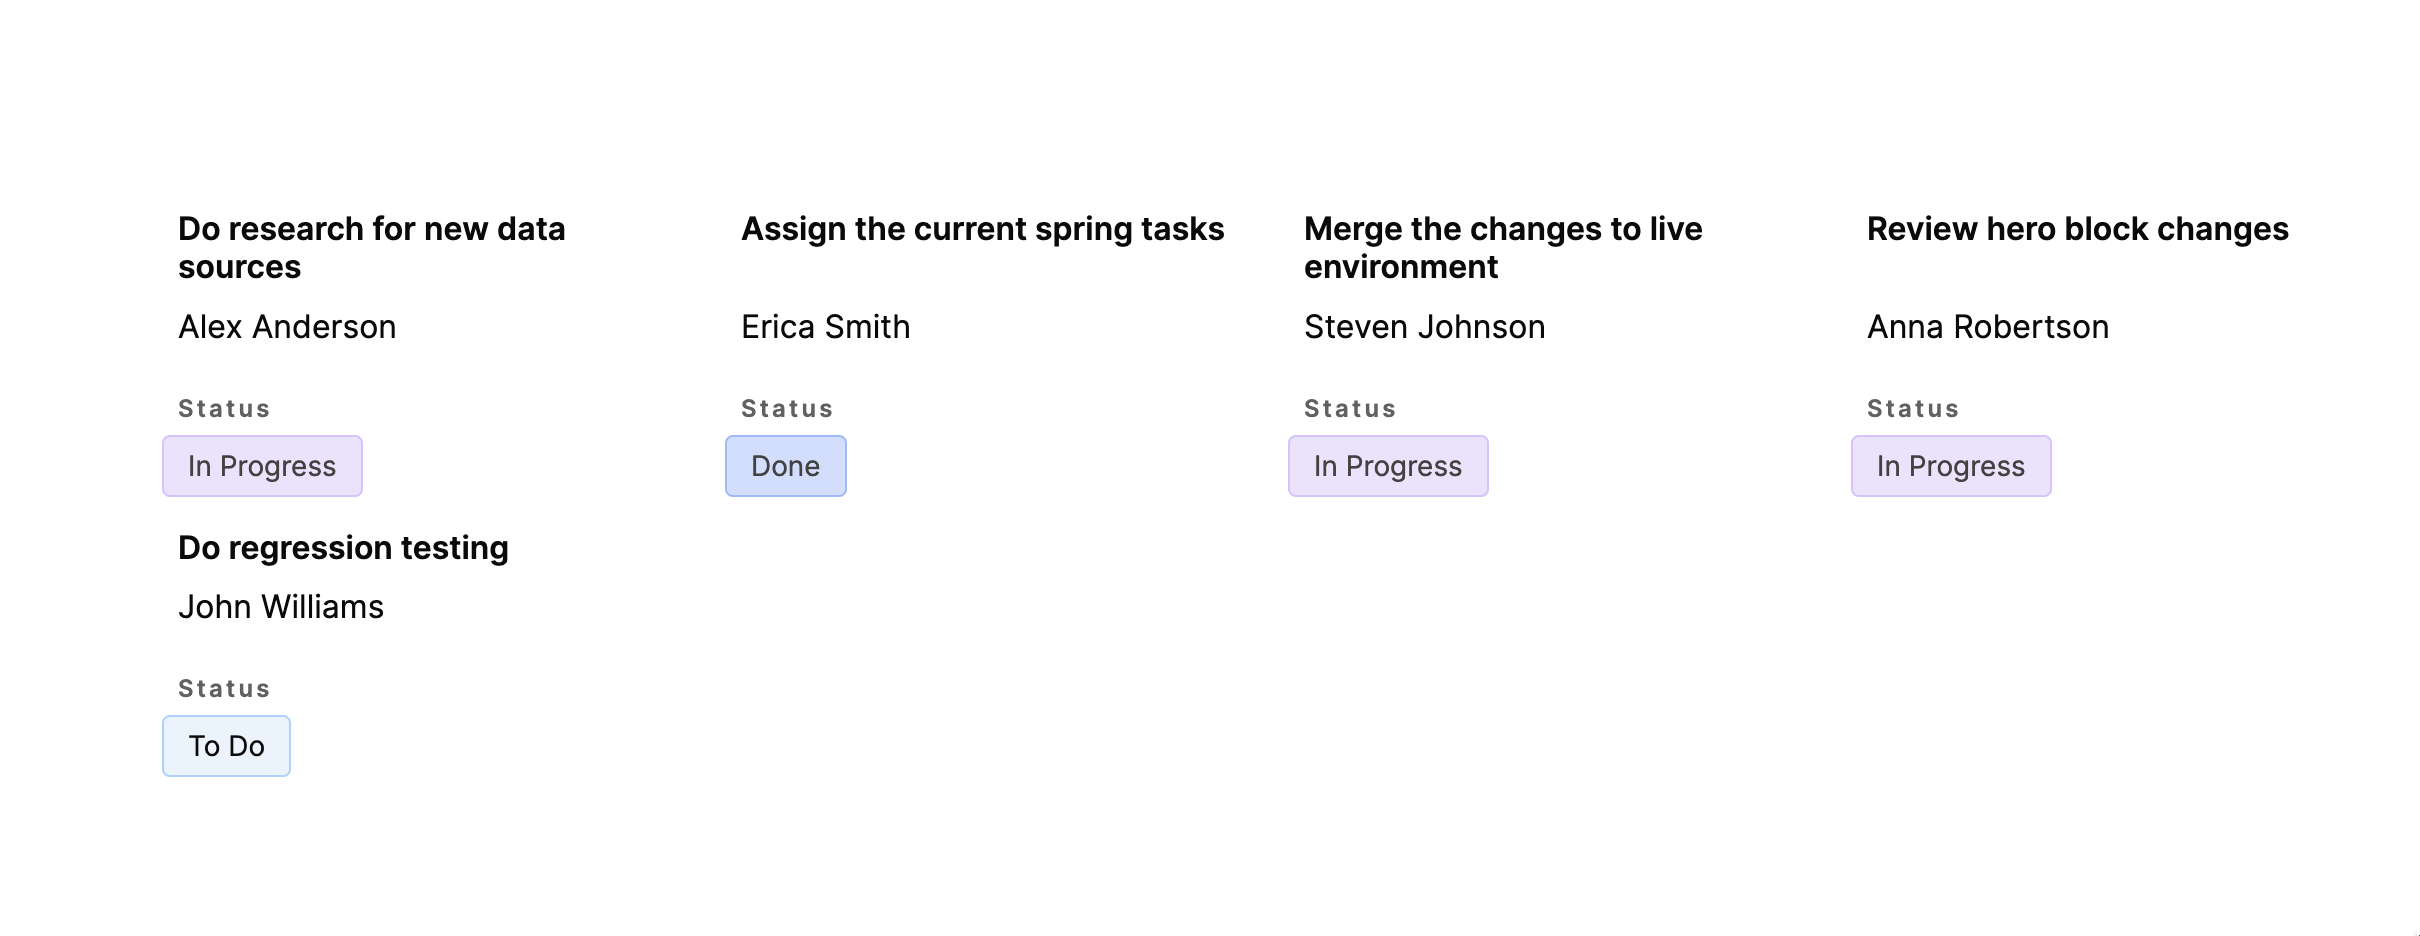
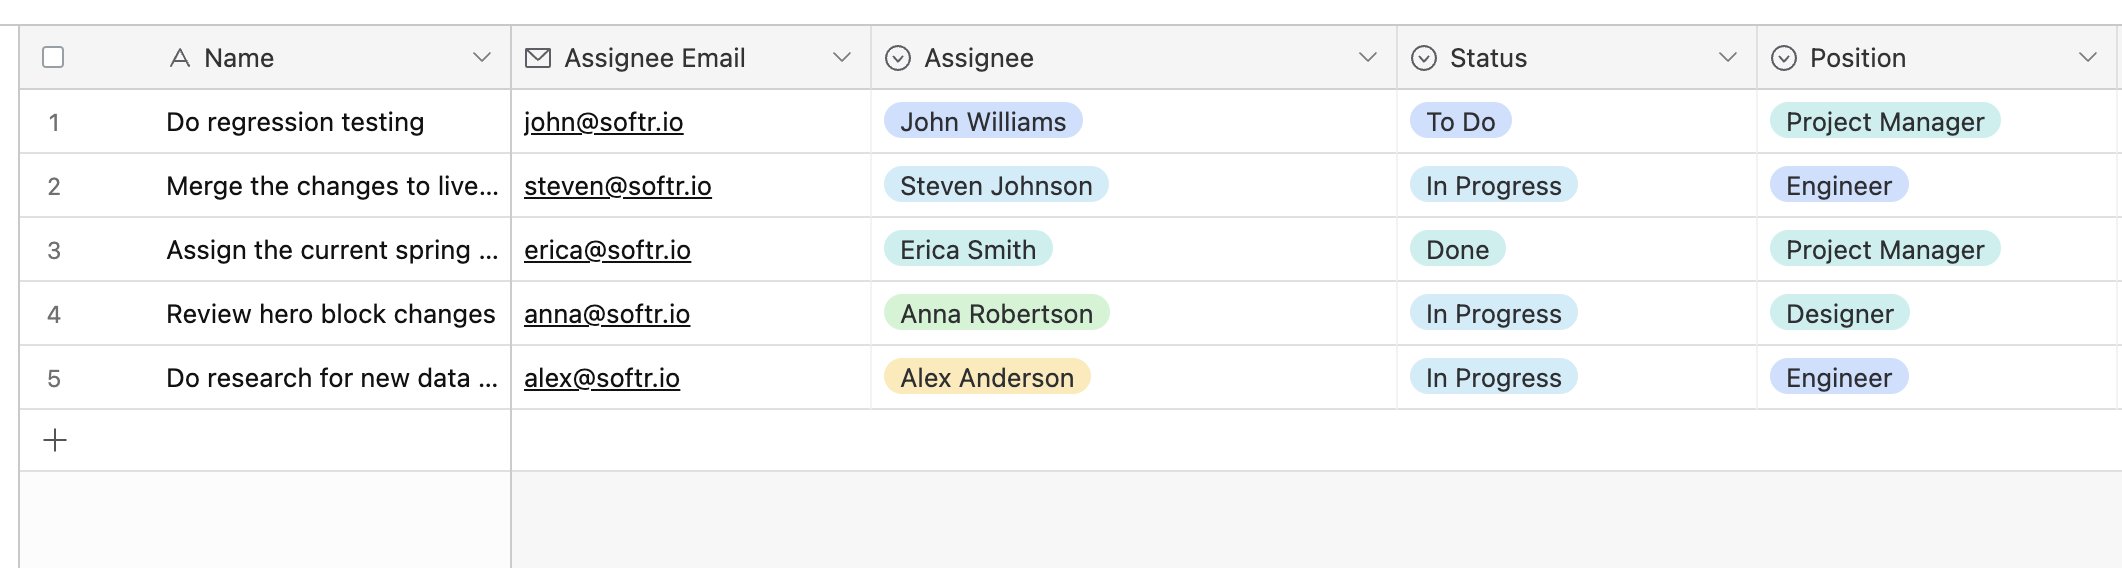
So, let’s see how you can set this action up and what features are available. We’re going to use a [List block](/building-blocks/vikC2AWEpQGkZd4jGyoVxo/list-block/pQhPYuA28VXr5tLLFBcbCU) connected to an [Airtable](/data-sources/1YYStCJukT15Lh2j93qo9A/airtable/jHX7kfH7QvkVcELQvS3VoX) data source, which shows a list of tasks for a hypothetical product development team and has three fields: **Name** (the name of the task), **Assignee** (who it is assigned to), and **Status** (the current progress status of the task). We want to enable an “Add new task” button to allow development team members add new tasks to the list.
## Example
So, let’s see how you can set this action up and what features are available. We’re going to use a [List block](/building-blocks/vikC2AWEpQGkZd4jGyoVxo/list-block/pQhPYuA28VXr5tLLFBcbCU) connected to an [Airtable](/data-sources/1YYStCJukT15Lh2j93qo9A/airtable/jHX7kfH7QvkVcELQvS3VoX) data source, which shows a list of tasks for a hypothetical product development team and has three fields: **Name** (the name of the task), **Assignee** (who it is assigned to), and **Status** (the current progress status of the task). We want to enable an “Add new task” button to allow development team members add new tasks to the list.
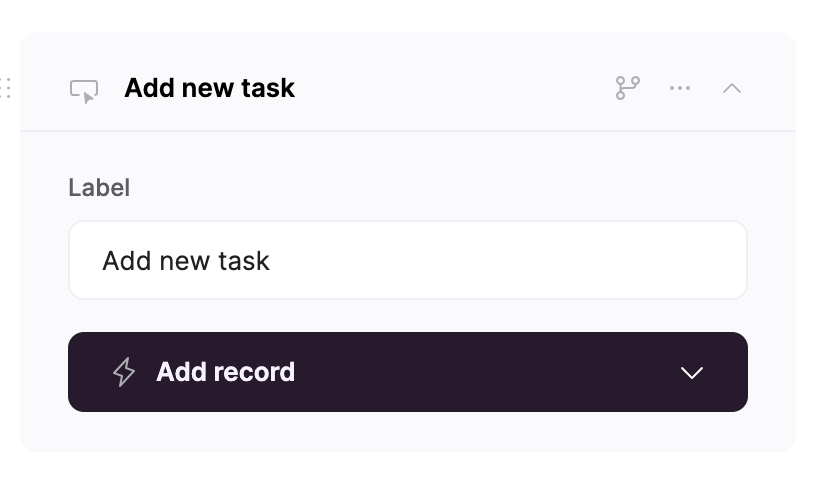
 First, we are going to configure the button label.
 Then, we are going to customize other texts for the button. As you can see in the following gif, it’s also possible to preview the **Add record** pop-up, through which users are going to add new record details.
 Next, we need to specify the field from our data source that are going to be available when adding a new record. To do that, we need to hit the **Add field** at the top of the button settings and add the necessary fields. To add a new task, we need to specify its **Name**, **Assignee**, and **Status**. Therefore, we are going to add a Text field and map it to the **Name** field on Airtable as well as add two dropdown fields and map them to **Assignee** and **Status**, as these two are single-select fields in our Airtable data source.
 Among other fields, you can also add a [Signature field](/displaying-and-creating-data/vikC2AWEpQGkZd4jGyoVxo/layout-customizable-form/jCim5VWZePgZuaRsUZBnpG#signature-field) to capture eSignatures when adding records.
Note that [computed fields](/data-sources/1YYStCJukT15Lh2j93qo9A/airtable/jHX7kfH7QvkVcELQvS3VoX#airtable-computed-fields) will not appear in the list of mappable fields for the form.
You cannot add or edit records located in synced tables.
Now, we need to define who can see and use the button (see [button visibility](/user-groups-and-permissions/3oA6AaFzUiePs2sW2TpYrF/action-button-visibility/tqpb8TkUD4U4DCAUA2hjKo)).
Button visibility options depend on the subscription plan:
→ On Free and Starter plans you can decide who can see the button (All Users, Logged-in Users, or Non Logged-in Users)
→ On Professional plan you can also configure conditional visibilitybut can’t set [custom user groups](/user-groups-and-permissions/3oA6AaFzUiePs2sW2TpYrF/user-groups/6XQfKMeKHUvBcAjKvLs3g3).
→ On Business plan you have access to all the features in Button Visibility.
See [plan comparison](https://www.softr.io/pricing).
The users of our task list are the same people who are working on those tasks, so we are going to [connect the same Airtable base](/add-and-manage-users/pxnkp9H3qyEVMF6XUceqnj/syncing-users-with-a-data-source/hshRGygHr4T33EnaLntGf9) with tasks and assignees to Softr as a user database.
Among other fields, you can also add a [Signature field](/displaying-and-creating-data/vikC2AWEpQGkZd4jGyoVxo/layout-customizable-form/jCim5VWZePgZuaRsUZBnpG#signature-field) to capture eSignatures when adding records.
Note that [computed fields](/data-sources/1YYStCJukT15Lh2j93qo9A/airtable/jHX7kfH7QvkVcELQvS3VoX#airtable-computed-fields) will not appear in the list of mappable fields for the form.
You cannot add or edit records located in synced tables.
Now, we need to define who can see and use the button (see [button visibility](/user-groups-and-permissions/3oA6AaFzUiePs2sW2TpYrF/action-button-visibility/tqpb8TkUD4U4DCAUA2hjKo)).
Button visibility options depend on the subscription plan:
→ On Free and Starter plans you can decide who can see the button (All Users, Logged-in Users, or Non Logged-in Users)
→ On Professional plan you can also configure conditional visibilitybut can’t set [custom user groups](/user-groups-and-permissions/3oA6AaFzUiePs2sW2TpYrF/user-groups/6XQfKMeKHUvBcAjKvLs3g3).
→ On Business plan you have access to all the features in Button Visibility.
See [plan comparison](https://www.softr.io/pricing).
The users of our task list are the same people who are working on those tasks, so we are going to [connect the same Airtable base](/add-and-manage-users/pxnkp9H3qyEVMF6XUceqnj/syncing-users-with-a-data-source/hshRGygHr4T33EnaLntGf9) with tasks and assignees to Softr as a user database.
 The users sync between Softr and data source is one-way (from Softr to data source), so, if you connect a data source with users without having them [in Softr](/add-and-manage-users/pxnkp9H3qyEVMF6XUceqnj/users-menu/5JTzjtbvp8Skemd26A9ho9) first, you’ll need to create the same users in Softr as well to establish the connection.
We are also going to create a [user group](/user-groups-and-permissions/3oA6AaFzUiePs2sW2TpYrF/user-groups/6XQfKMeKHUvBcAjKvLs3g3) that includes project managers only.
The users sync between Softr and data source is one-way (from Softr to data source), so, if you connect a data source with users without having them [in Softr](/add-and-manage-users/pxnkp9H3qyEVMF6XUceqnj/users-menu/5JTzjtbvp8Skemd26A9ho9) first, you’ll need to create the same users in Softr as well to establish the connection.
We are also going to create a [user group](/user-groups-and-permissions/3oA6AaFzUiePs2sW2TpYrF/user-groups/6XQfKMeKHUvBcAjKvLs3g3) that includes project managers only.
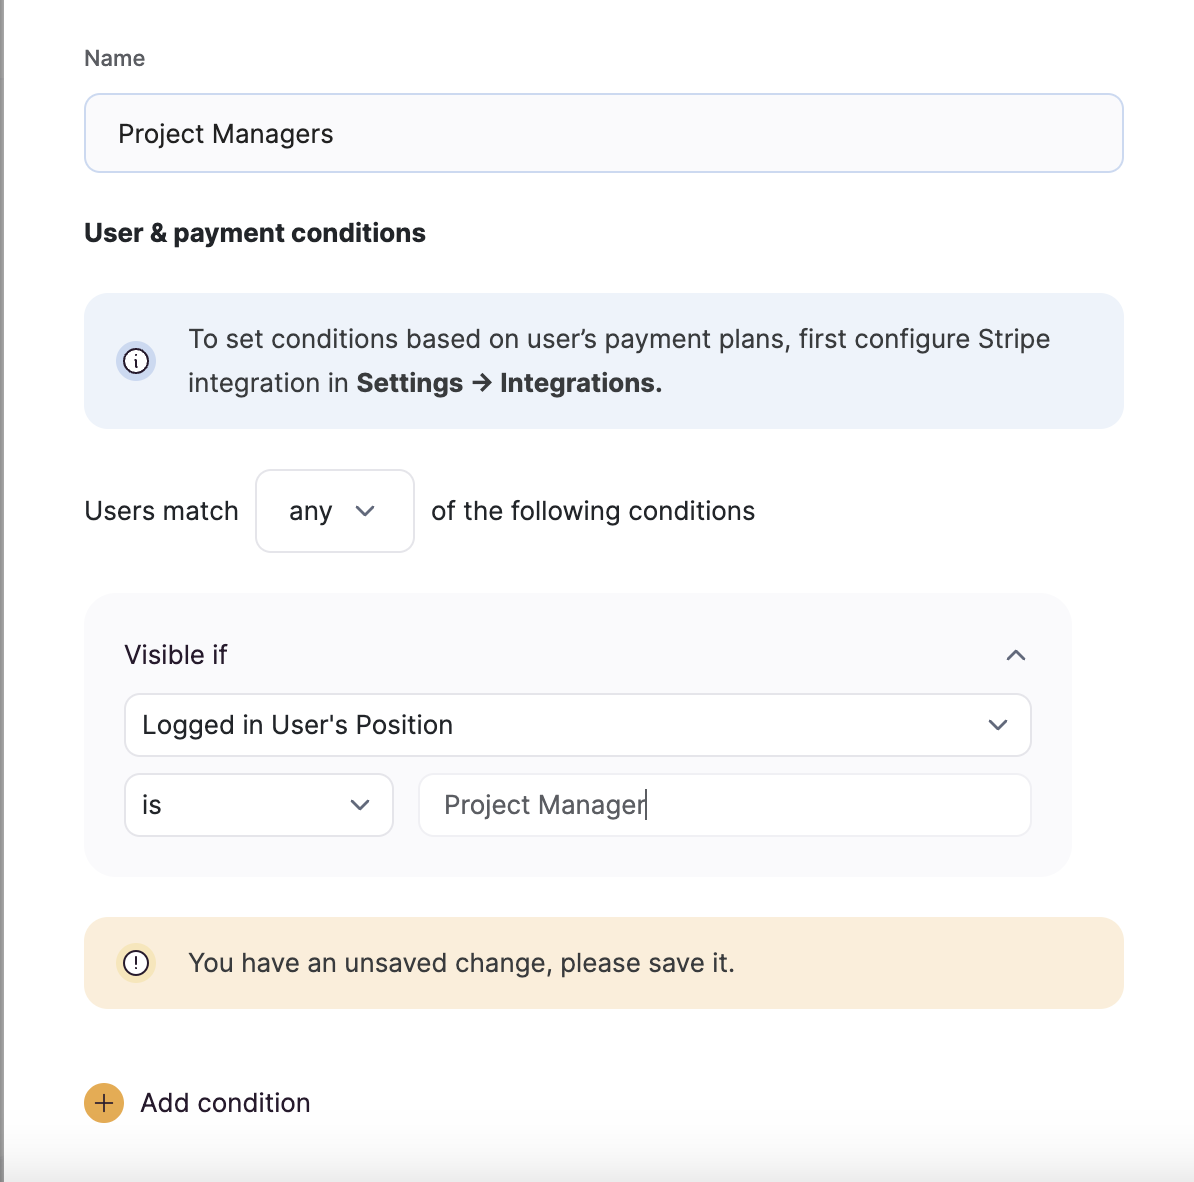 Next, we are going to set up button visibility so that only the **Project Managers** user group is able to access the button.
 Now, let’s test the setup and see how it works from the user’s perspective.
### Testing adding new tasks
To test our setup, we are going to log into our application with one of the project manager users and add a new task to the list. The following gif illustrates that.
Now, let’s test the setup and see how it works from the user’s perspective.
### Testing adding new tasks
To test our setup, we are going to log into our application with one of the project manager users and add a new task to the list. The following gif illustrates that.